I’m beginning to learn that whether it’s the weather or just life, I’m not meant to work on boats in the garage from January to March. It just doesn’t seem to happen.
This year, it was mostly because M was starting to plan for setting up her own practice, which meant that in advance of getting her own office she was acquiring furniture for said office from various online second hand marketplaces (she found some quite nice stuff) and that all went into the garage for storage. That meant no room to actually do anything.
But once the garage opened up, it was time to do a little more work on the boat, with the possible outside hope of launching sometime this boating season. I probably just jinxed that possibility into not happening by typing that.
After spending a lot of time sanding either above my head (the bottom of the cockpit) or way out in front of me (reaching forward to sand fillets on the underside of the top of the cabin, while not putting pressure on the cabin top itself), all while sitting on the cold garage cement floor, I finally had had enough of trying to make everything smooth and decided the sanding wasn’t going to be much tougher if I had to do it from inside the boat while it was right side up, so it was time to…
Flip the Boat Again #
I still had my (not-so) trusty gantry that I built to flip the boat the first time. That worked, even though it kind of scared me with how twisted the thing became under load. This time around I decided to try and fix that by getting two big huge bolts that I would put through the cross members on either side of the gantry, which should prevent wracking forward (towards the bow) or backwards (towards the stern). I hadn’t noticed any serious problems with wracking away from the boat sideways, so didn’t do anything to address that.
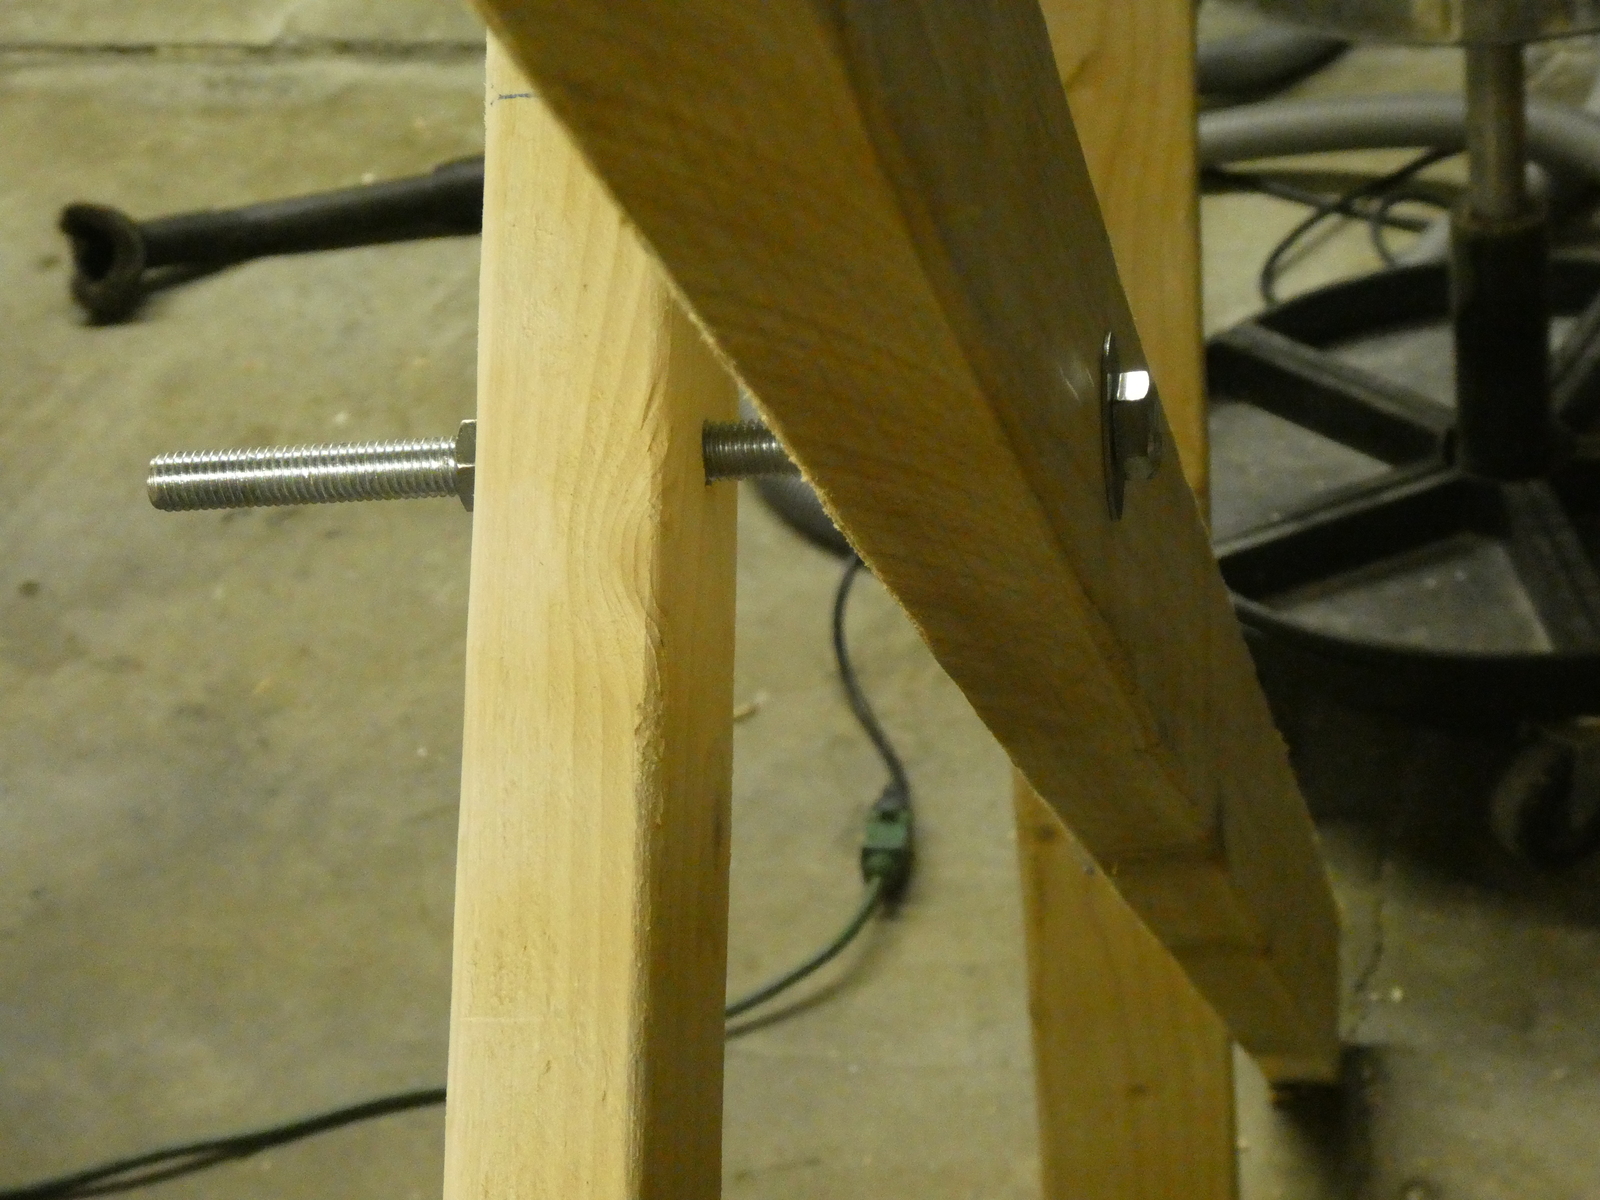
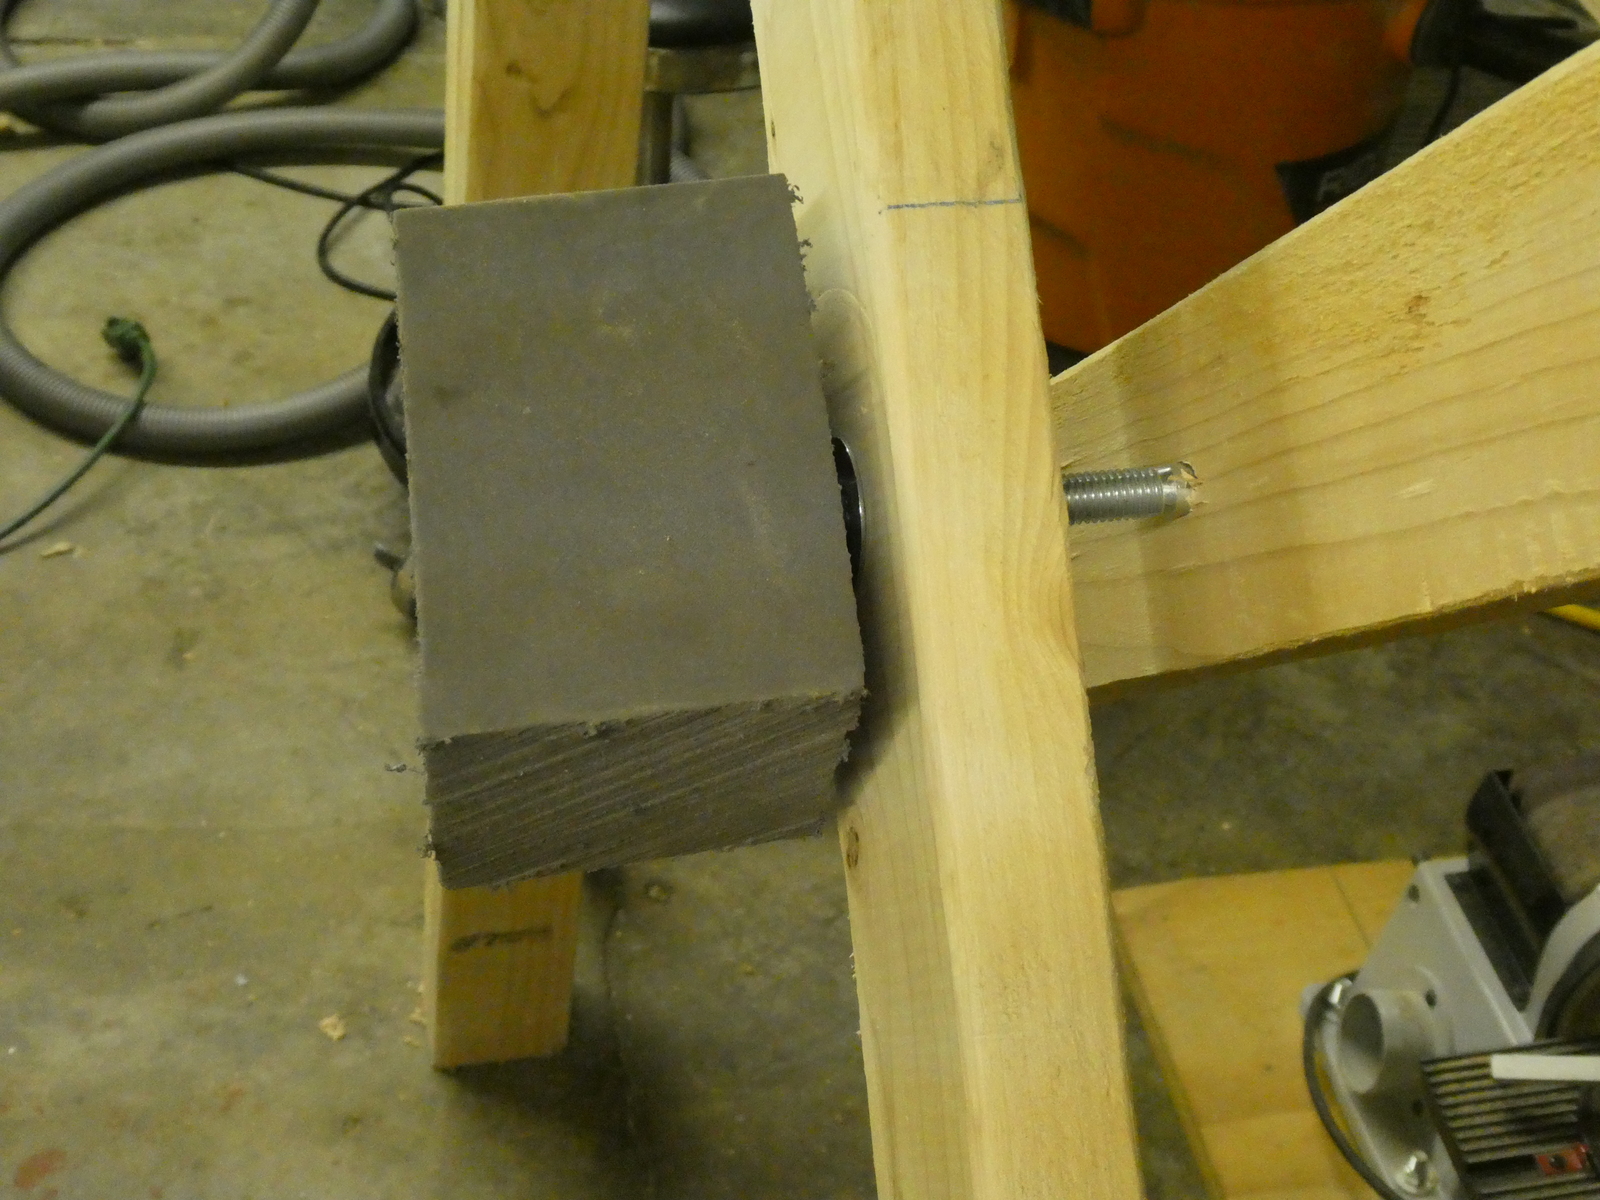
The bolts were quite long once they were tightened down, so the big foam blocks I stuck on them on the inside next to the boat protected the boat from scrapes (the boat never touched them) and me from scrapes (they totally did their job).
After that, I read on a different build blog that the ratcheting straps he used while flipping his boat over caused paint scuffs - I didn’t want that to happen, so I broke out the moving blankets as well as a few borrowed blankets to go between the hull and the straps to protect the paint.
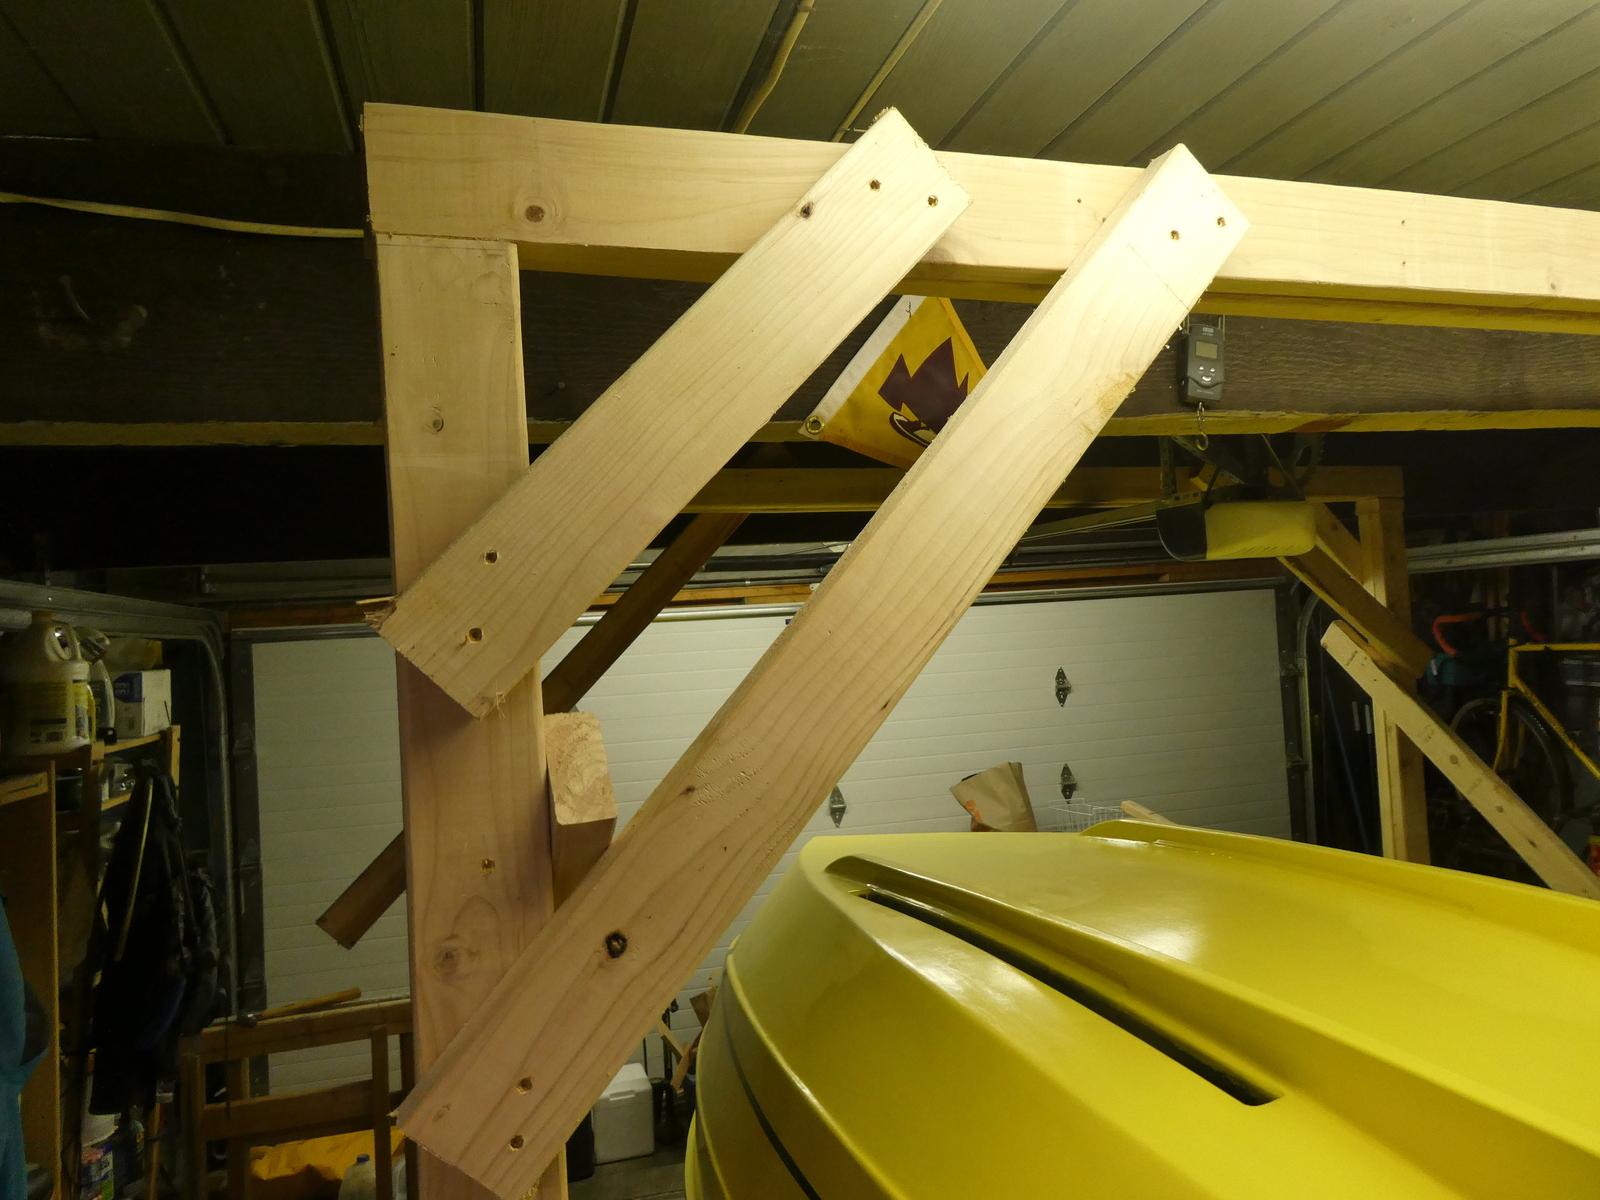
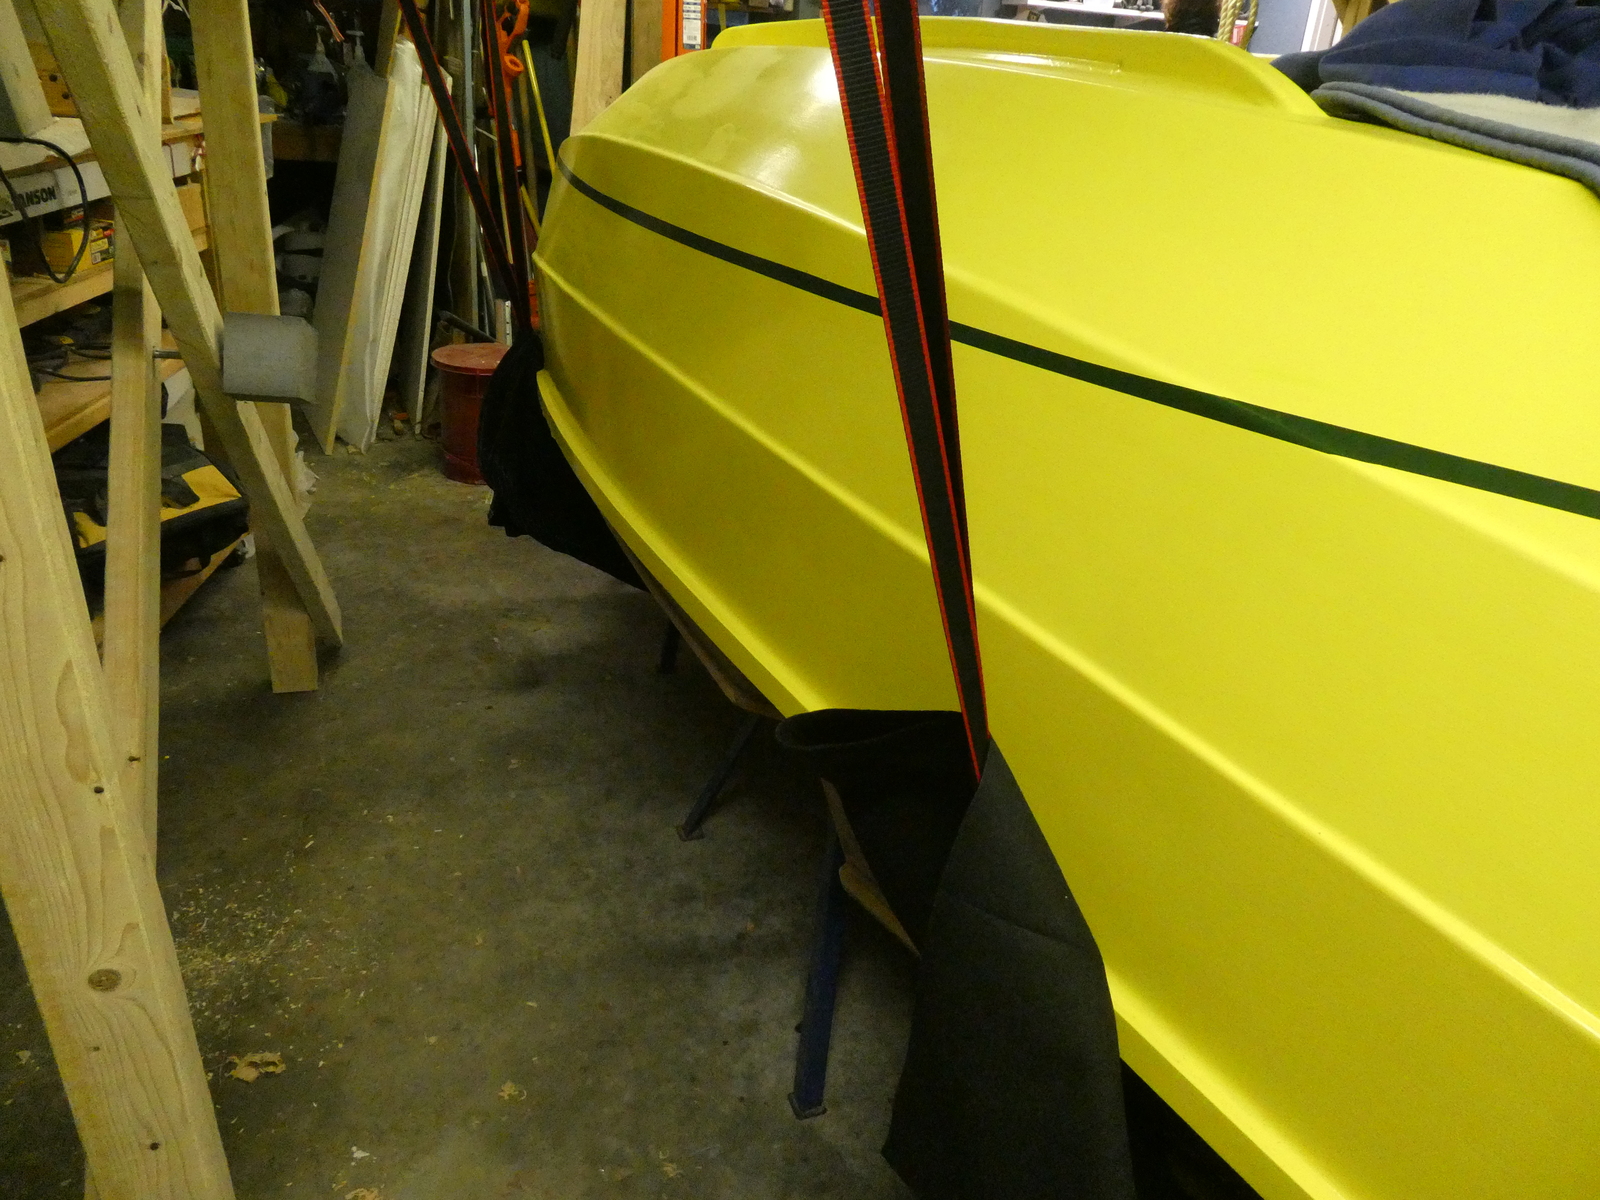
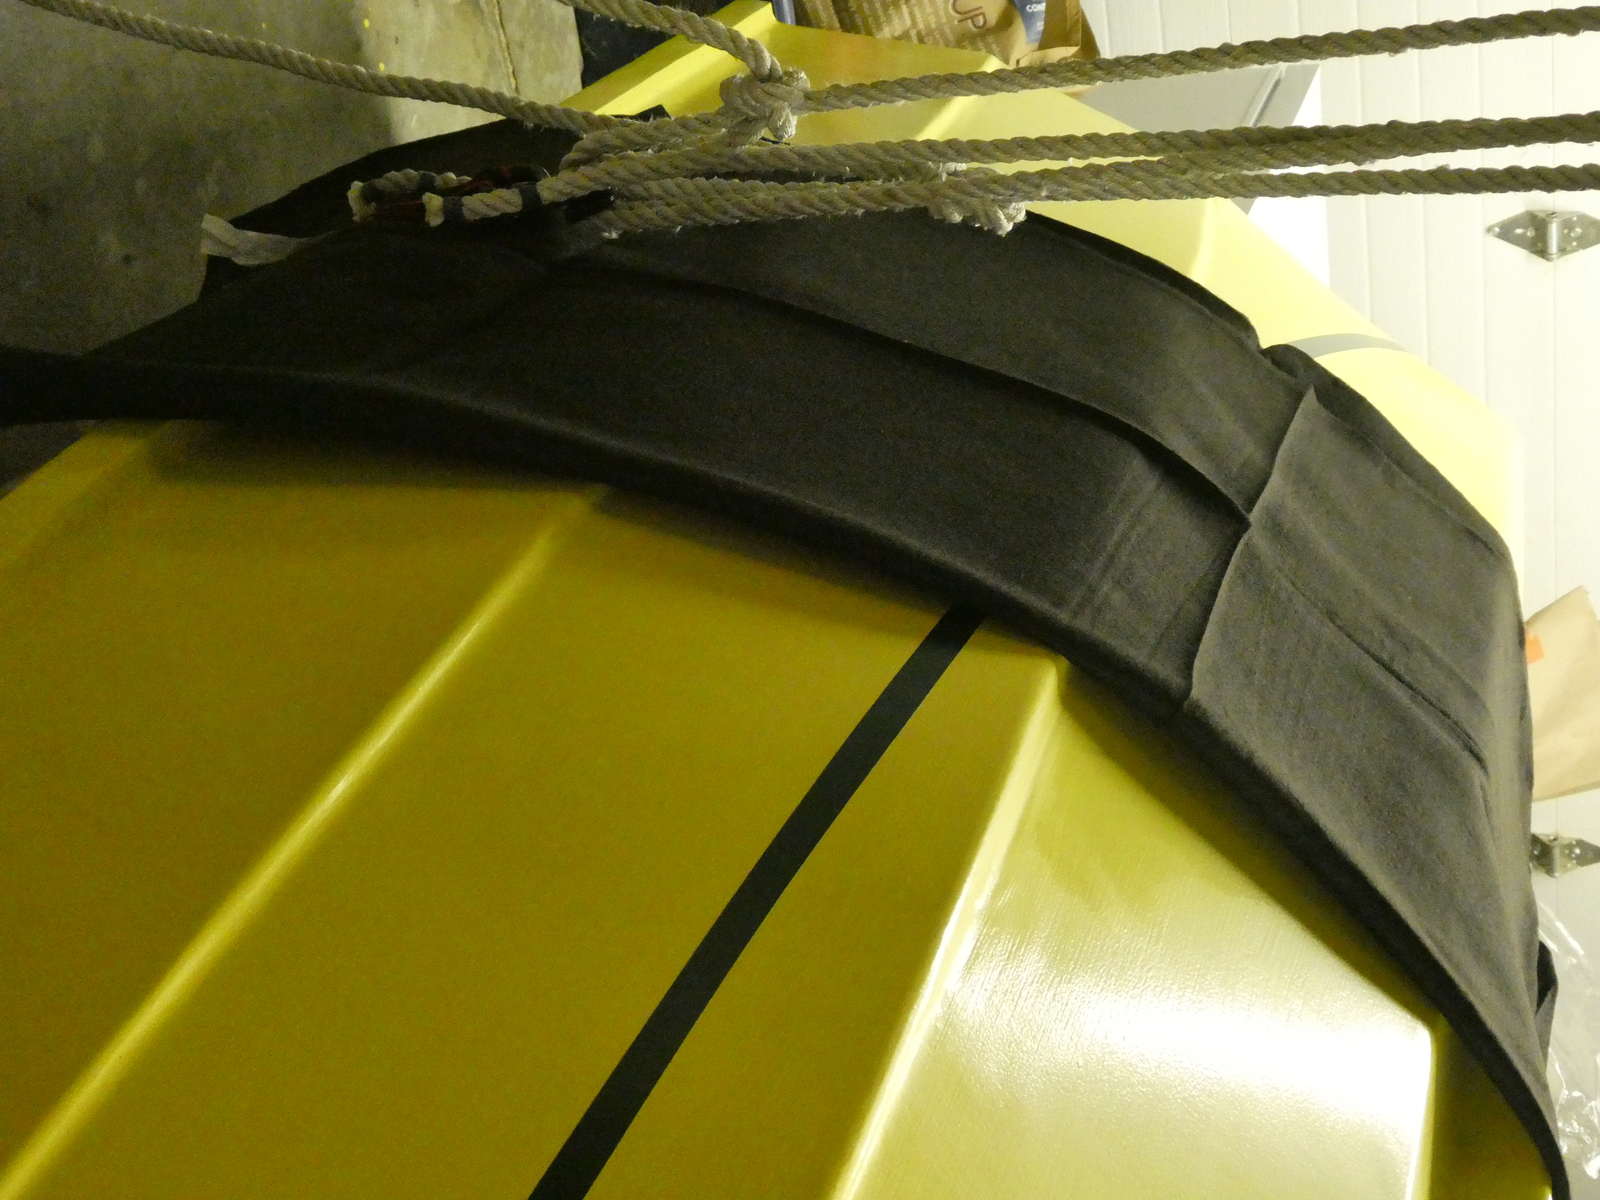
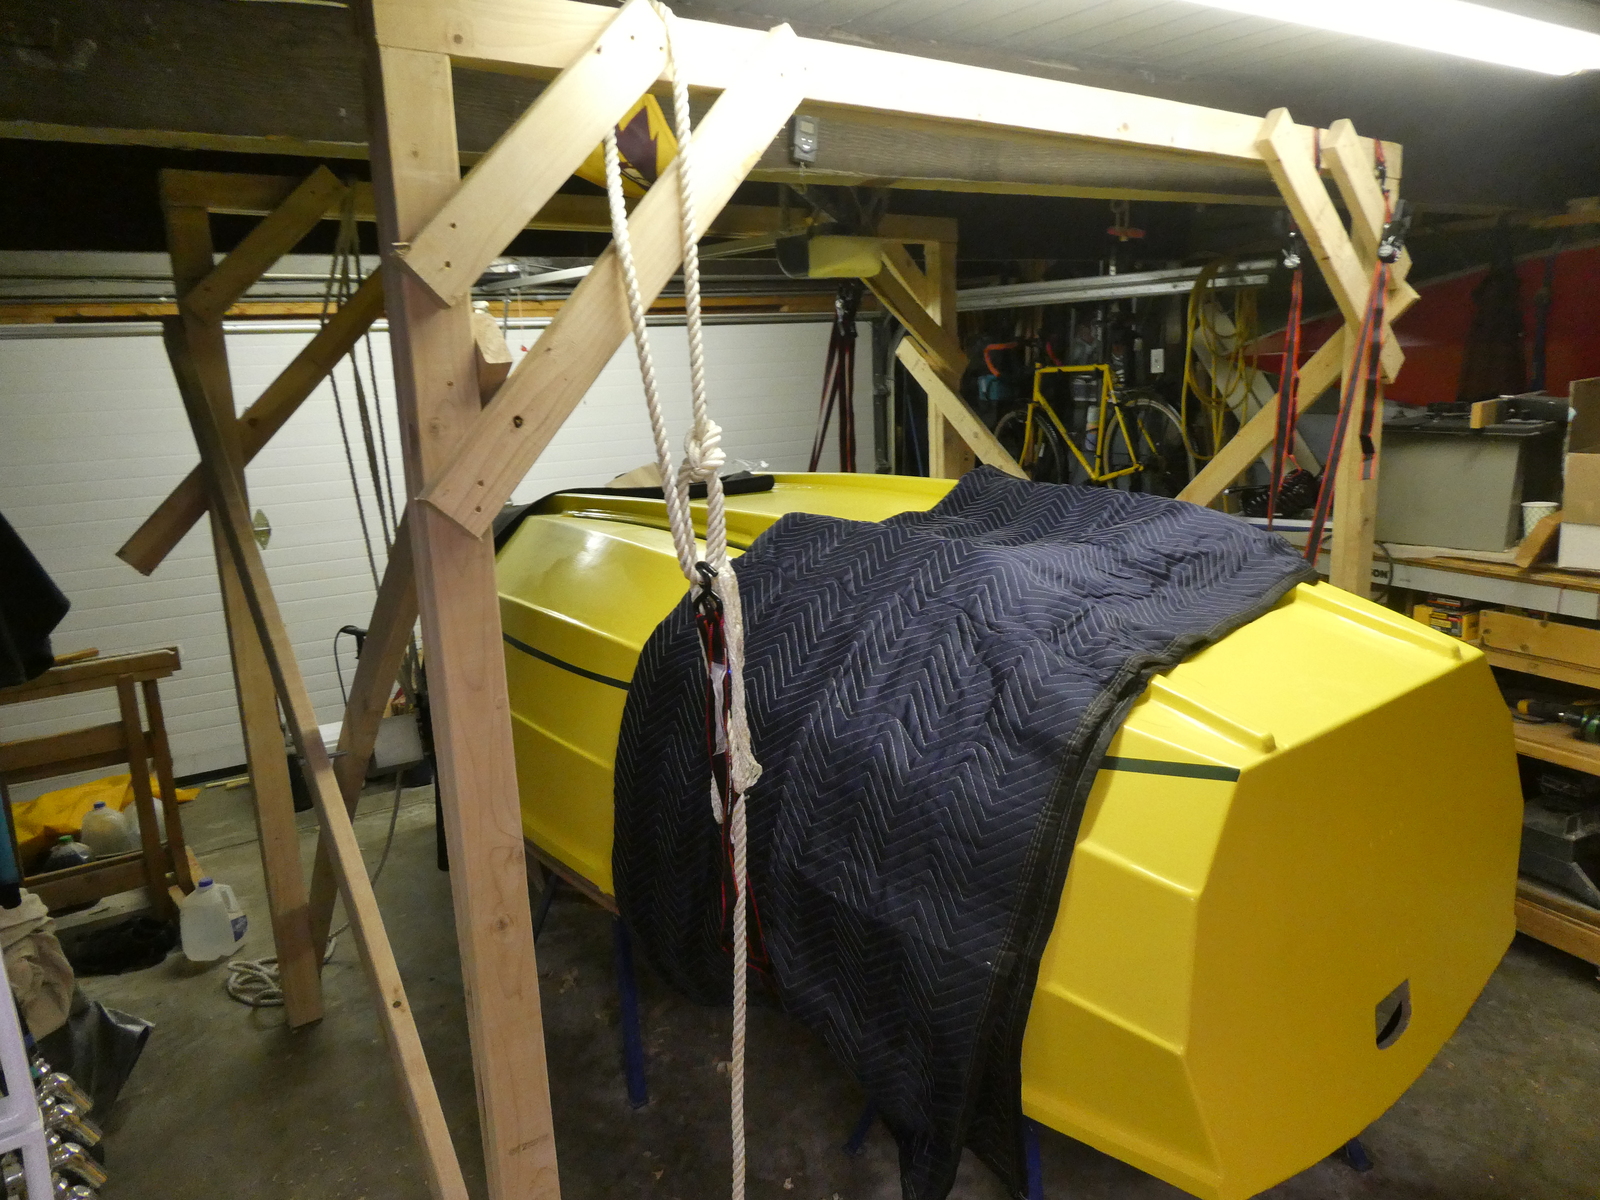
The flip this time went pretty well. The gantry held up much better (can’t believe I didn’t think of adding that bolt the first time), and the blankets did an excellent job of making sure no paint got rubbed or chipped off. In fact, if anything the blankets worked a little too well - they reduced friction so much that while flipping the boat over was quite easy, near the end of the manoeuvre as I was lowering the boat the stern of the boat actually slipped out of the strap (the angle of that stern is pretty steep…) The stern only fell a little less then a foot to hit the ground on the skegs with a dull thud, but no harm done.
I had laid down strips of scrap carpet for the skegs to sit on, and after the flip getting into the boat it was definitely pretty rocking on the skegs. So I decided I’d prop it up by jamming some spare Styrofoam I had under the ends of the skegs as well as under the bow up front. This worked like a charm - the boat is quite stable now when moving around inside it.
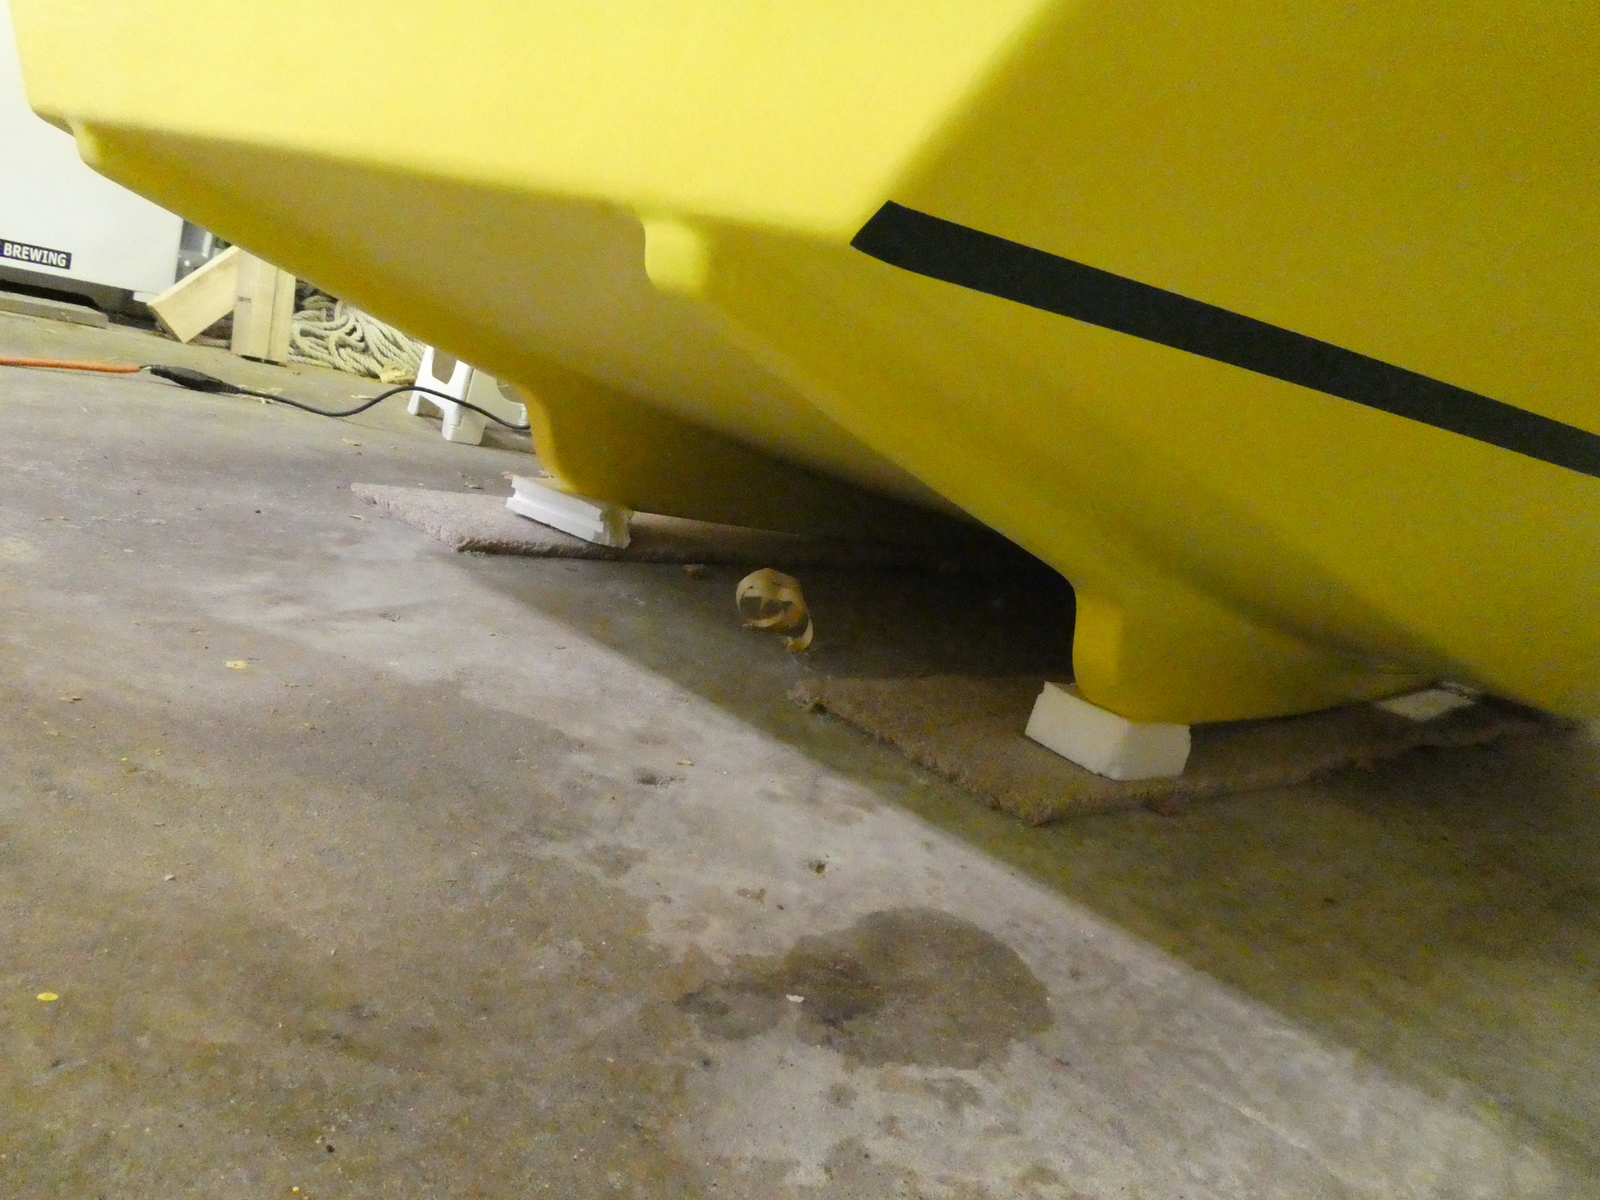
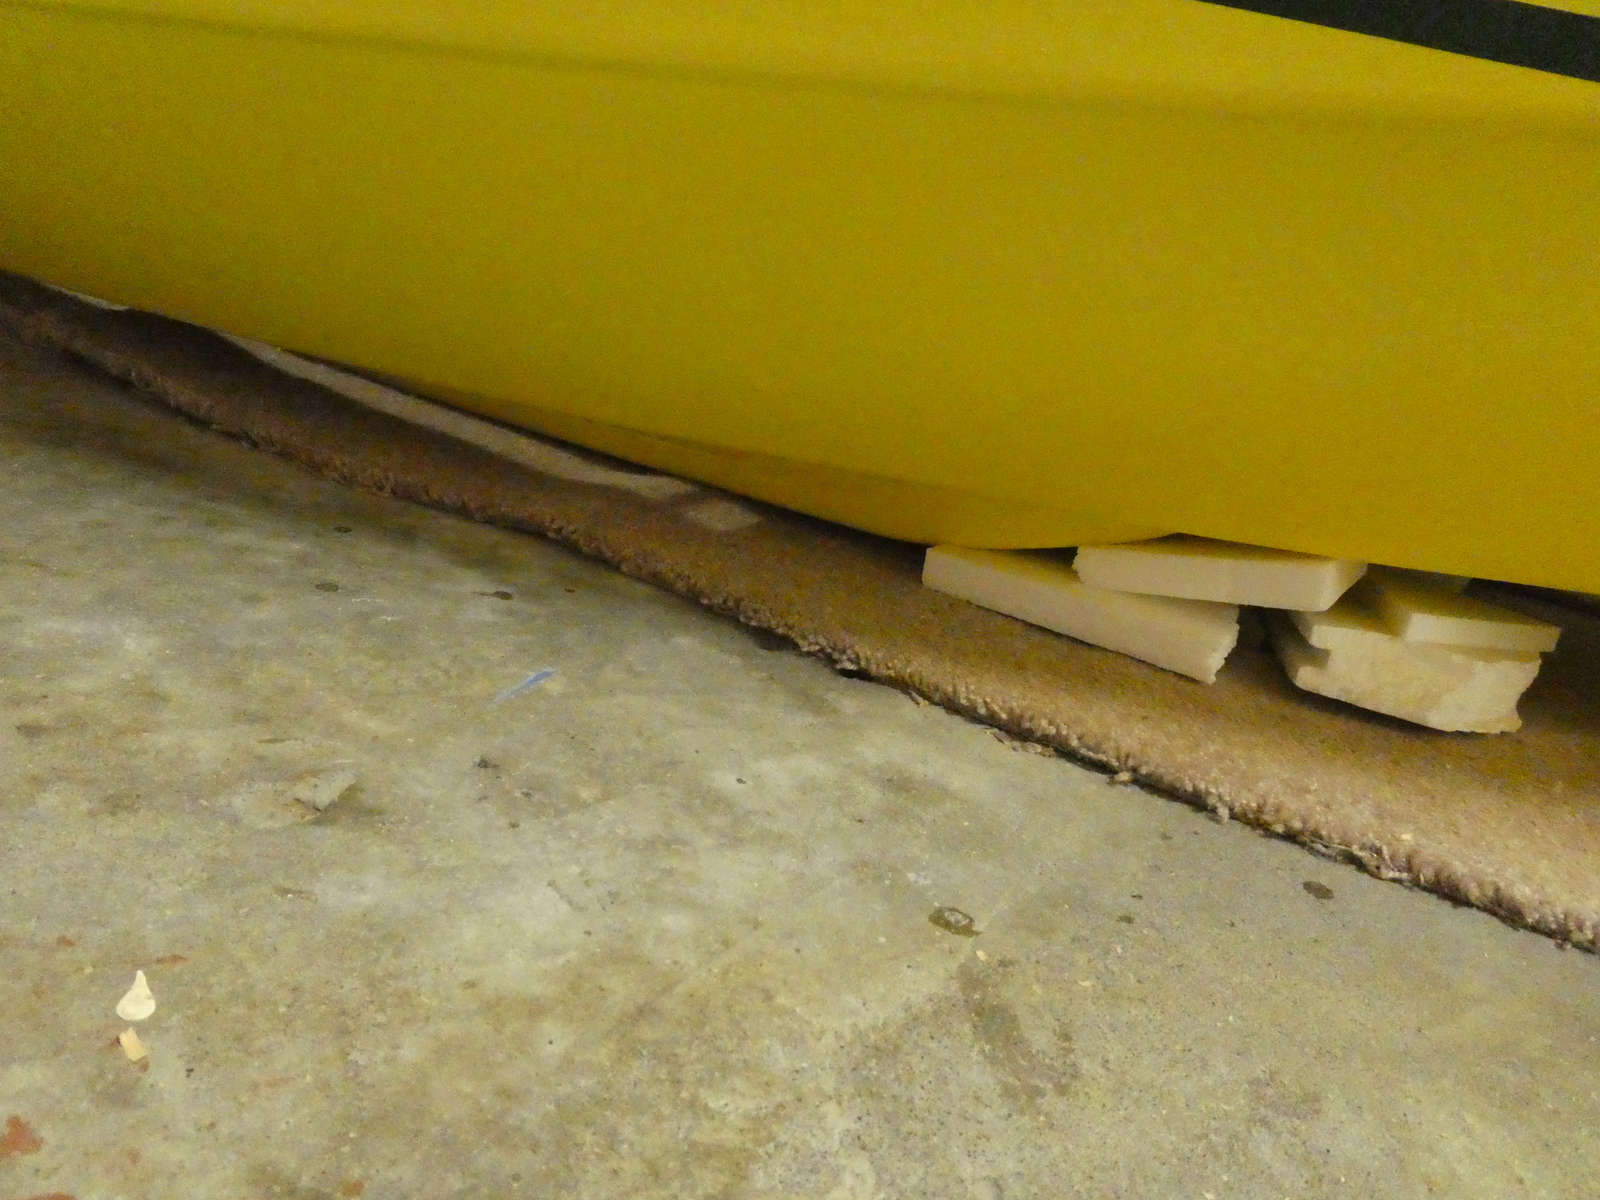
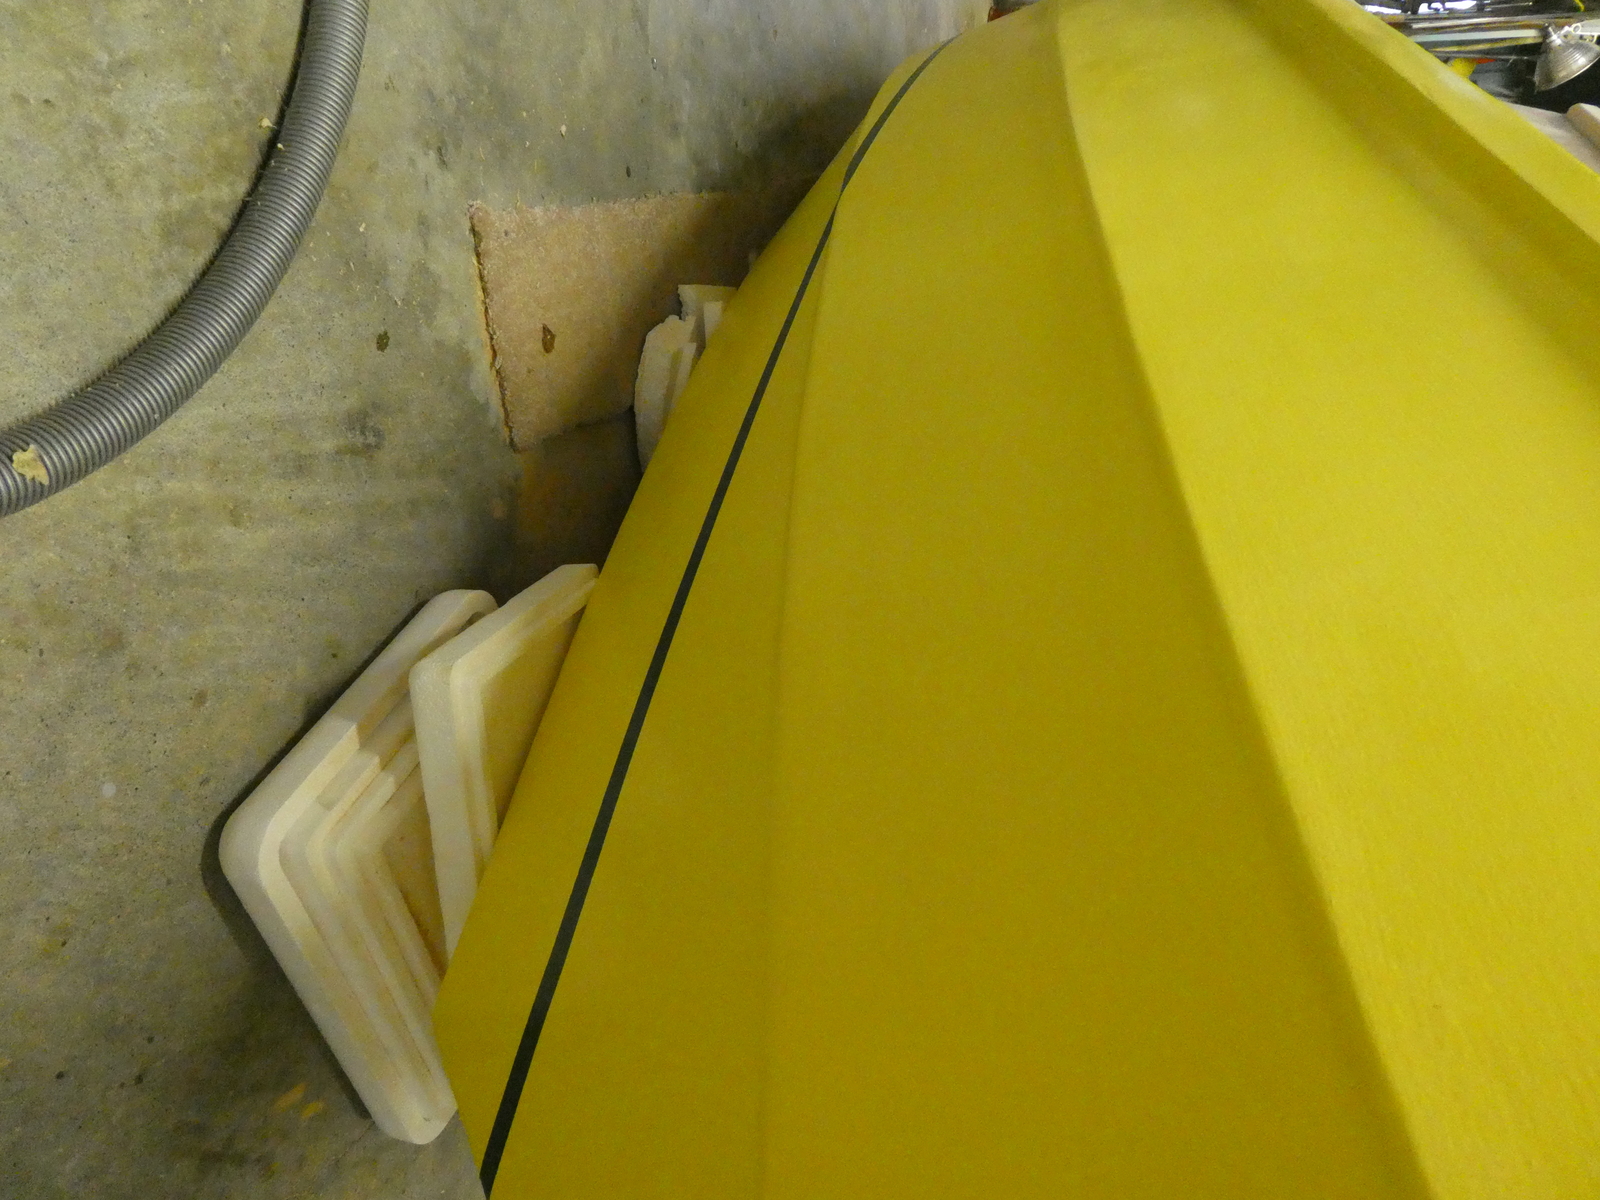
A bunch in the center up near the bow that made a big difference in stabilizing the boat
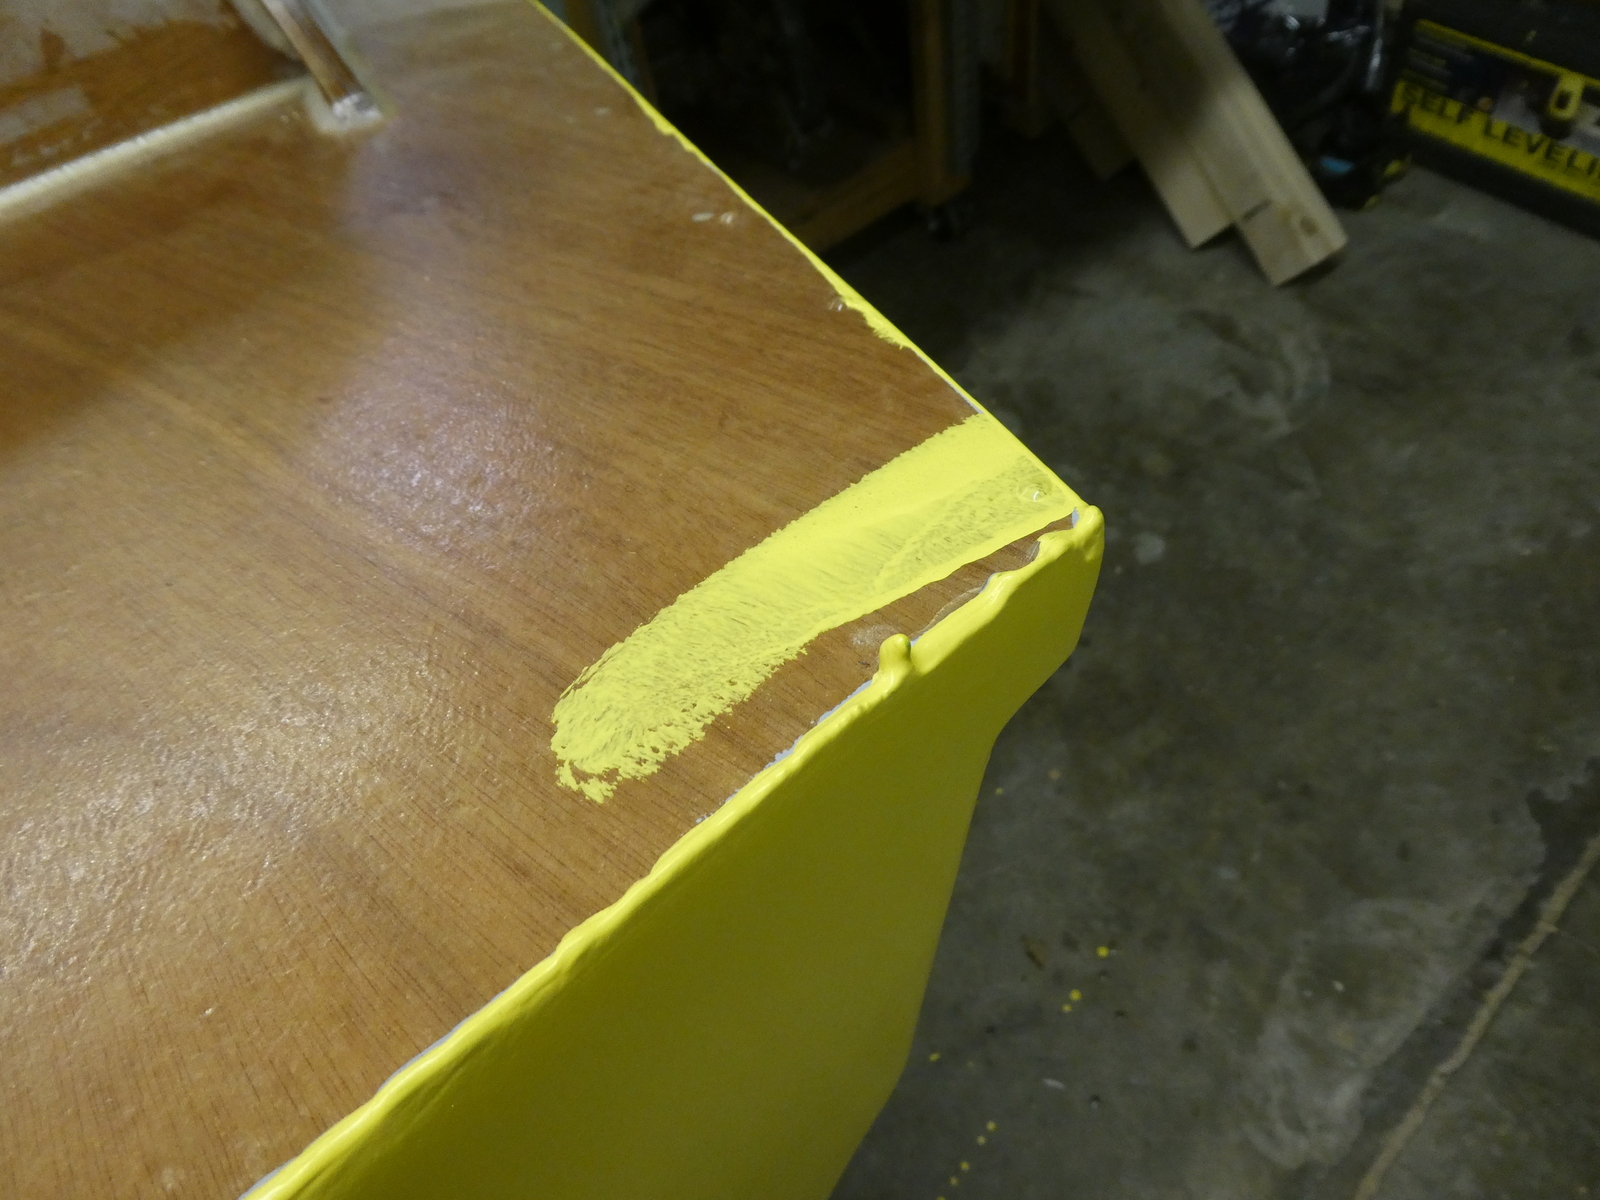
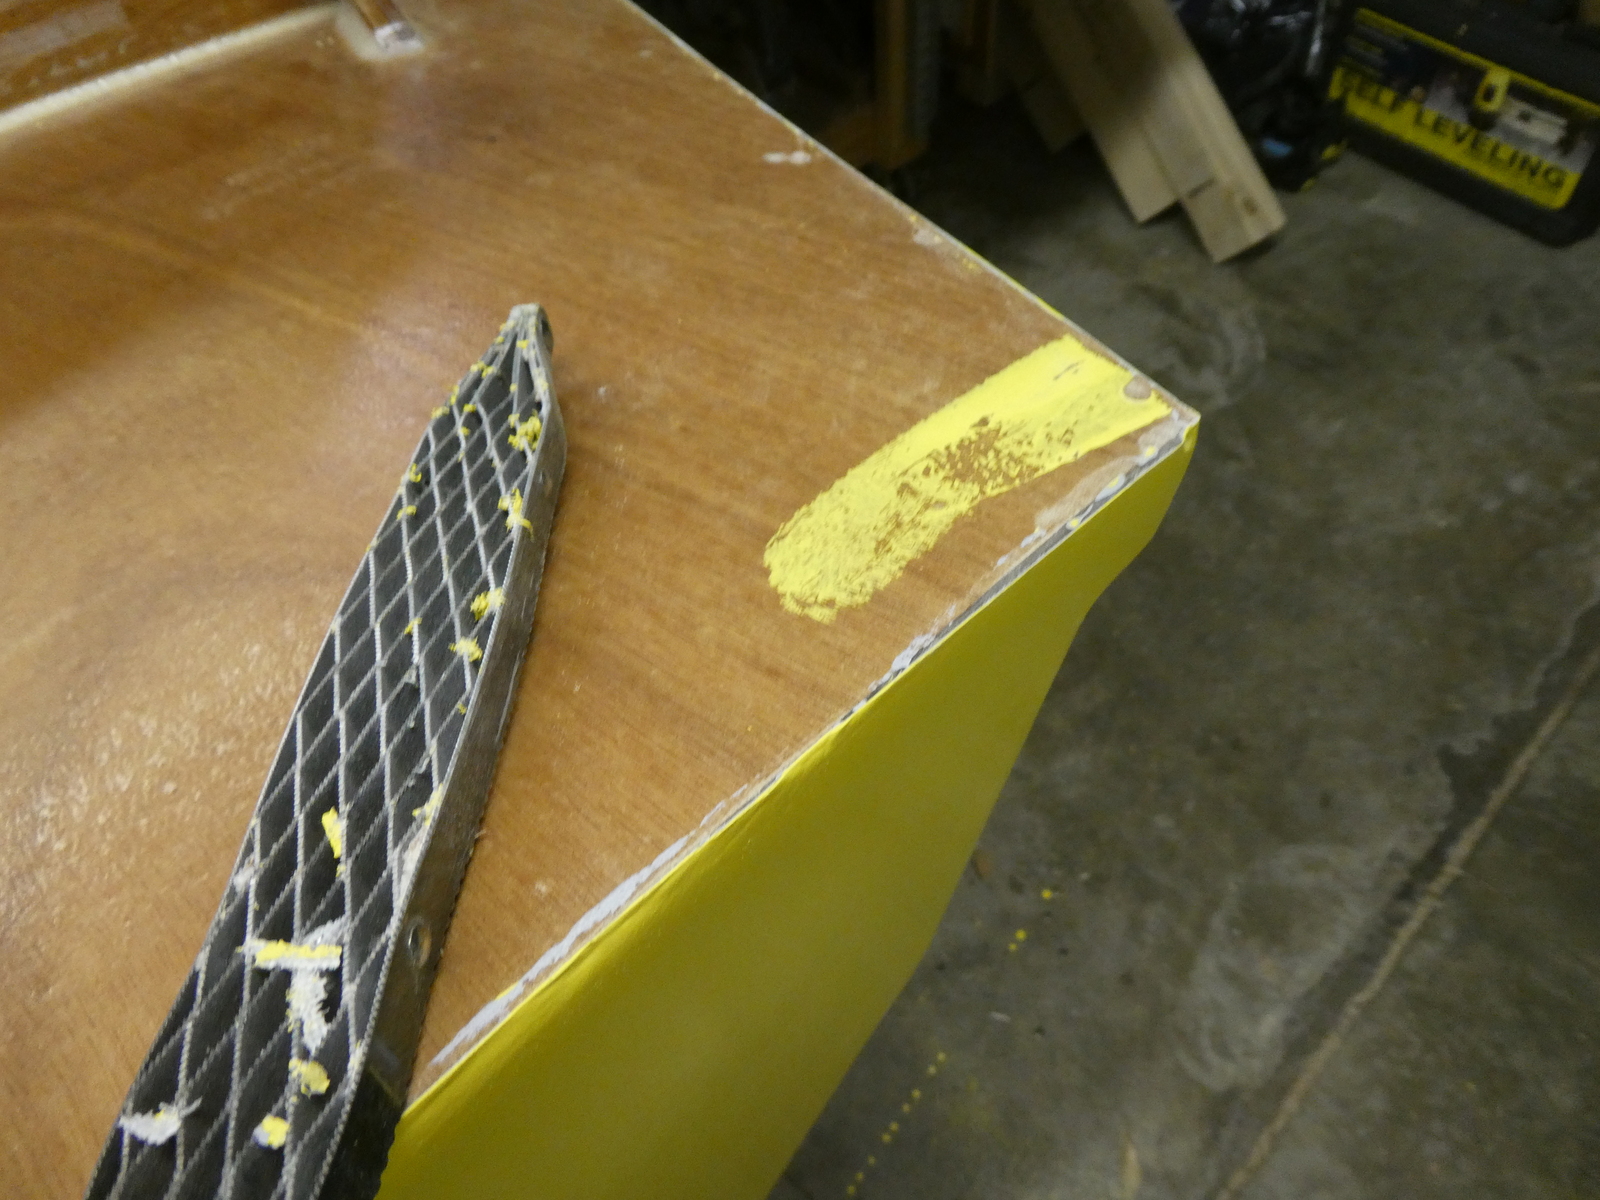
After flipping, there were some drips around the edges that I cleaned up quickly with a rasp. In the picture you can also see the one and only place where I slipped with my roller and put some yellow paint on the deck (it’ll get primed and painted over anyway, so no harm no foul).
Starting on the spars #
Next up was to start building the spars - the boom, the yard (for the top edge of the square sail), and the mast itself.
Figuring out the lumber for this was not the easiest. I considered Sitka spruce, but that was a little hard to find (and certainly impossible to find at a reasonable price). I eventually decided on clear vertical grain (cvg) fir, since that’s plentiful in these parts. I also learned, in making that choice, that all of the fir available here comes from Canada, so I got to make my contribution to making America great again by paying some exorbitant import duties (errr, no, Canada paid them, right…)
But having made the decision to go with fir, figuring out how much to buy was not easy. I eventually came up with a very long list of how much lumber I’d need if it came in various dimensions (I wasn’t sure what I was going to find at Crosscut, and I didn’t want to sit there calculating how much I needed after looking, so pre-calculated everything beforehand). I figured to keep the cost down I would build the yard and the boom likely with a scarf joint, and I knew the mast staves at 16’ would definitely have one. So I was looking for 2x6 or 2x8s that were roughly in the 10’ range.
Eventually I bought what I needed and started ripping it down to size (no pictures of that). I must have done a pretty good job of calculating as I really didn’t have much leftover wood to speak of. That said, some of the wood I picked out definitely had some internal stresses that were relieved when I started ripping - it’s definitely noticeable with some of the mast staves but even the blanks for the boom were pretty curved in some places. Not enough to really worry about, but certainly noticeable (I figure a slightly curved boom is another cool indicator of the boat being “custom made by hand”)
I started on the boom and yard first, so once I had the blanks cut out I needed to scarf them to full length before beginning to taper and shape. This presented a new problem - I didn’t have a flat table in my workshop that was anywhere near long enough to glue these things up. And when glueing a scarf together, the position you set the joint in will definitely be permanent.
So I took a slight detour into…
Building a strong back for the spars #
Those who have built a kayak or canoe know the trick to getting a long flat straight surface - you build a strong back out of smaller pieces of plywood. I had enough scrap plywood laying around to make myself a 14’ long strong back, which should be good to support all the spars plus the actual building of the mast when it comes time for that.
One of the pieces I cut up was actually part of the build cradle itself, so that continues to give life to this project in many different forms. The trick with building one of these is simply to set your table saw fence to the width of the sides and never move it until all sides are cut, and to make sure that you stagger the butt joints of the lengths of plywood so that you don’t have two (or more) sides of the strong back with butt joints right next to each other.
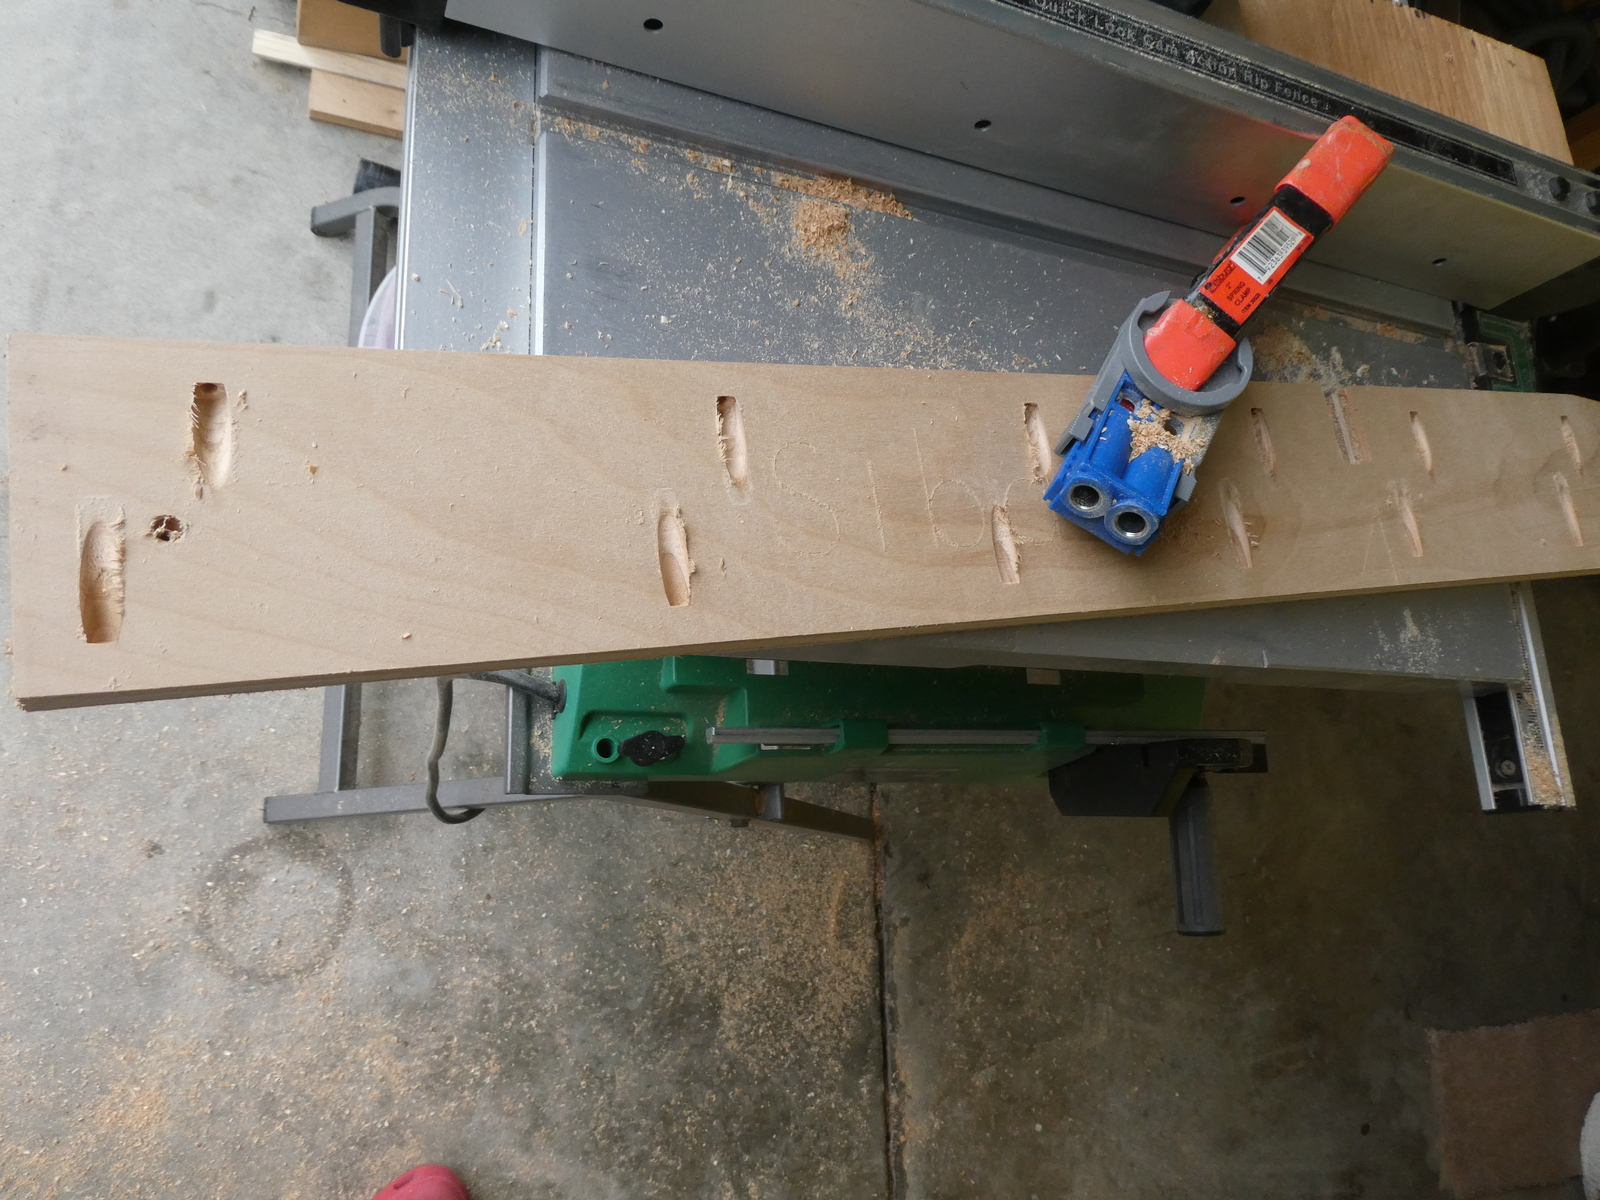
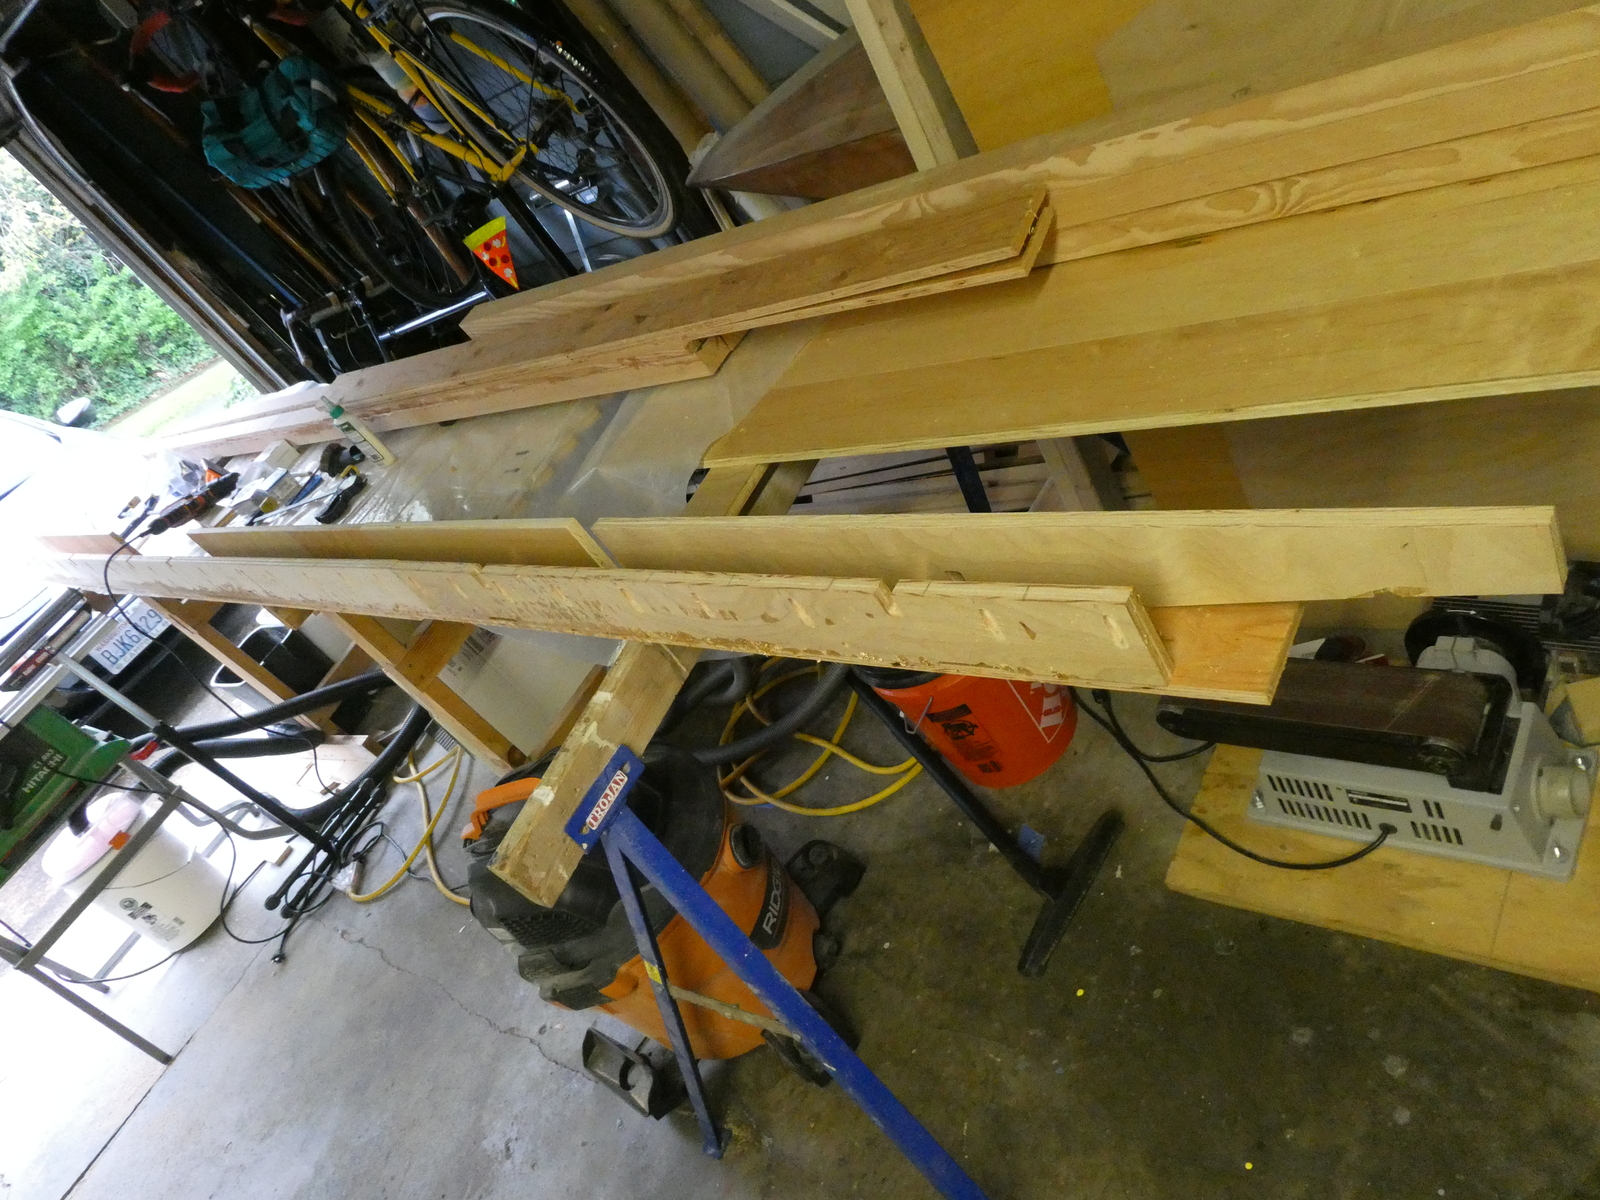
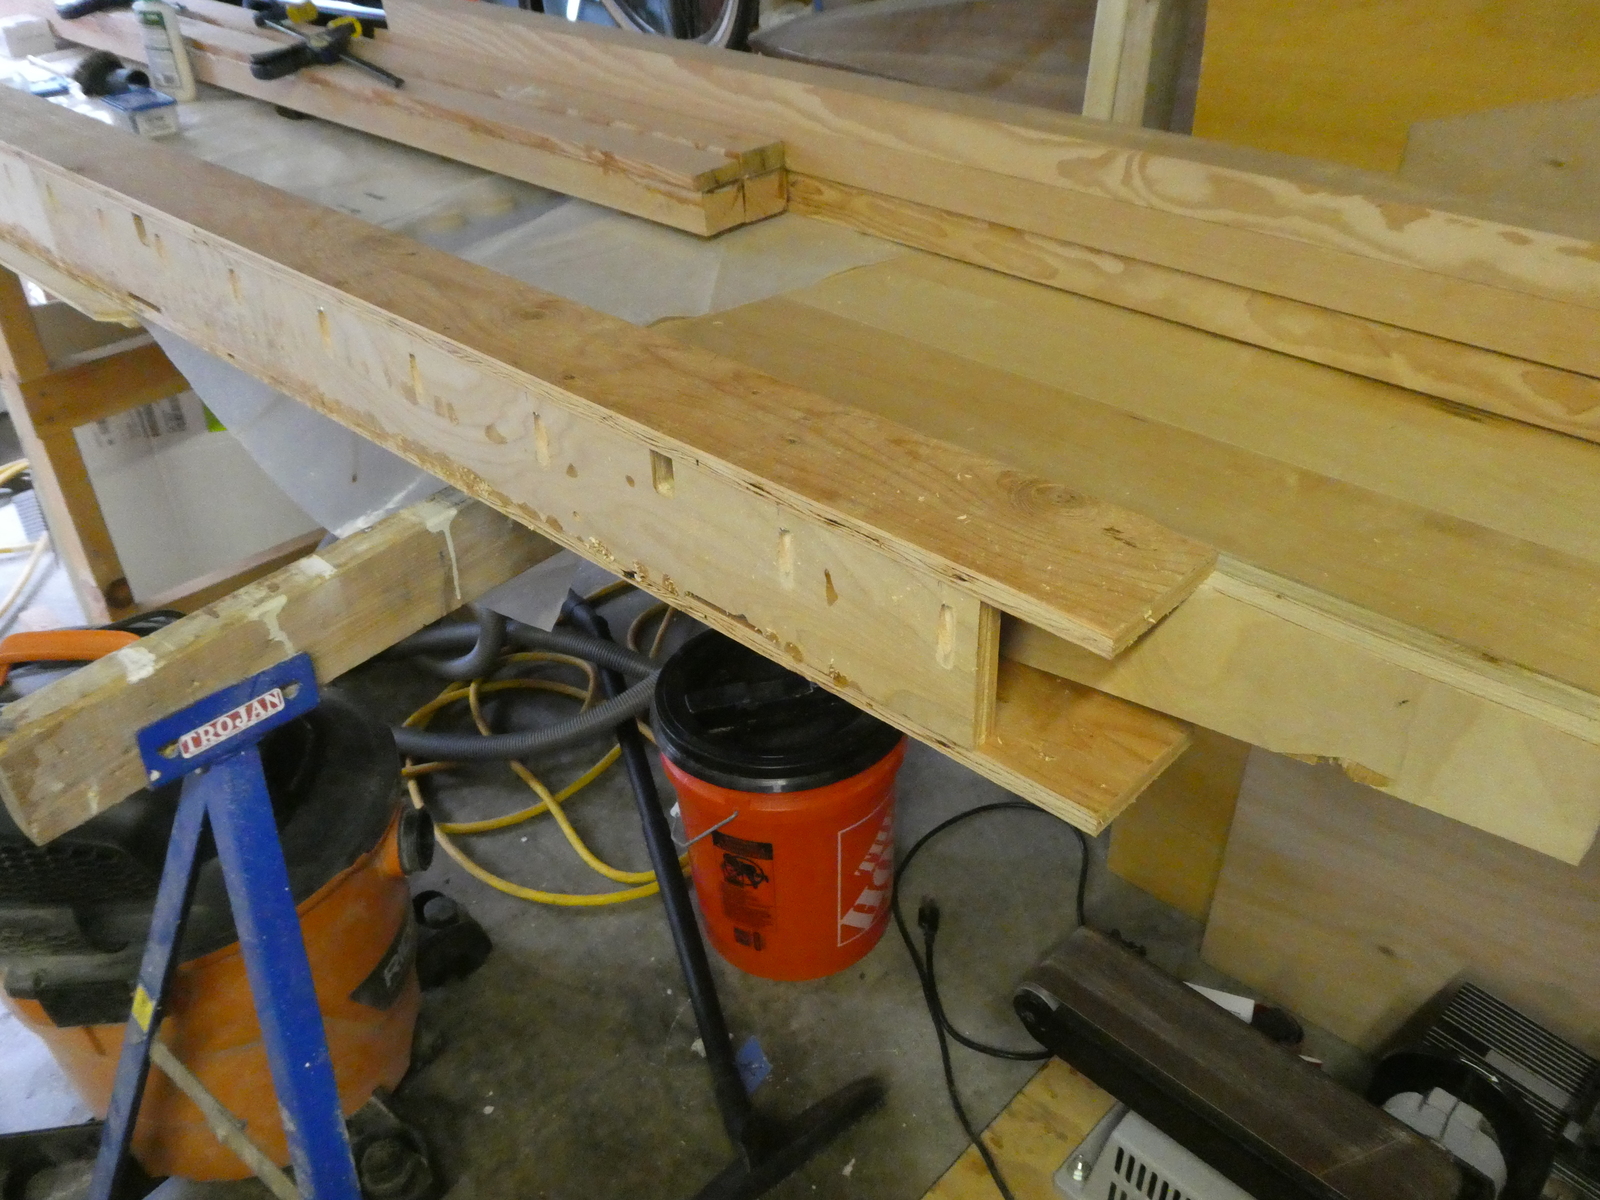
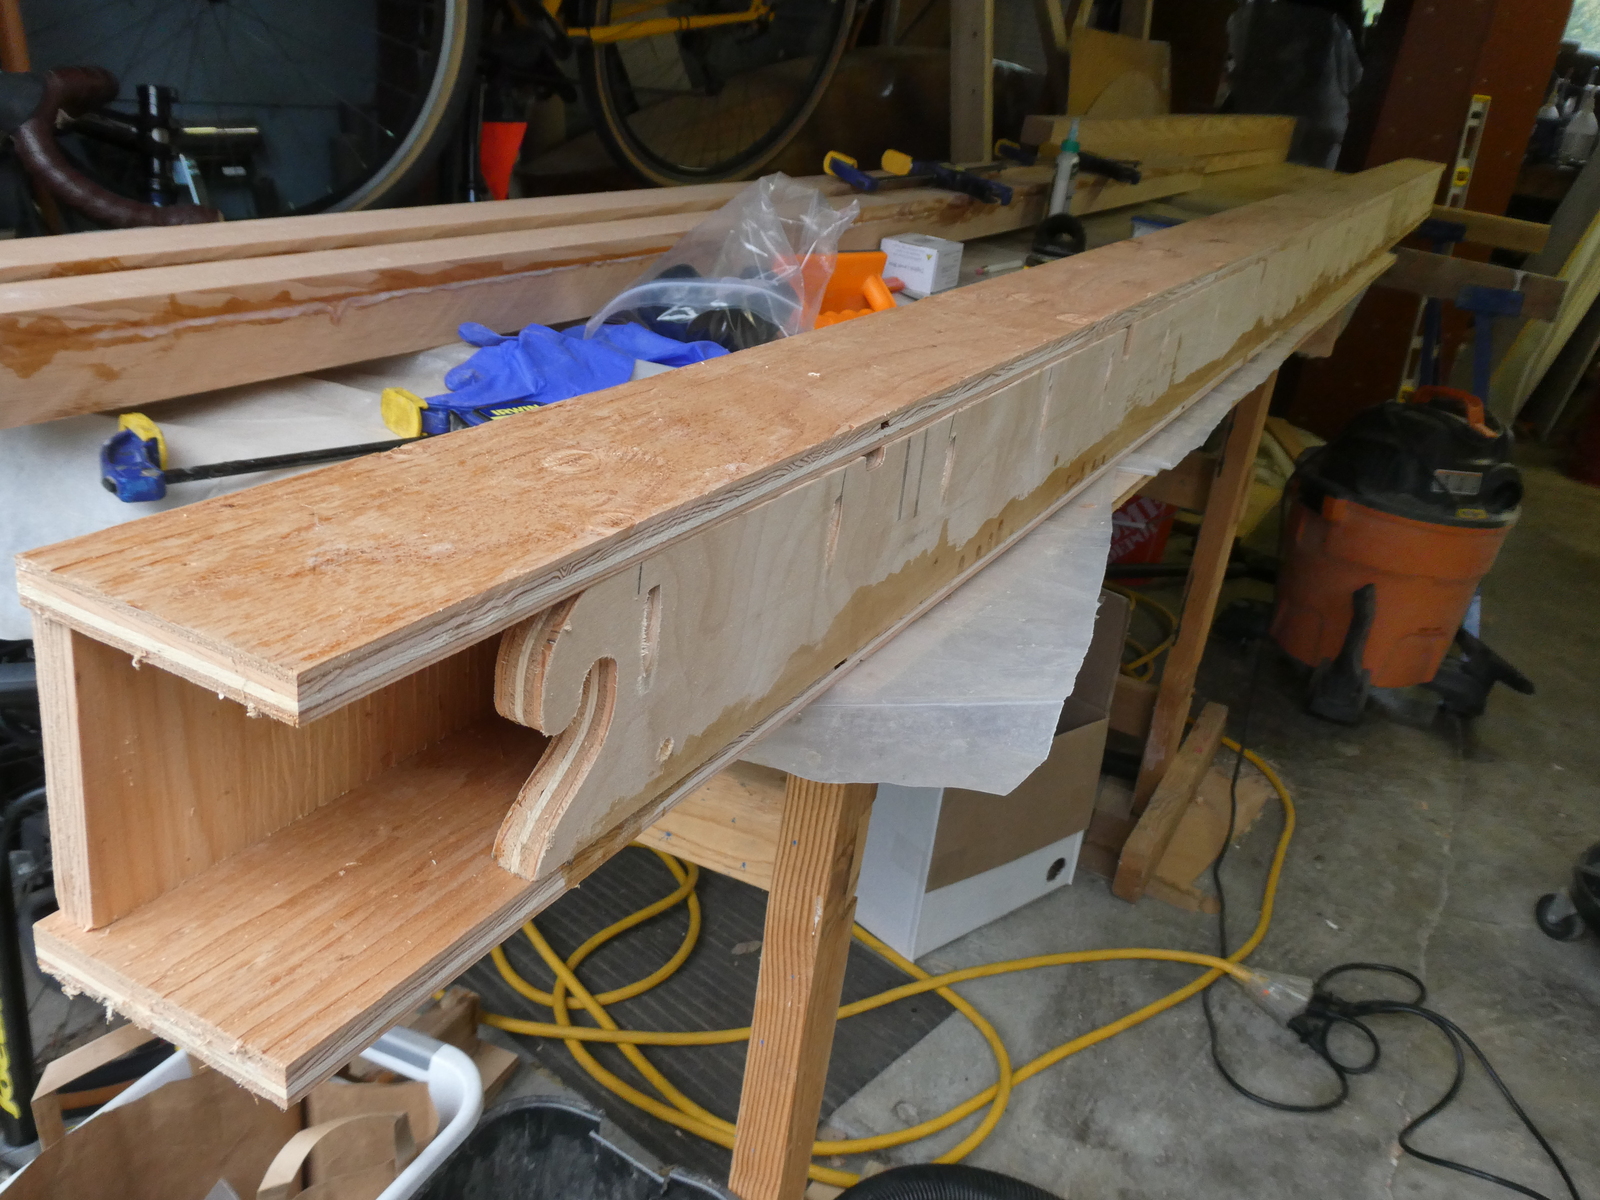
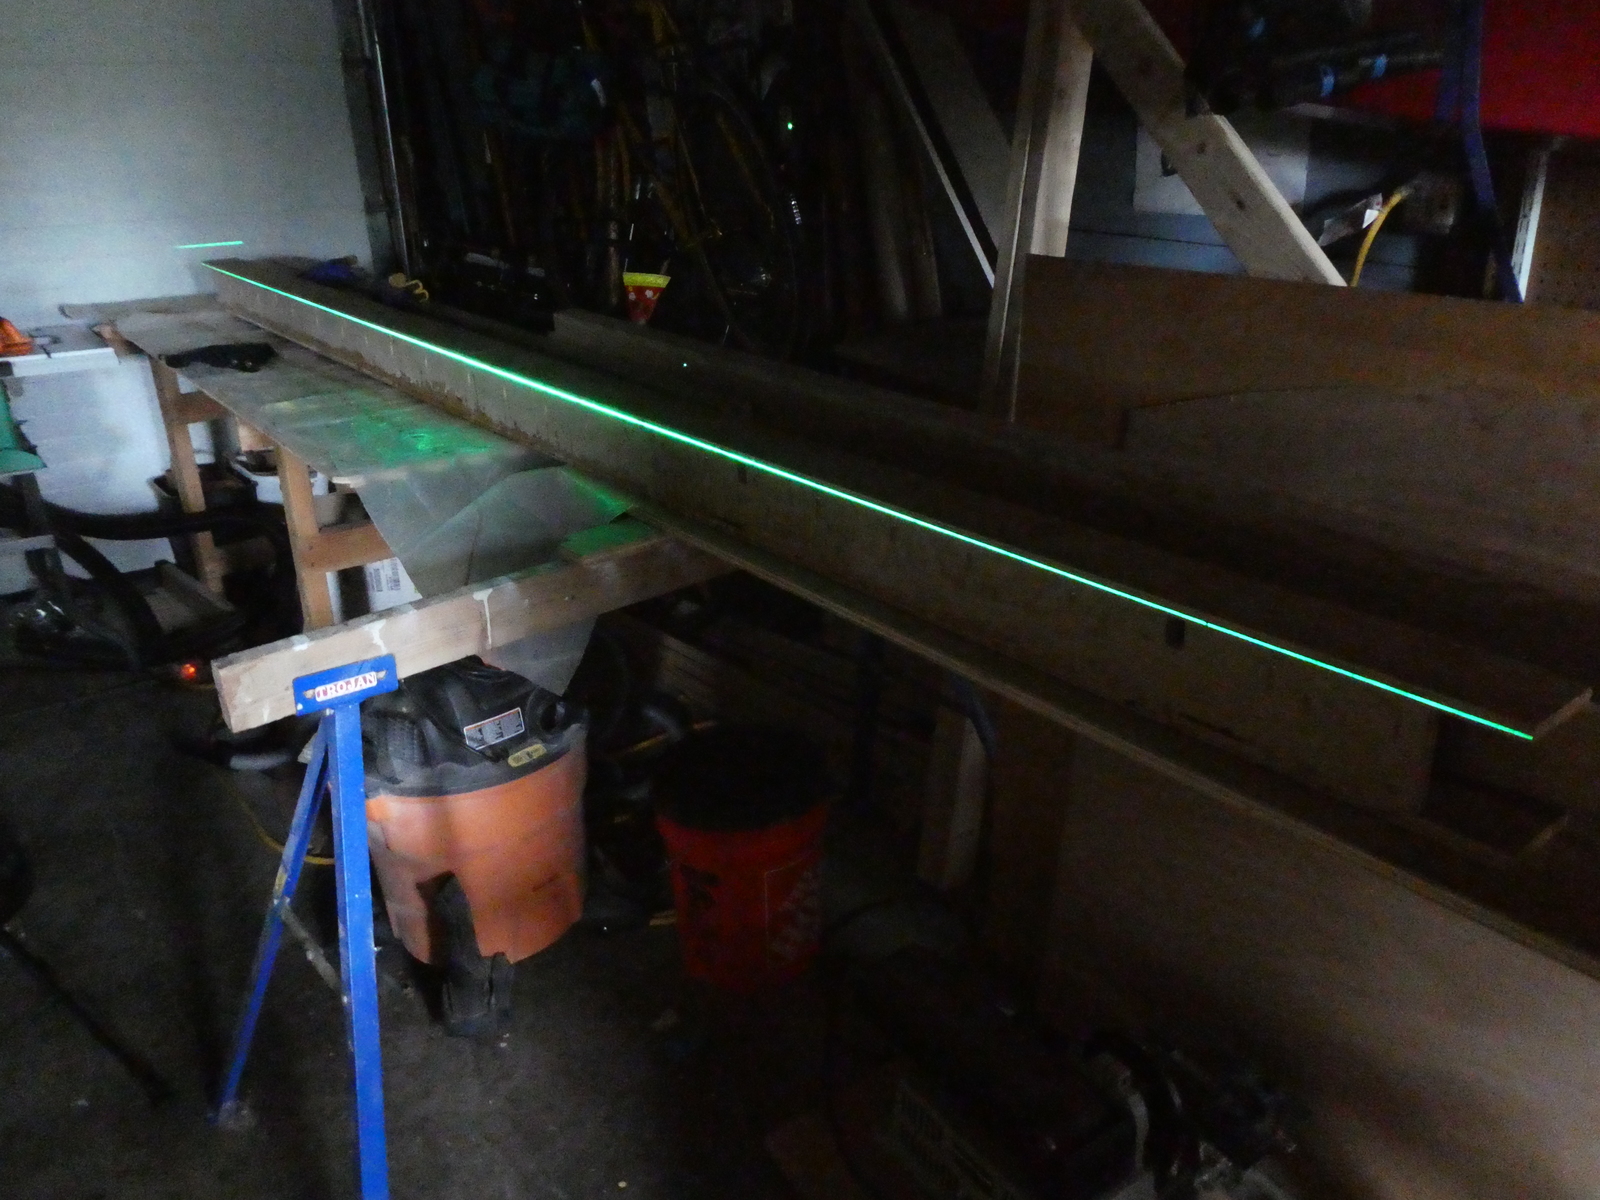
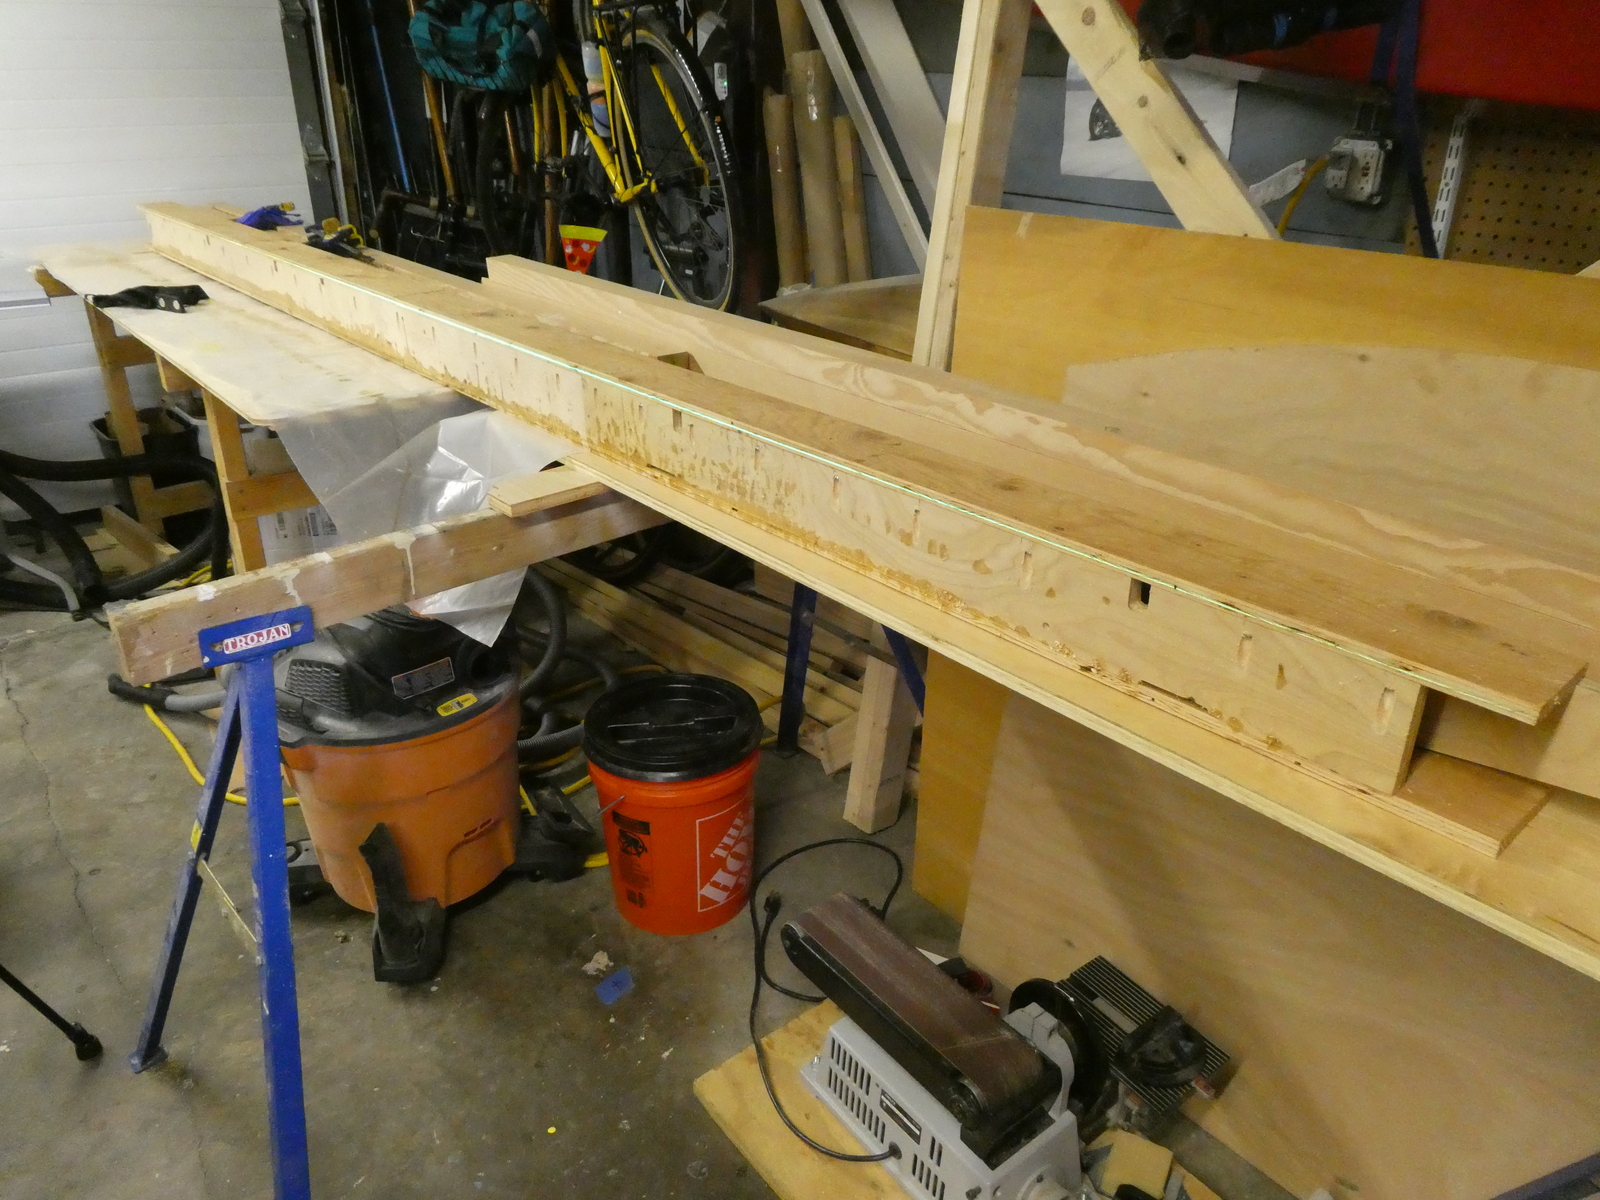
I covered the top with packing tape so epoxy wouldn’t stick to it.
Cutting the scarfs for the boom and yard #
For this I decided I’d make myself a little scarfing jig for the table saw to help make some repeatable cuts.
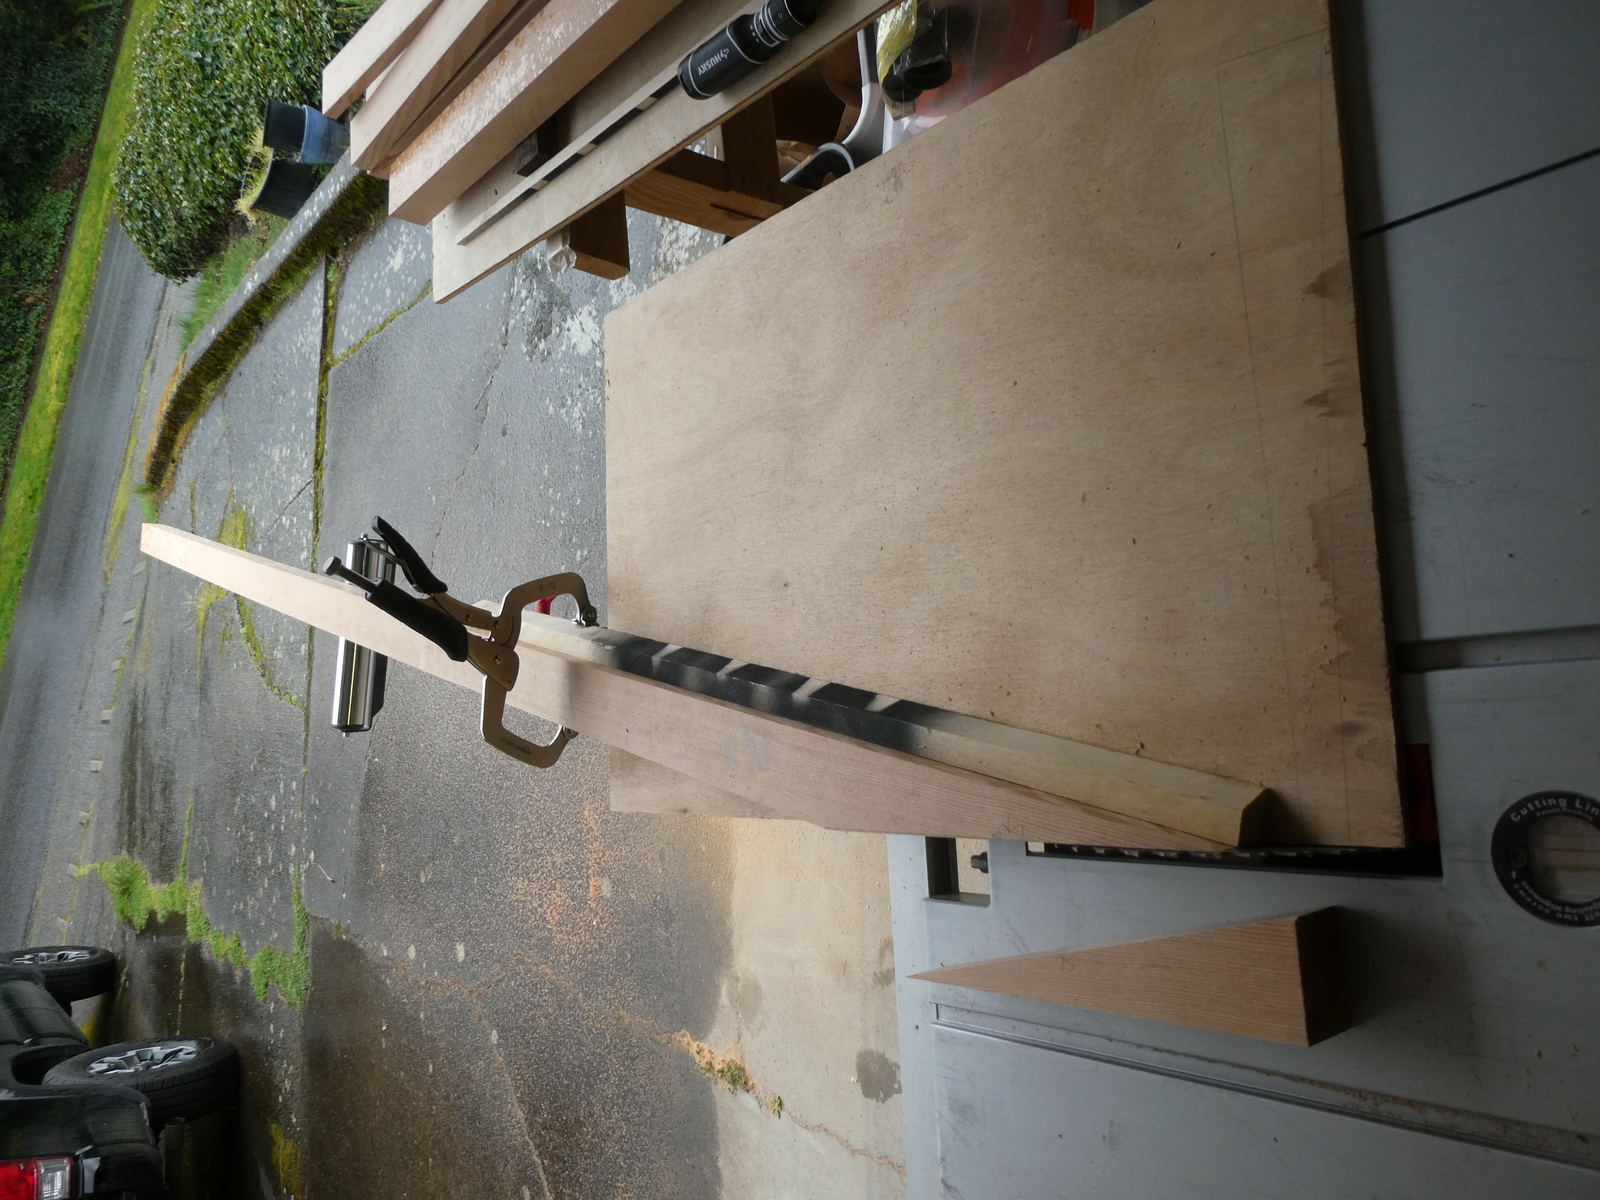
A scarfing jig for the spars
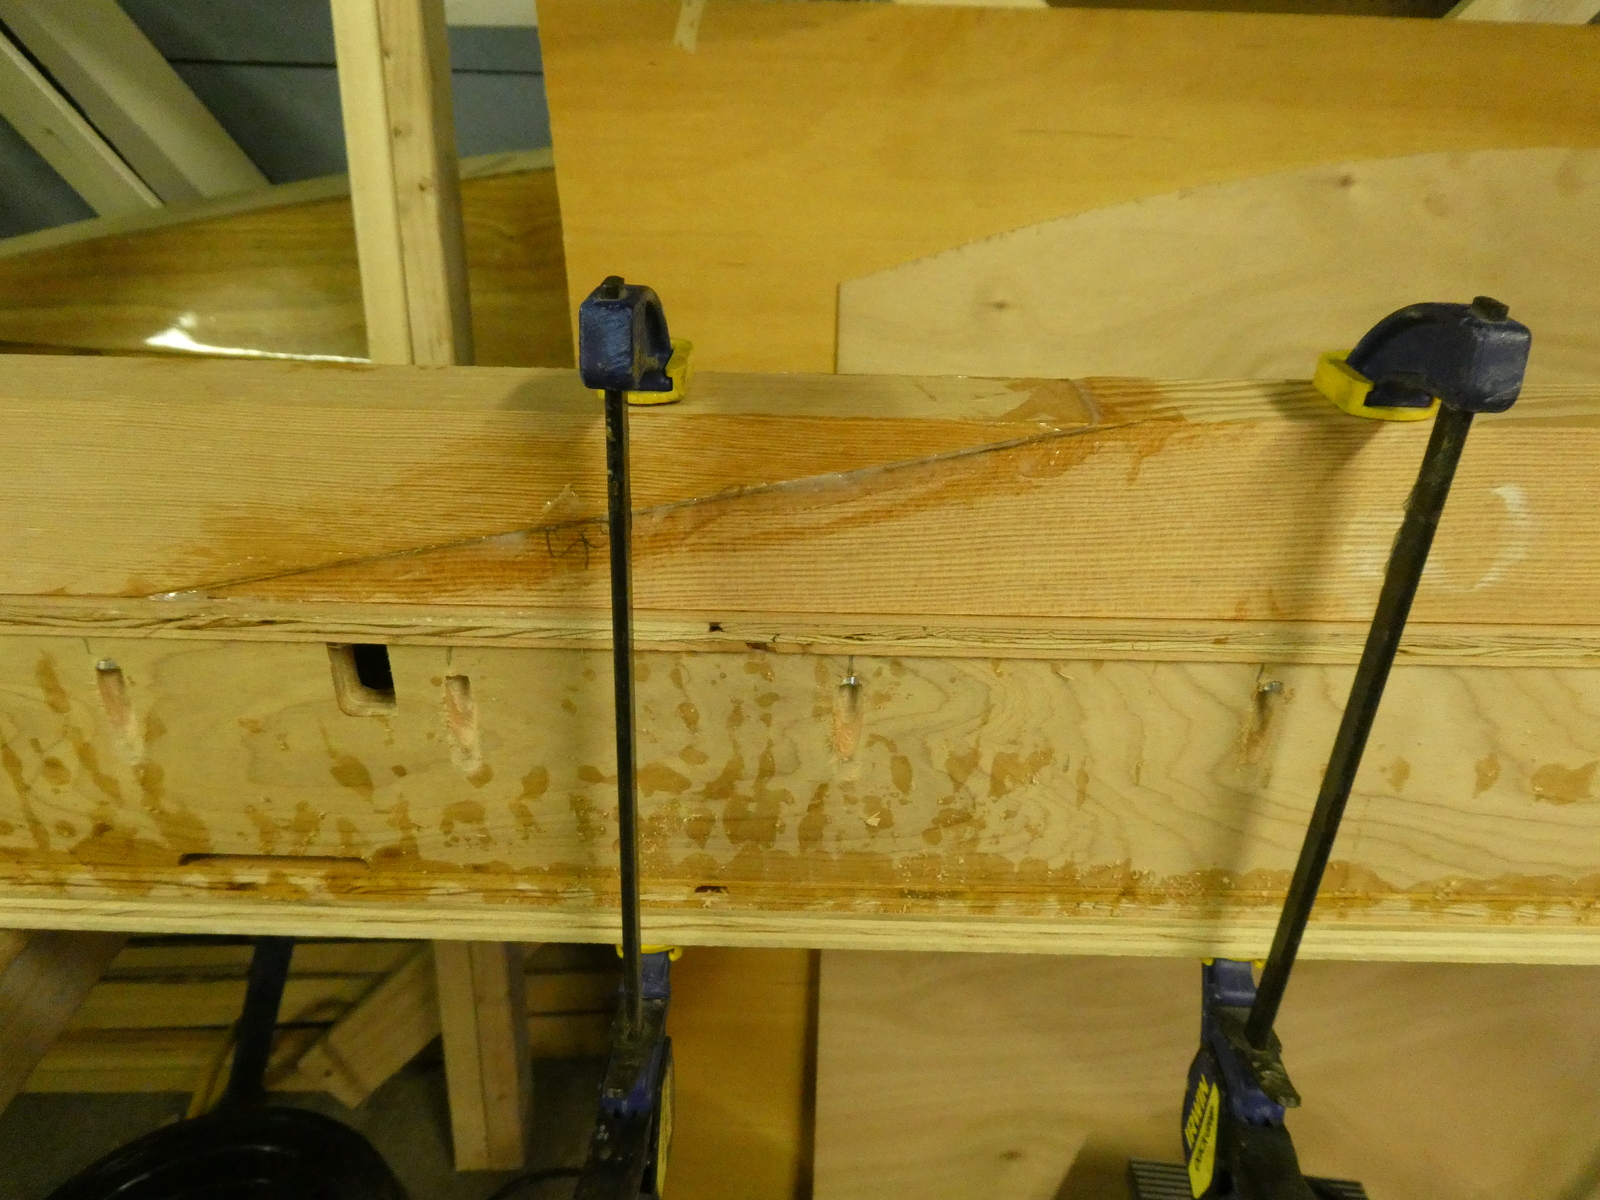
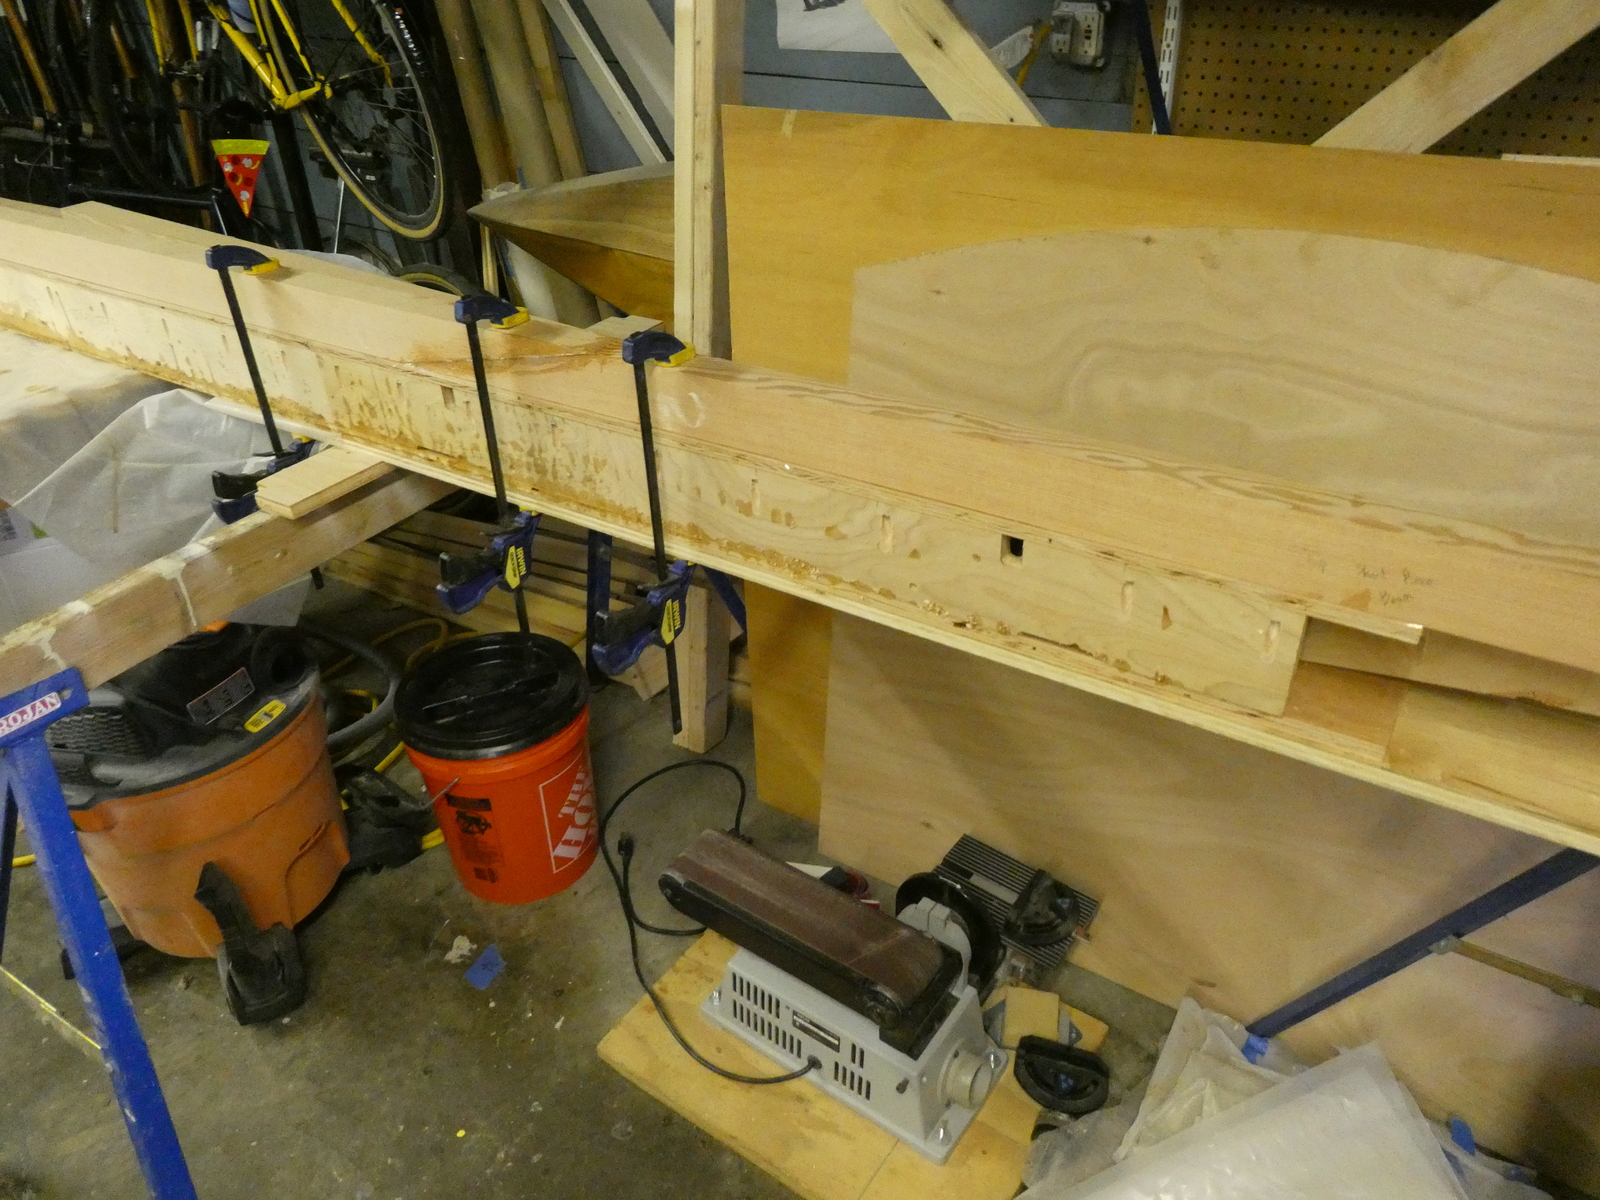
This worked pretty well. I glued up the blanks for the boom first - applied unthickened epoxy to the two sides of the scarf joint, let it sit for at least 15 minutes, then thickened epoxy and placed them, lined up straight as I could get them, onto the strong back. I mostly clamped the two ends in place, if I put a clamp over the actual joint I made sure it was relatively loose for the epoxy.
For the yard, it turns out it’s dimensions are just slightly thicker then 2x stock, which meant I needed to first glue up a relatively thin strip to a long blank to get to a dimension that can then be shaped down.
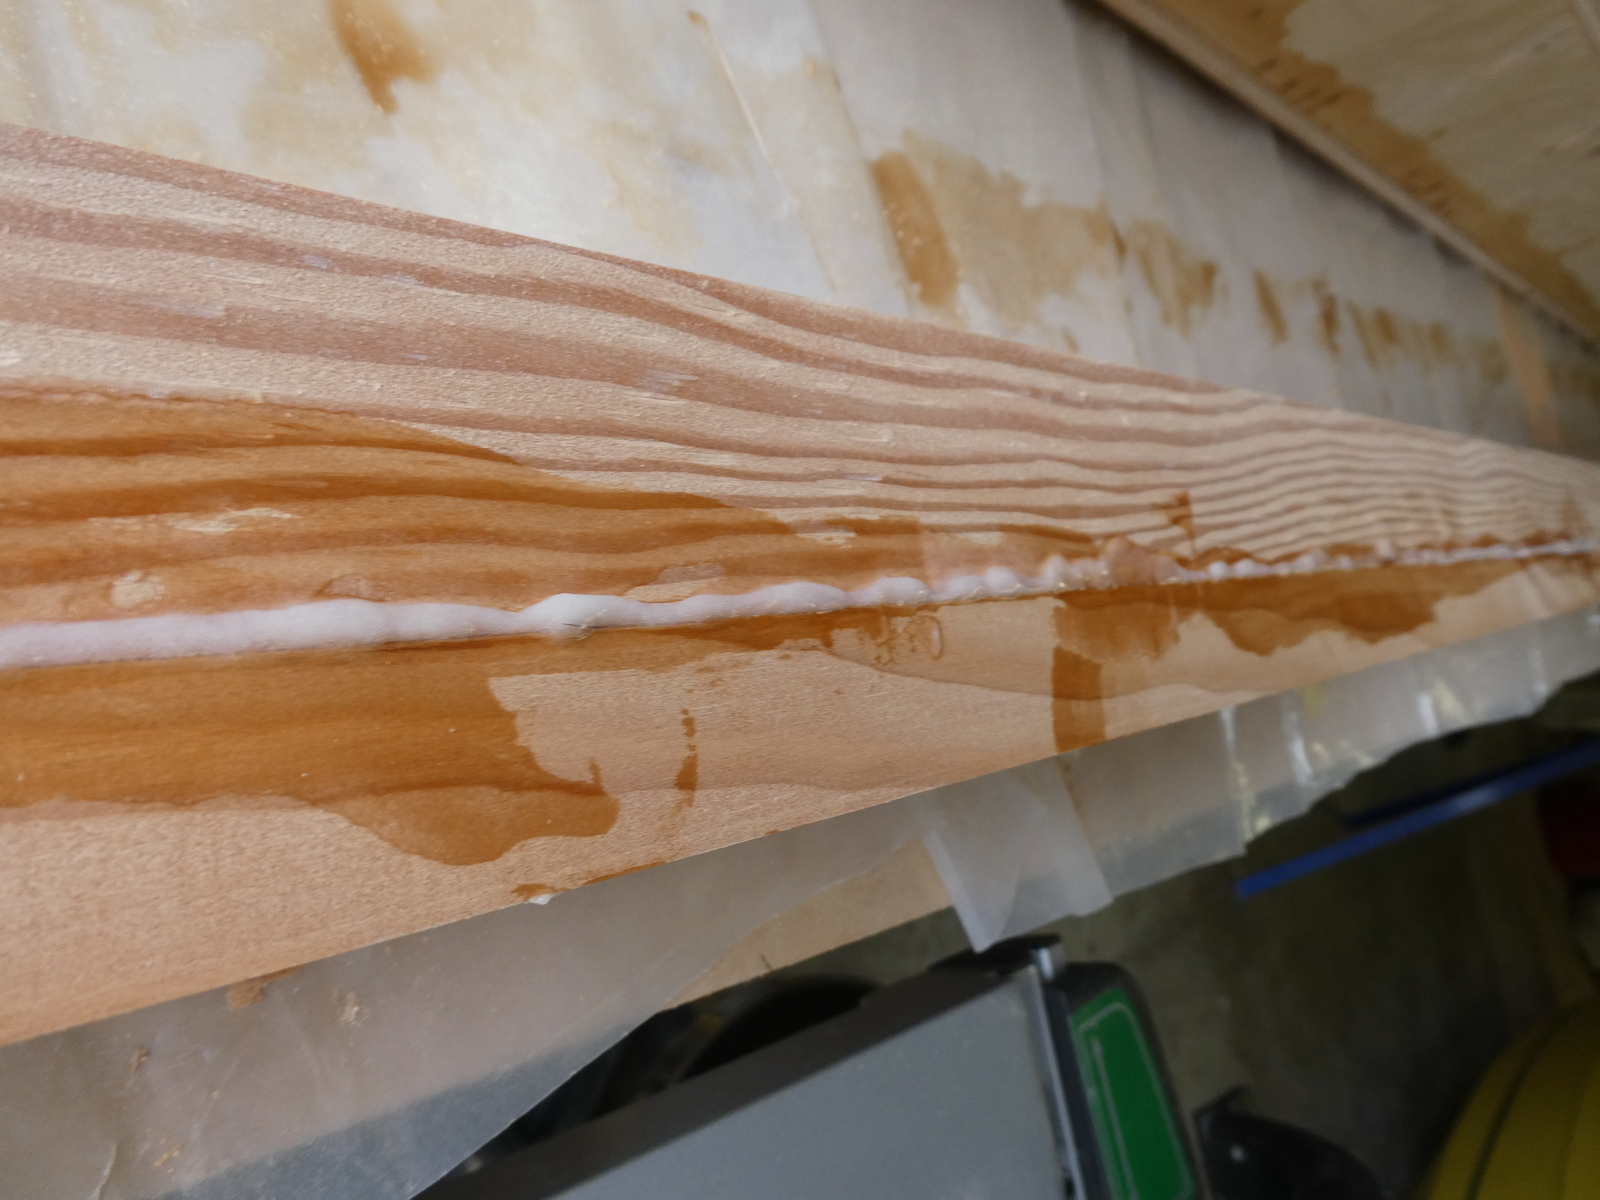
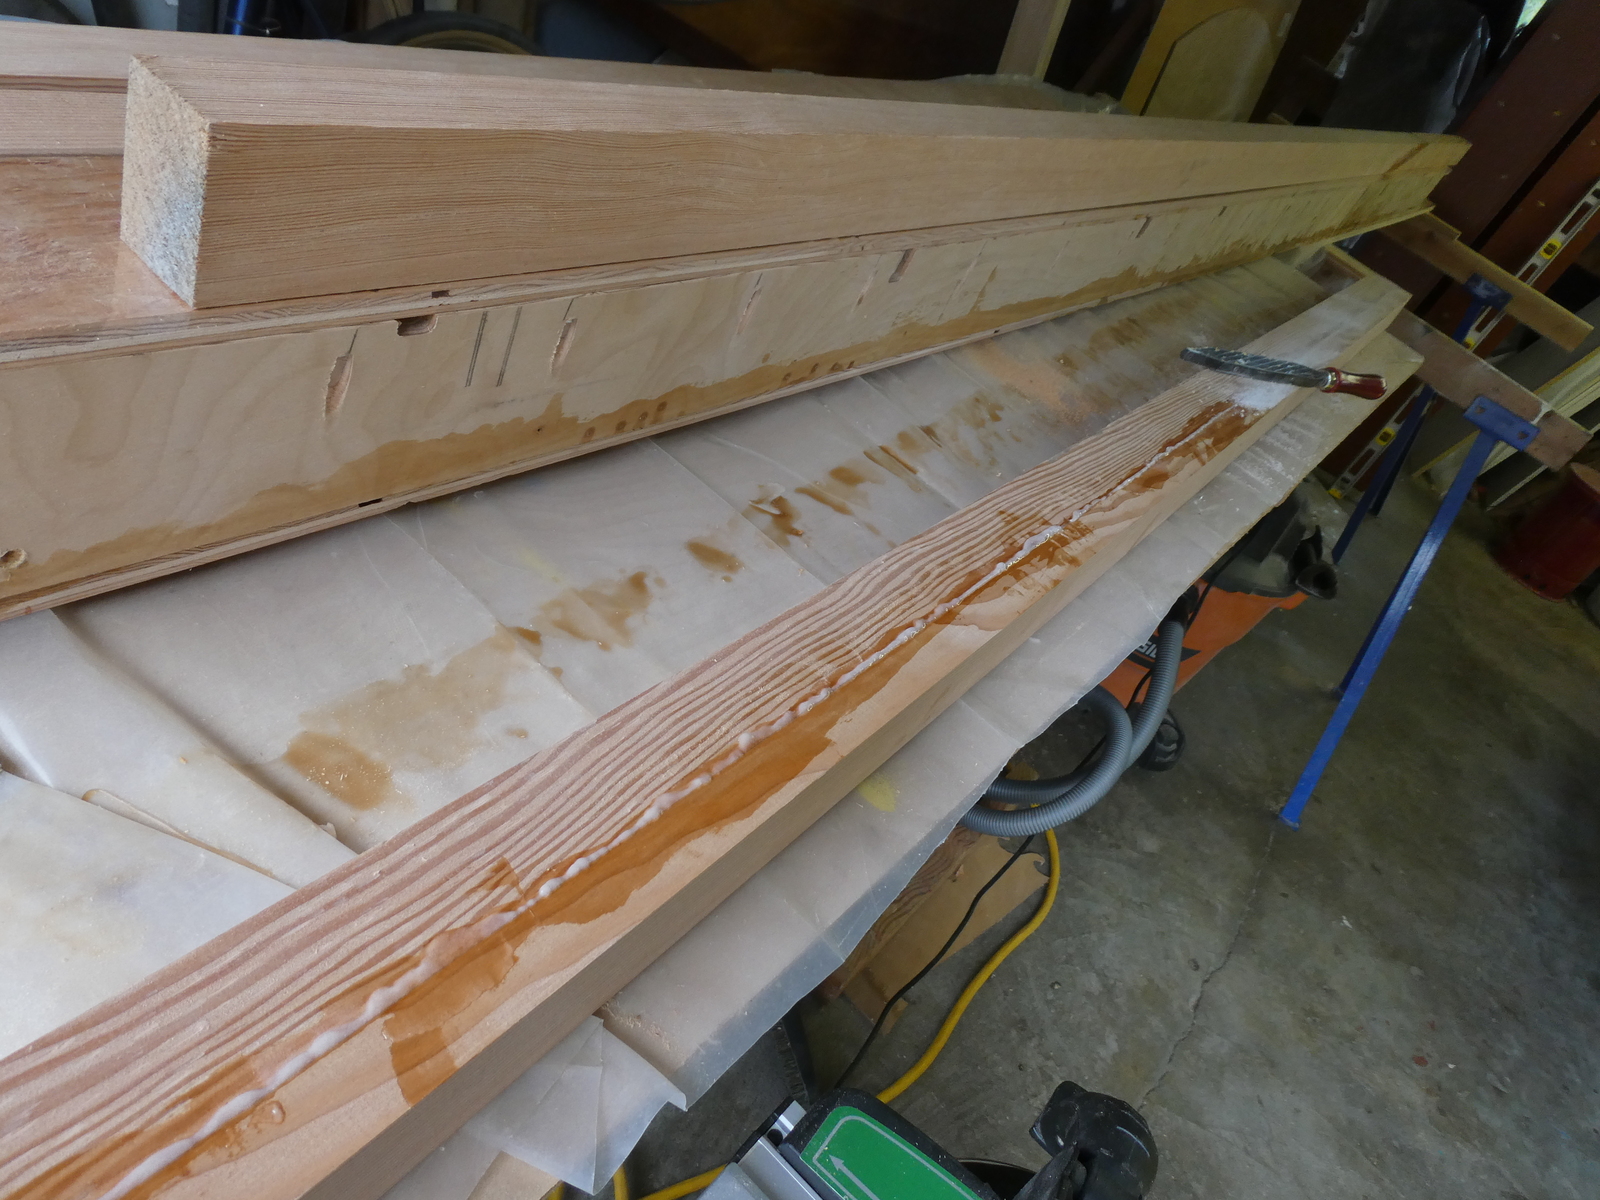
Then it was time to cut in the scarf to join the blanks lengthwise.
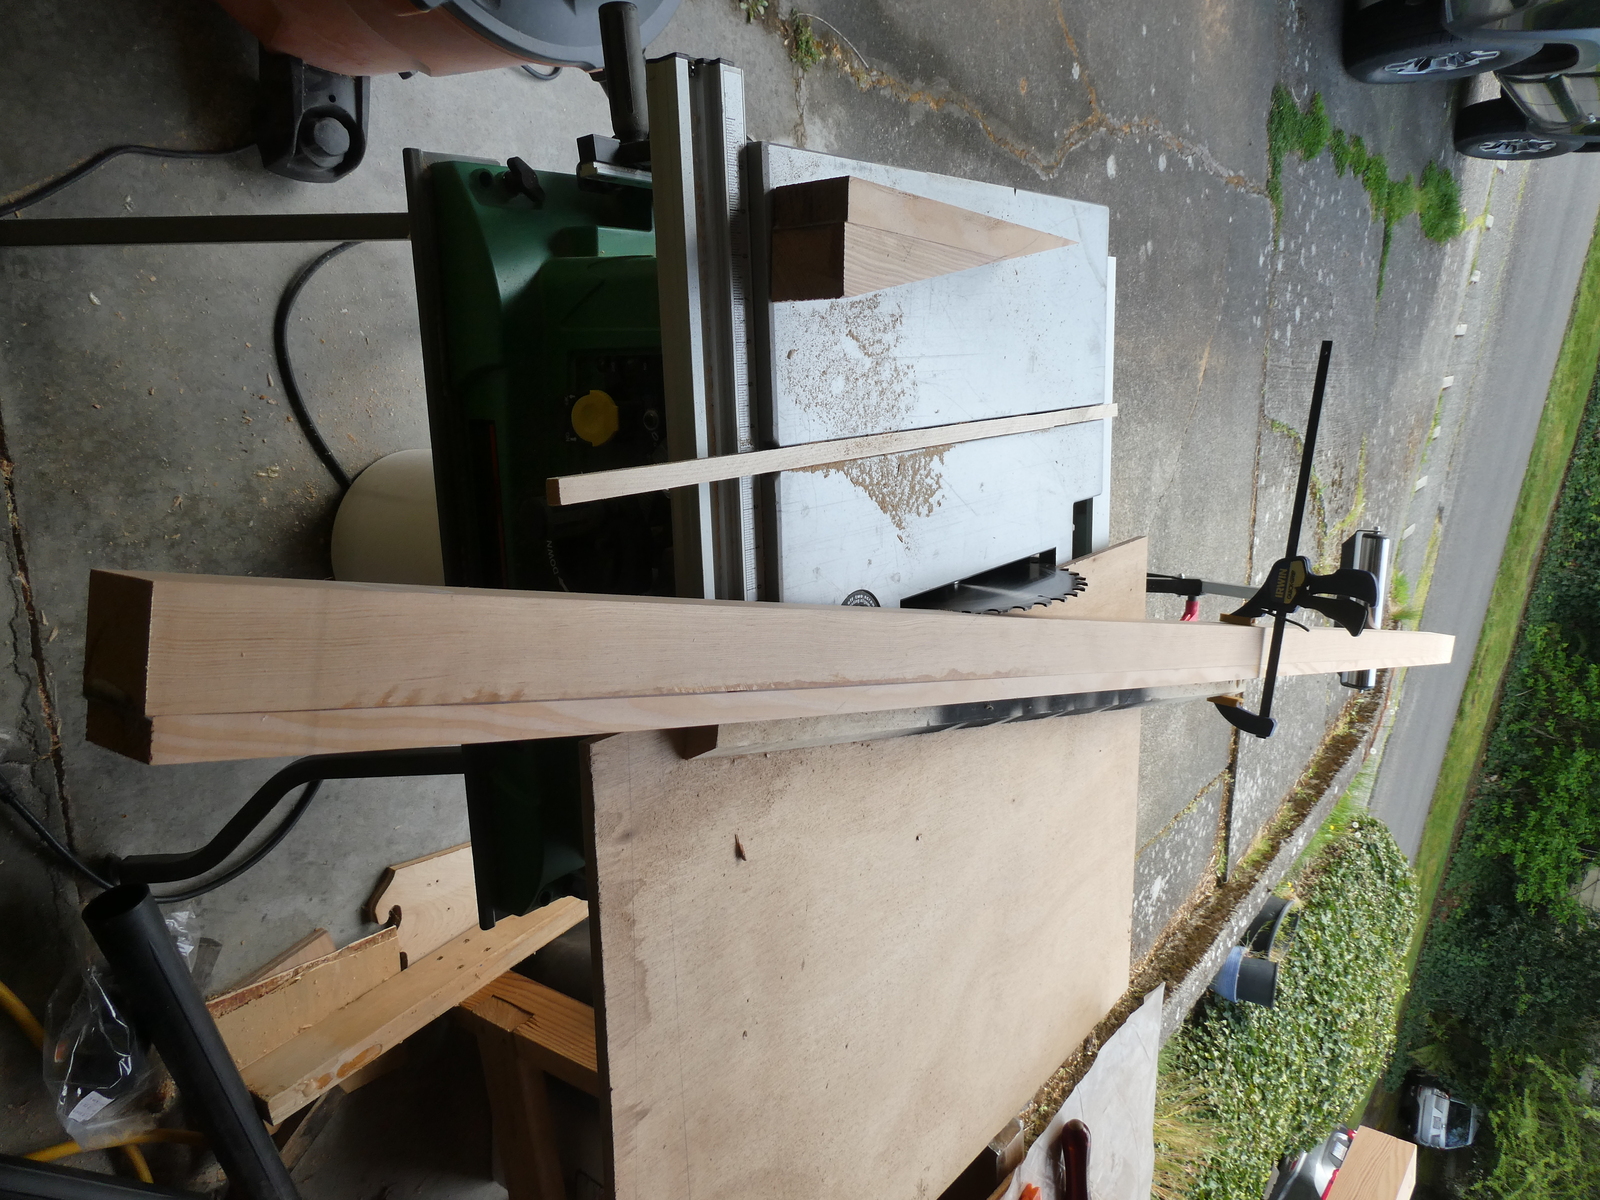
Getting ready to cut the scarf into the yard blank
After assembling the blank for the yard, I cut it to length…except I didn’t. Wouldn’t you know it, but I actually cut the damn thing too short. I’m sure I’m not the only person to make this mistake, but on reading the plans, there’s one number that’s in the center of the spar and a somewhat largish (for plans) size font, and there’s a second number, some distance away from the spar, in a smaller font. So your eye is naturally drawn to the larger number closer to the spar you’re building - but that’s the measurement for the head of the sail. The larger number, in smaller font, further away from the spar, is actually the measurement for the yard.
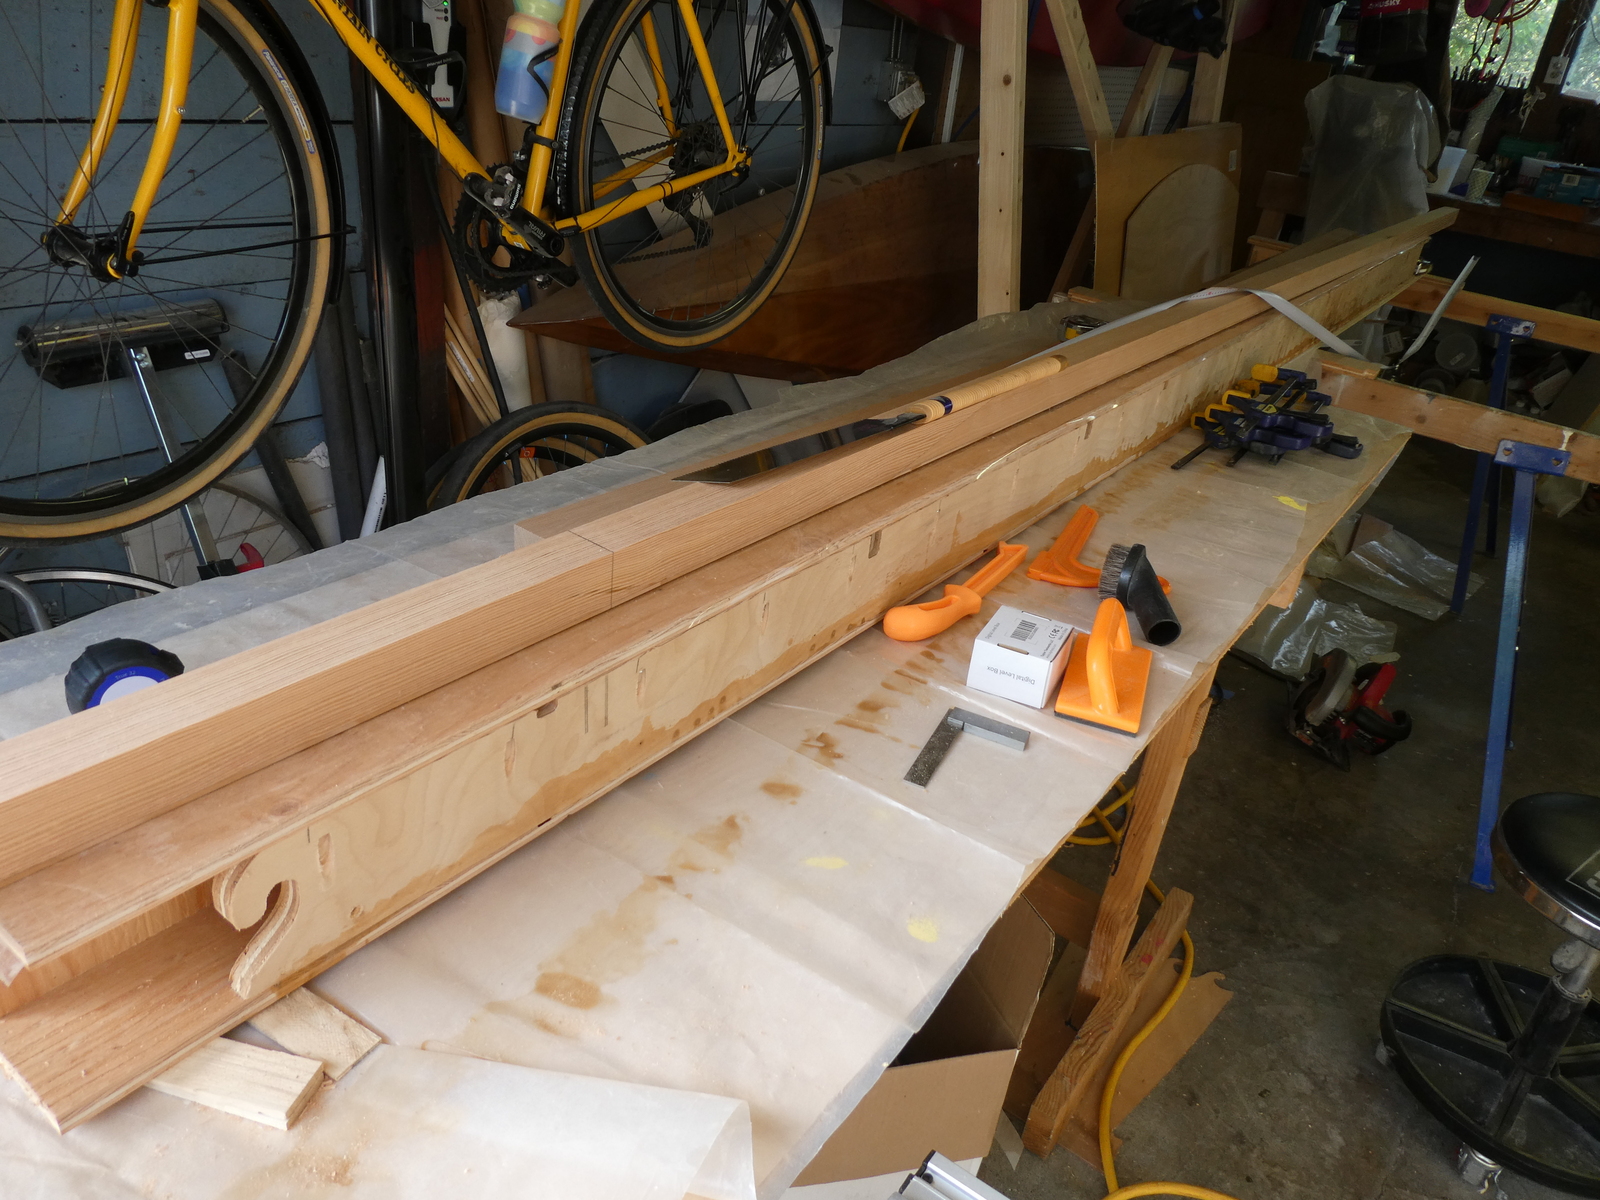
No! Don't do it! Don't cut there!
So I wound up having to have a second scarf in the yard blank in order to get it to the right length. A silly mistake, but I’m pretty sure the boat will still float.
At this point, it was time to start rounding the yard, and start catching up on some work in the boat itself in prep for paint.