The first step after scarfing the blanks for both the boom and the yard to length (and doing the yard a second time to the actual real length - sigh) was to taper them to the right thickness.
Tapering the spars #
I thought a lot about how to build a good taper jig to do this for me on the table saw, but the general issue was that the length of most of the tapers was so long that it was not easily doable on my little contractor table saw.
So instead, I did it by hand.
I didn’t really expect this to work, but it did, and it worked quite well.
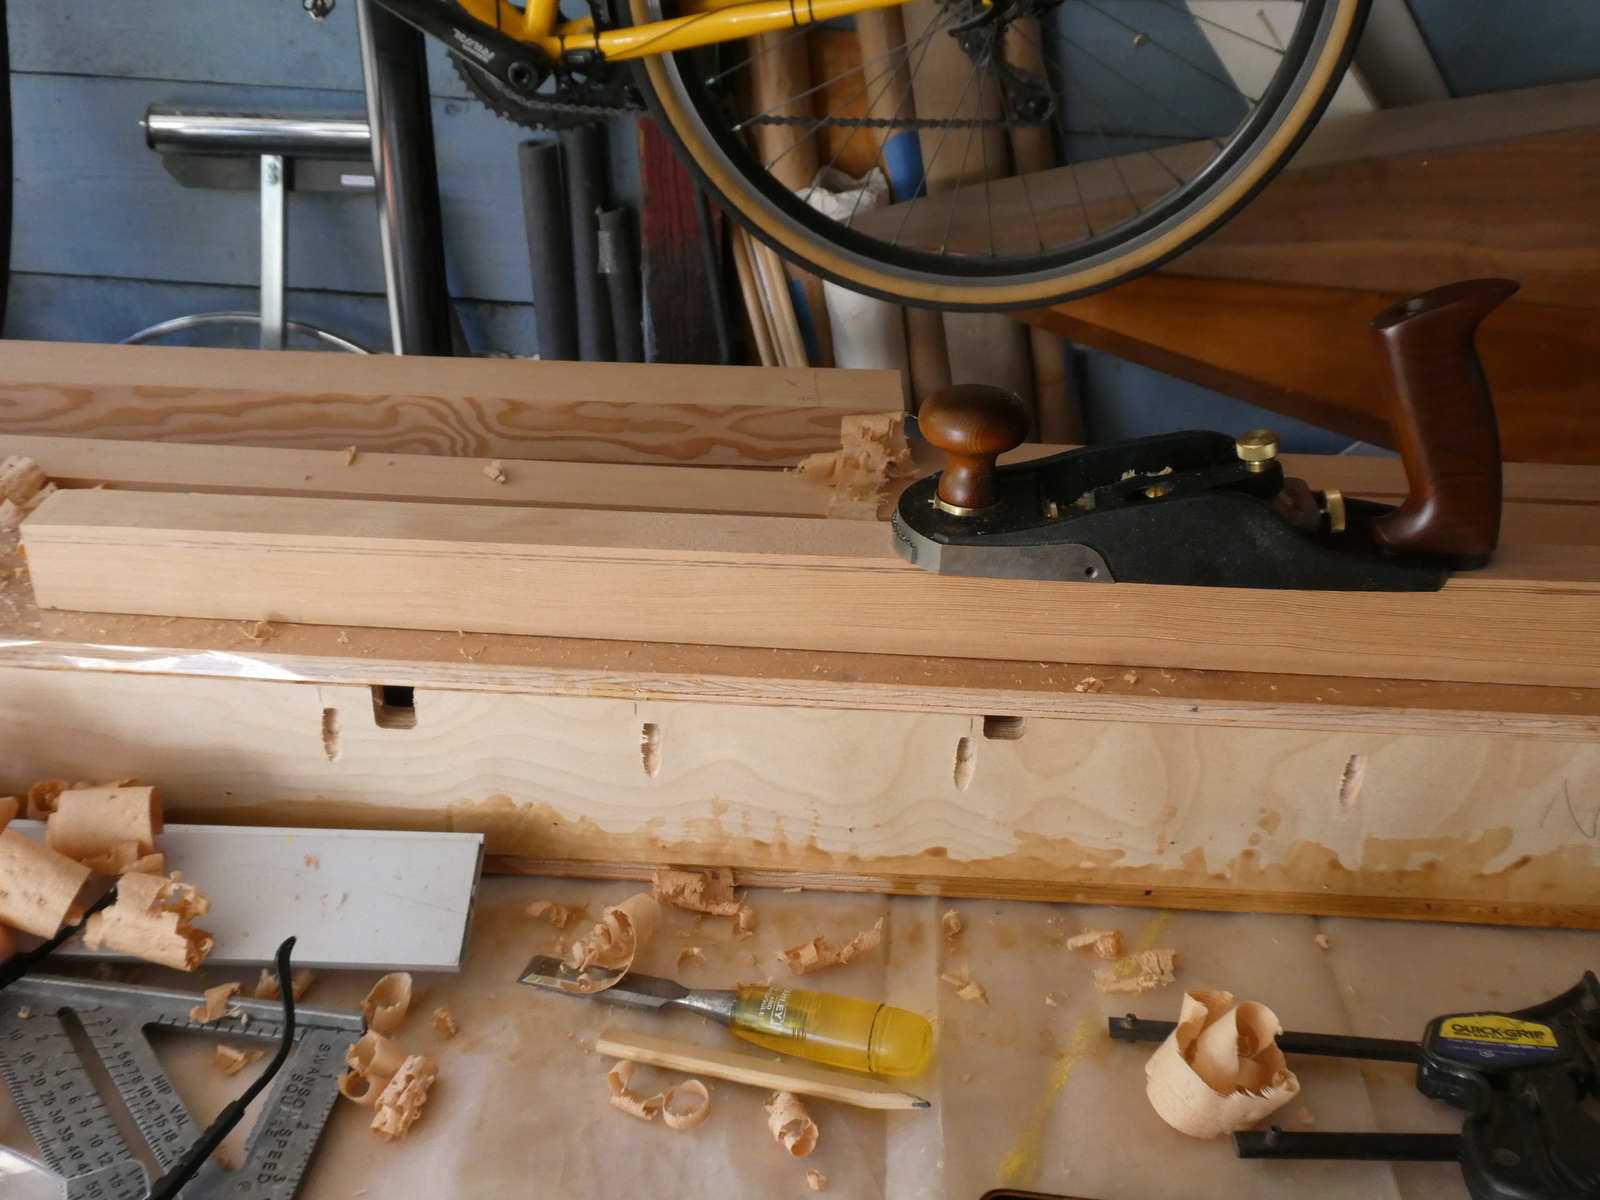
Rounding the Yard #
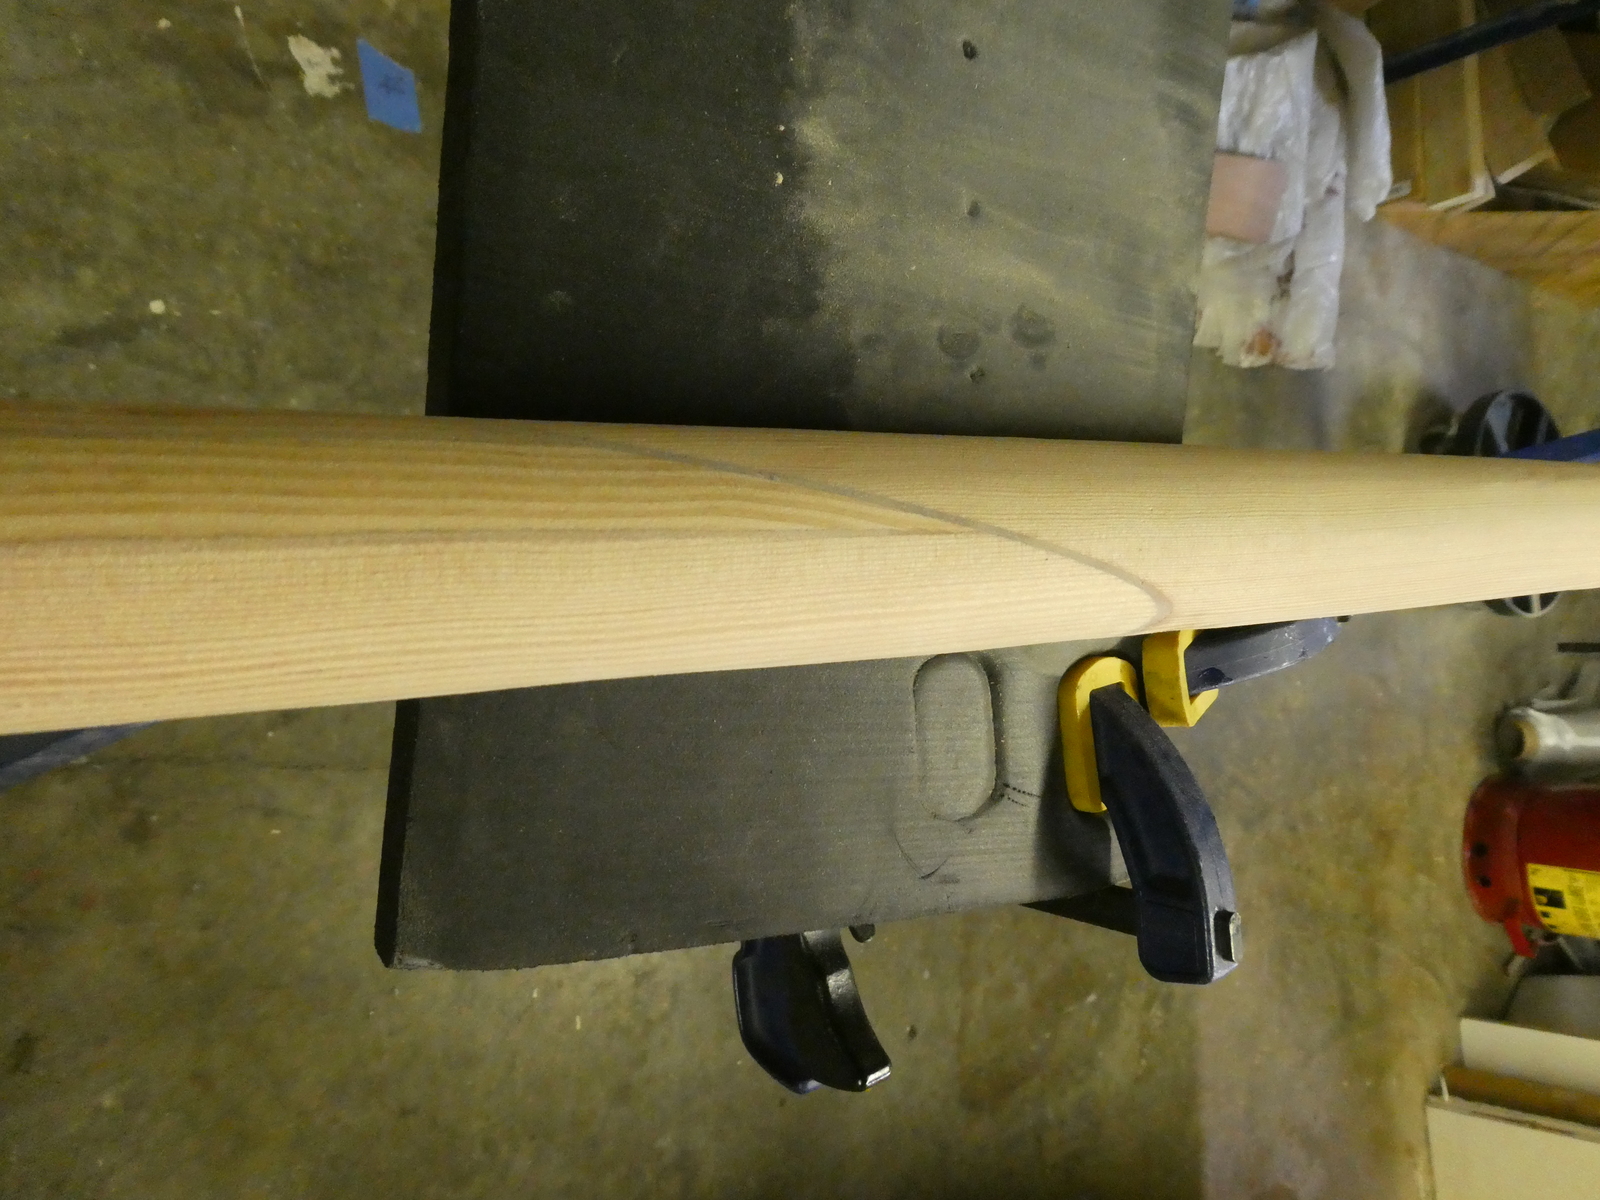
After the tapers were put in (both the boom and the yard have a long one aft and a shorter one forward, with the boom having the taper only on one side so the top edge of the boom is flat against the sail while the yard I made round in the center near the fore and aft ends) I needed to start in on rounding the yard.
The trick with doing this is to knock corners off to get geometric polygons (in cross section) until you’re close enough to just sand to round. So starting with four sides you knock the corners off to get an octagon, then knock the corners off again to get a hexadecagon, rinse and repeat.
For going from a square to an octagon, in order to make sure all faces of the octagon are the same length, you have to recognize that the interior angle of an octagon between two sides is 135. Thus the complimentary angle you need to cut into the square will be 45 degrees on either side, and you’ll have a right angle isoceles triangle (with the corner you’re cutting off being the 90 degree angle). To figure out how long the two sides of the triangle should be (and thus how much you should cut off), realize that sin(45) is 0.707 - thus the ratio of the length of the sides to the length of the hypoteneuse is .7/1, or 7/10. This gives rise to the old boatbuilders rule of “7-10-7”.
The 7-10-7 rule #
This rule states that for any surface, to mark where to cut it, you measure 7 units in one from one side and make a mark, and 7 units in from the opposite side and make a mark, leaving 10 units between the two marks.
It turns out that this is easiest to do with the imperial system - since an inch can be divided into 8th’s, then find 3" across a surface and make a mark at 7/8" and 1 1/8".

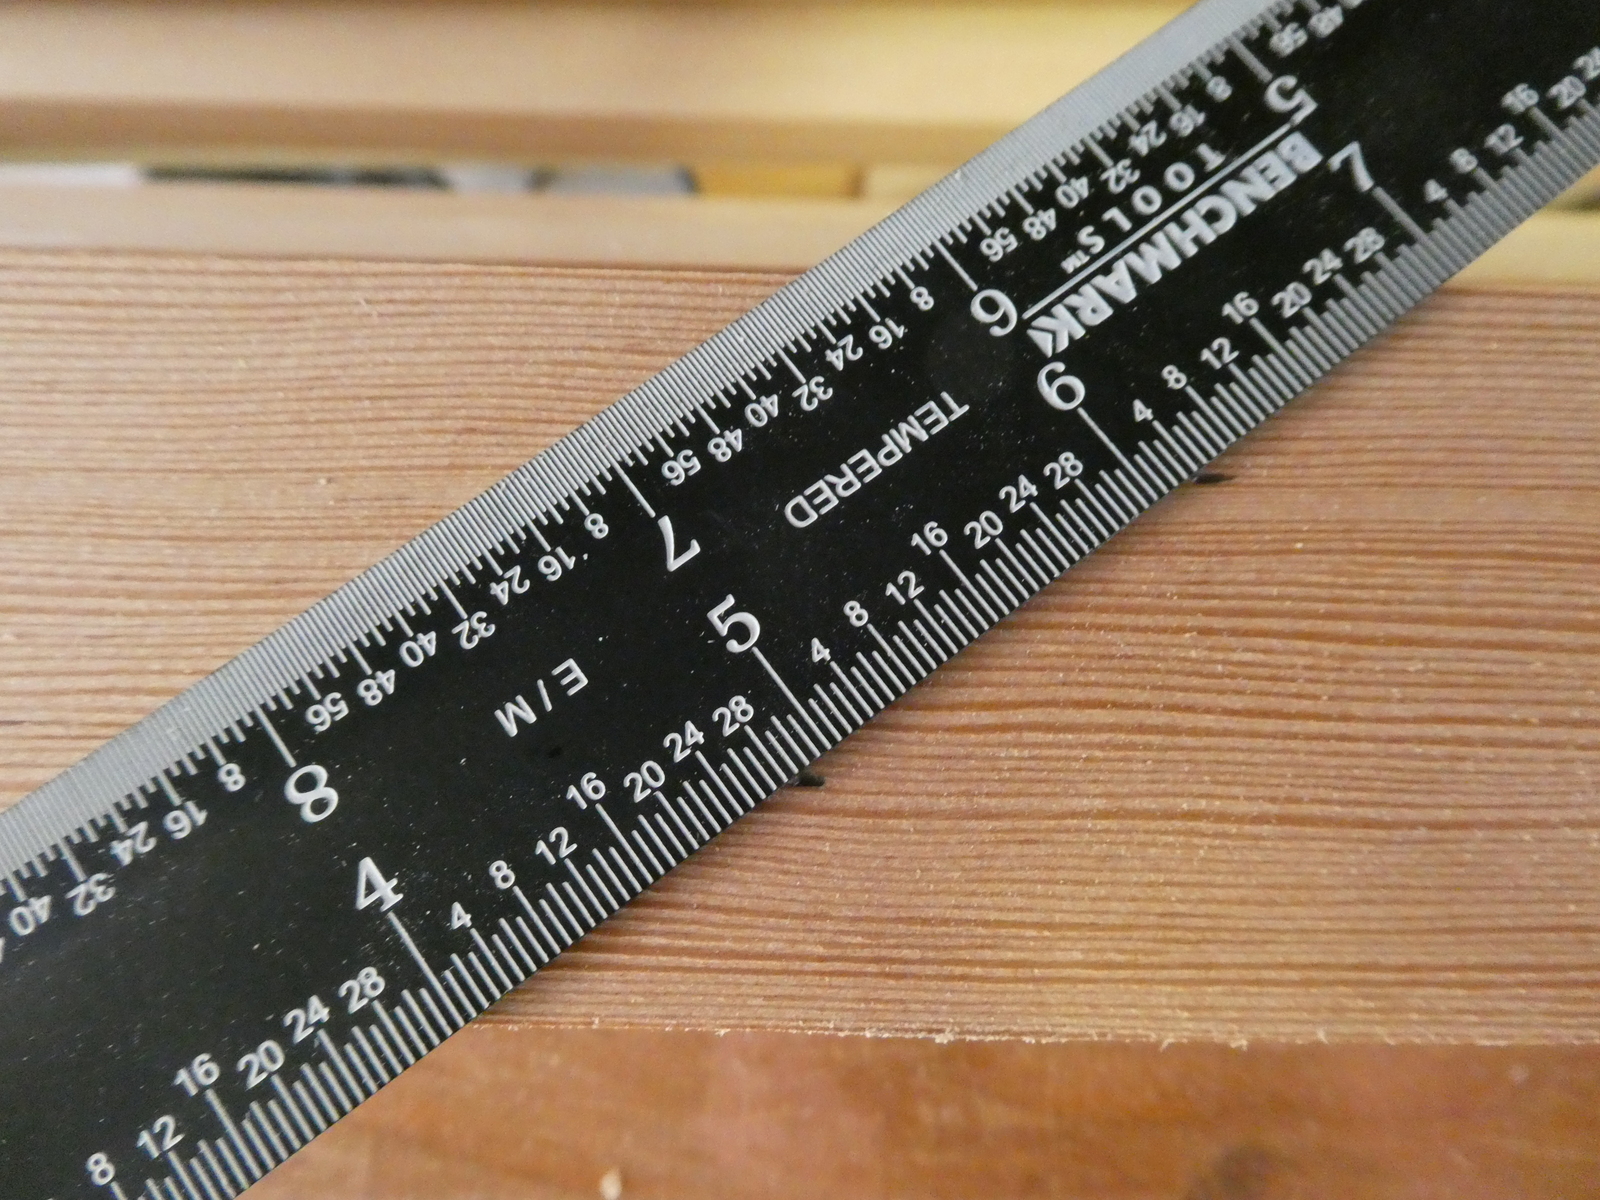
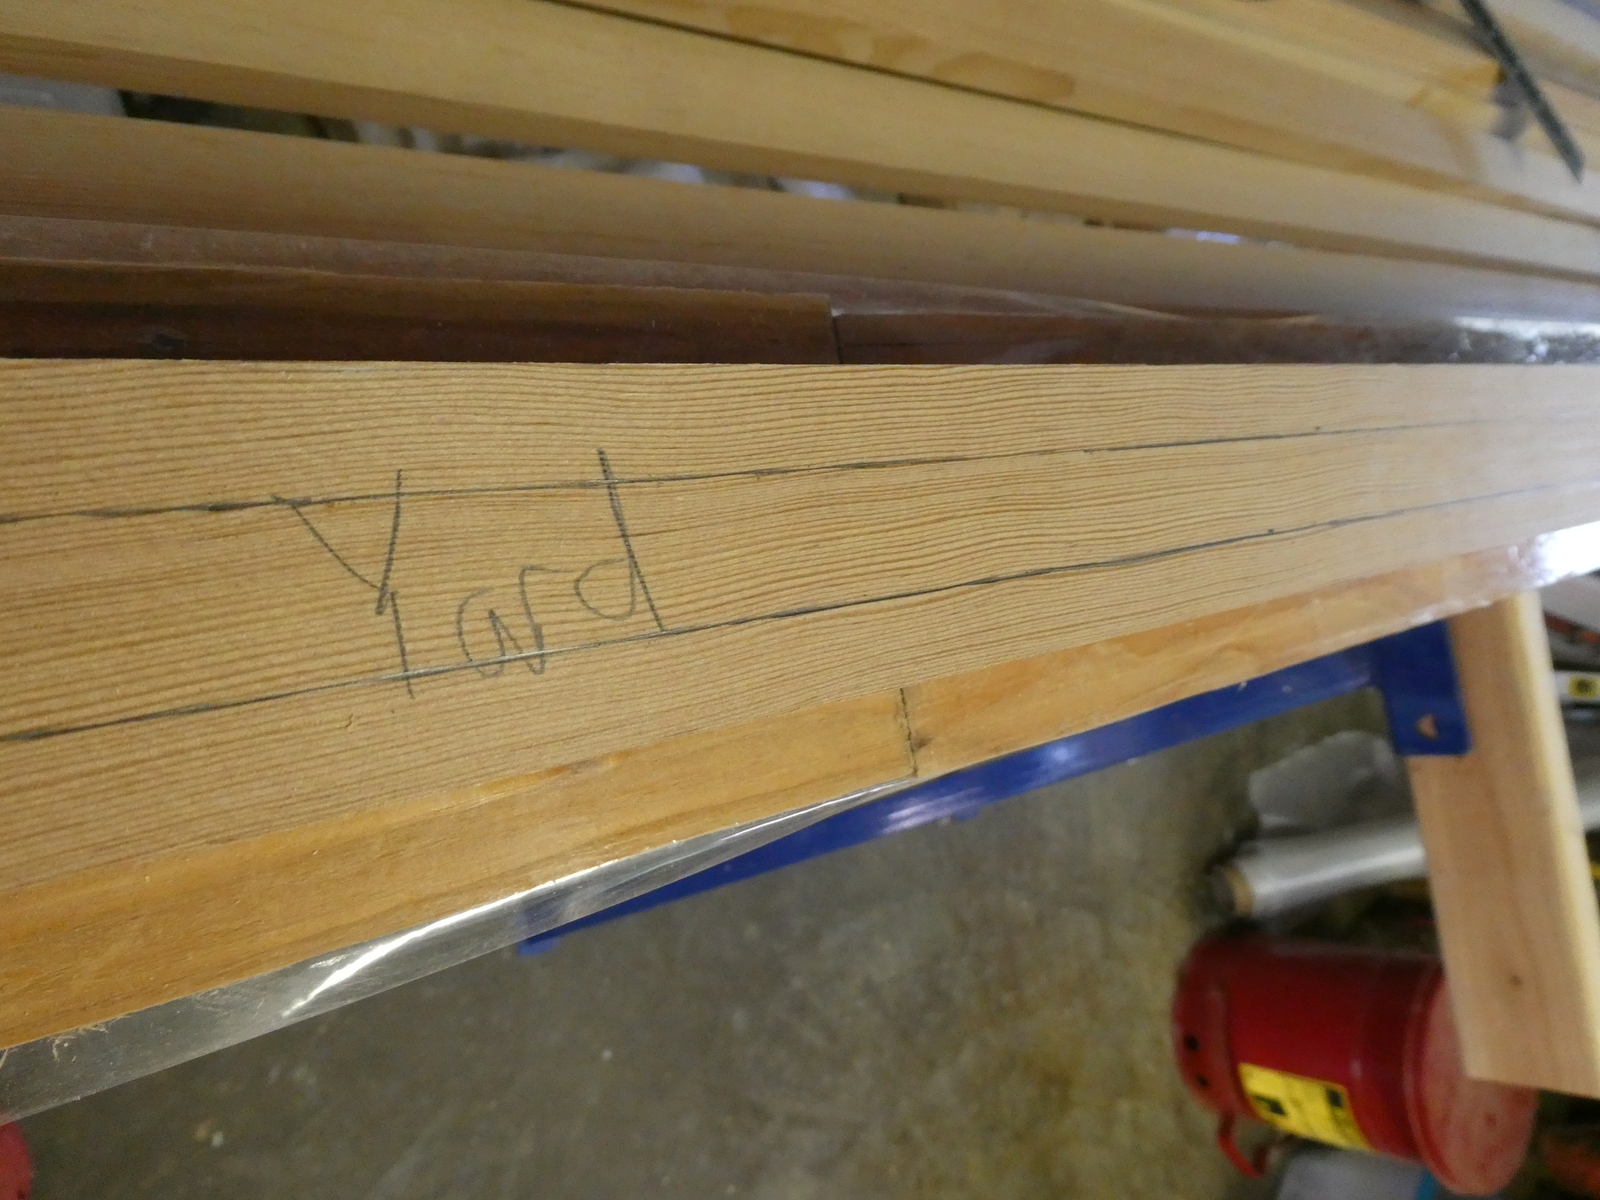
This works great if the edges are parallel and long, like the main part of the yard. When the tapers kick in you just have to measure a little more carefully (and go back to using metric, since 7/24’s of a whole number of millimeters is way easier to calculate)
Cutting the corners #
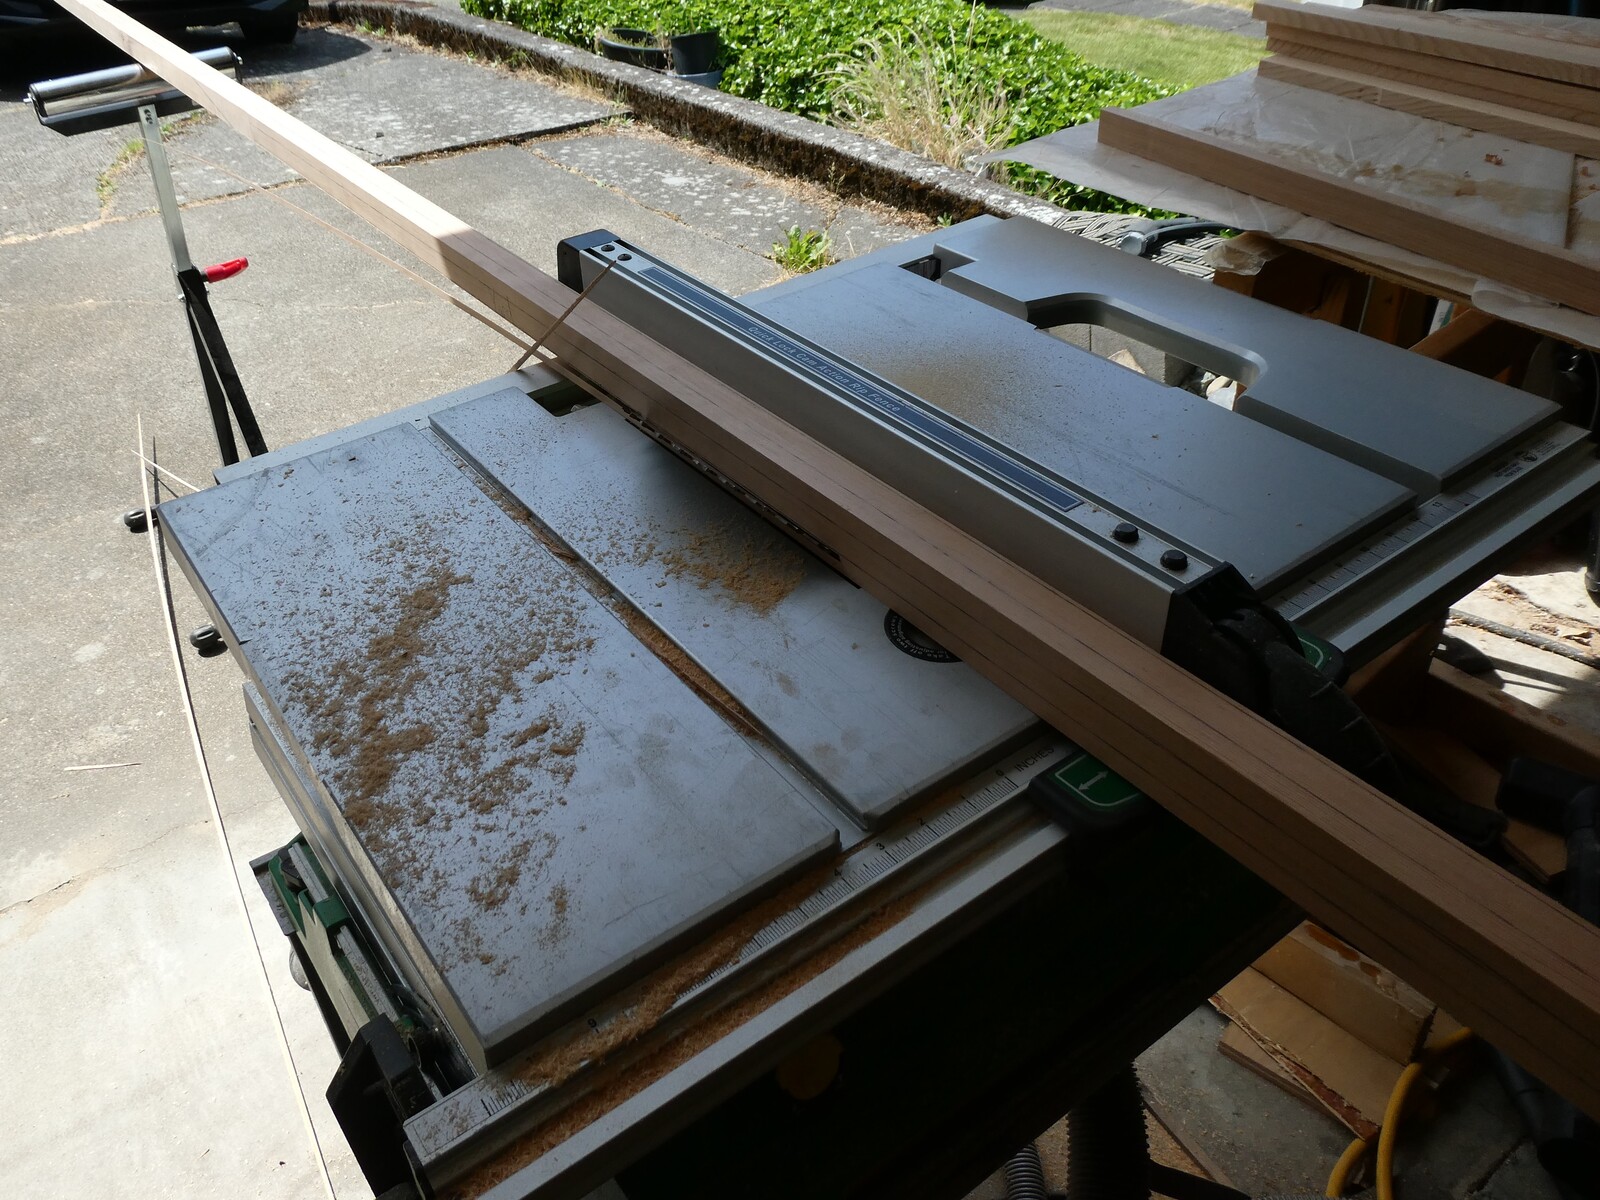
I decided the first thing I’d do is actually use the tablesaw to cut the corners off the yard (at least the straight middle part ignoring the tapers). So I set my blade to 45 degrees and lined up the first cut.
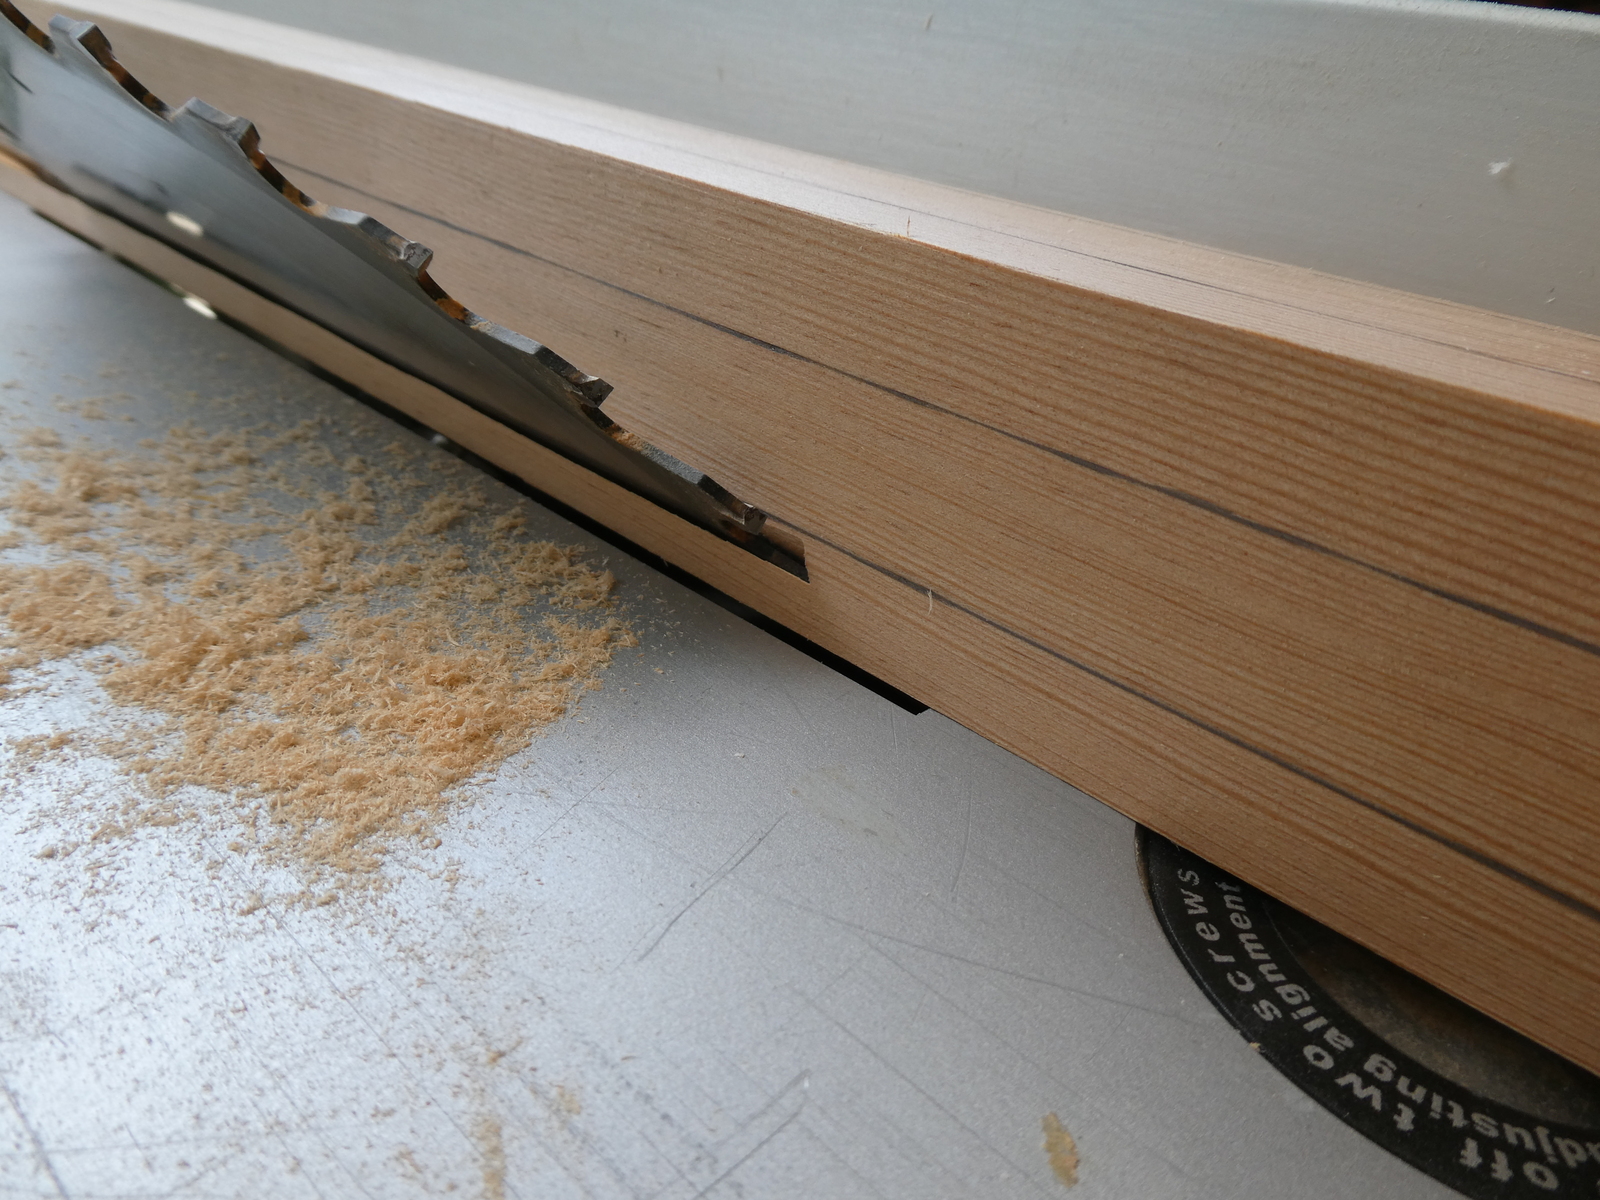
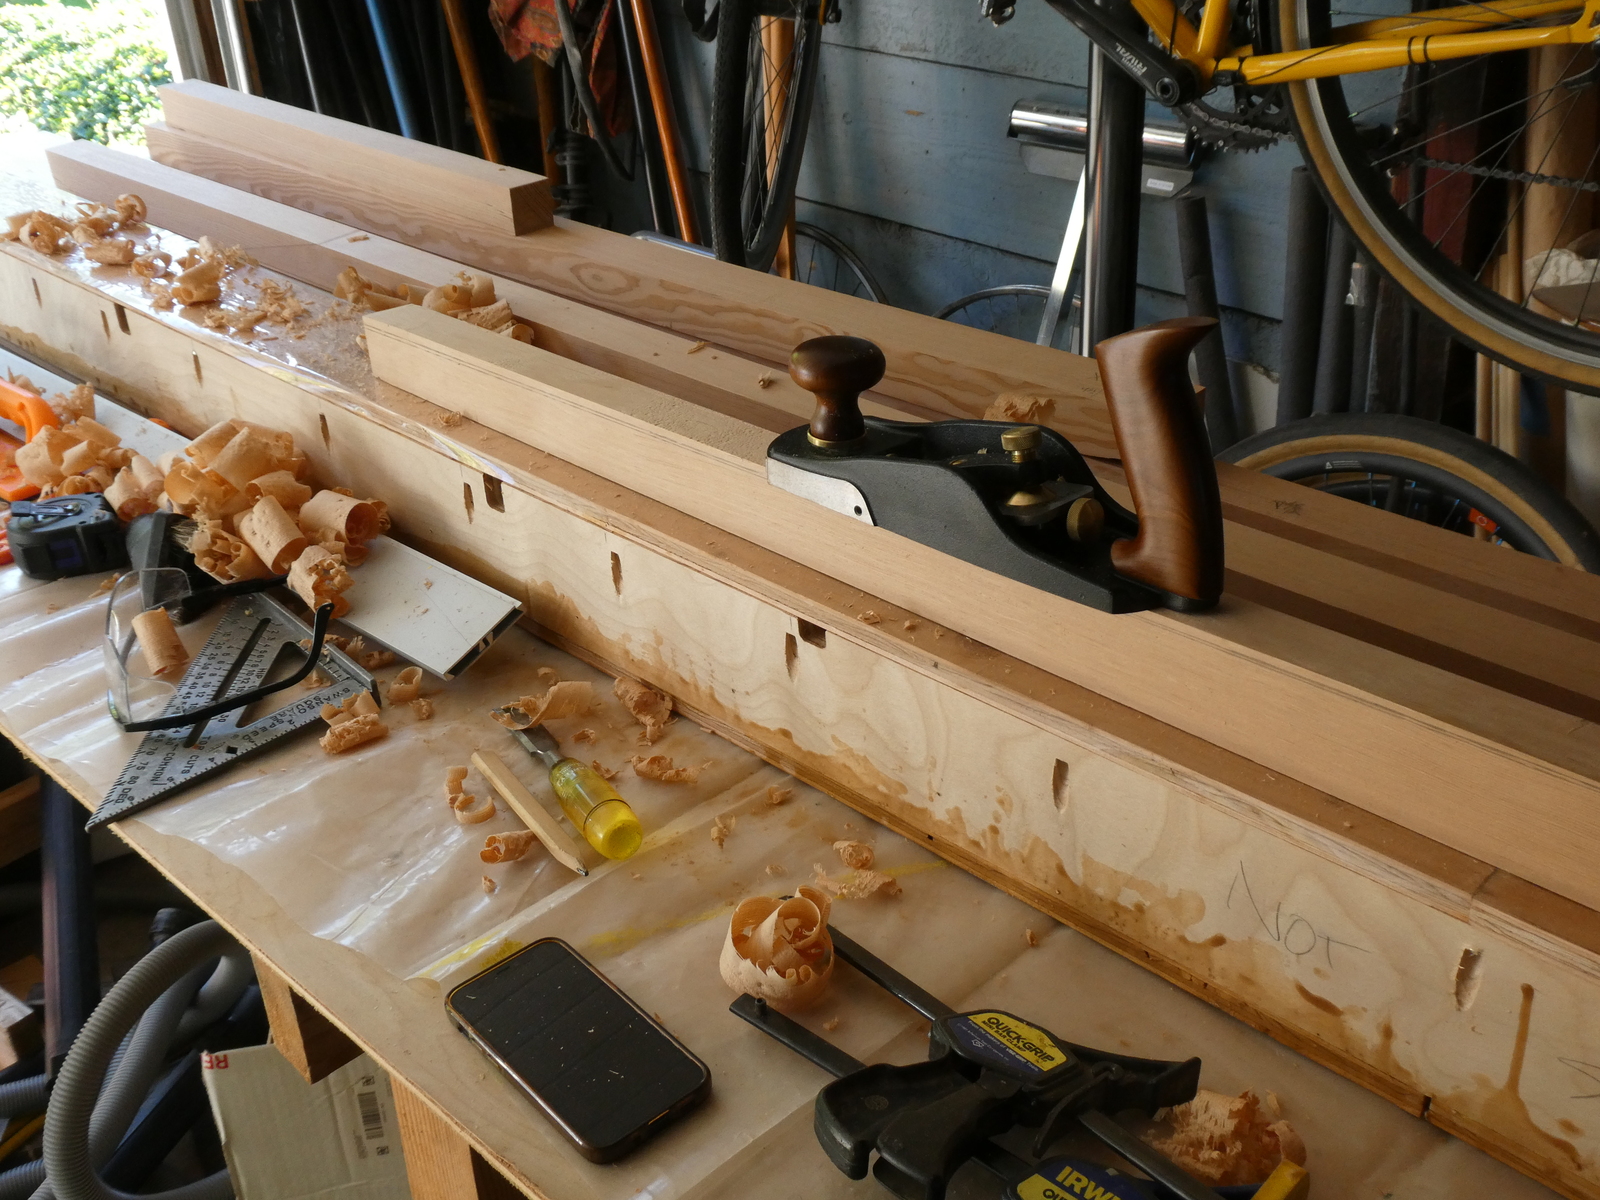
That worked really pretty well, and more importantly meant it was easier now to clamp the yard down on the strong back and take a block plane to the rest of it to keep working it down to round.
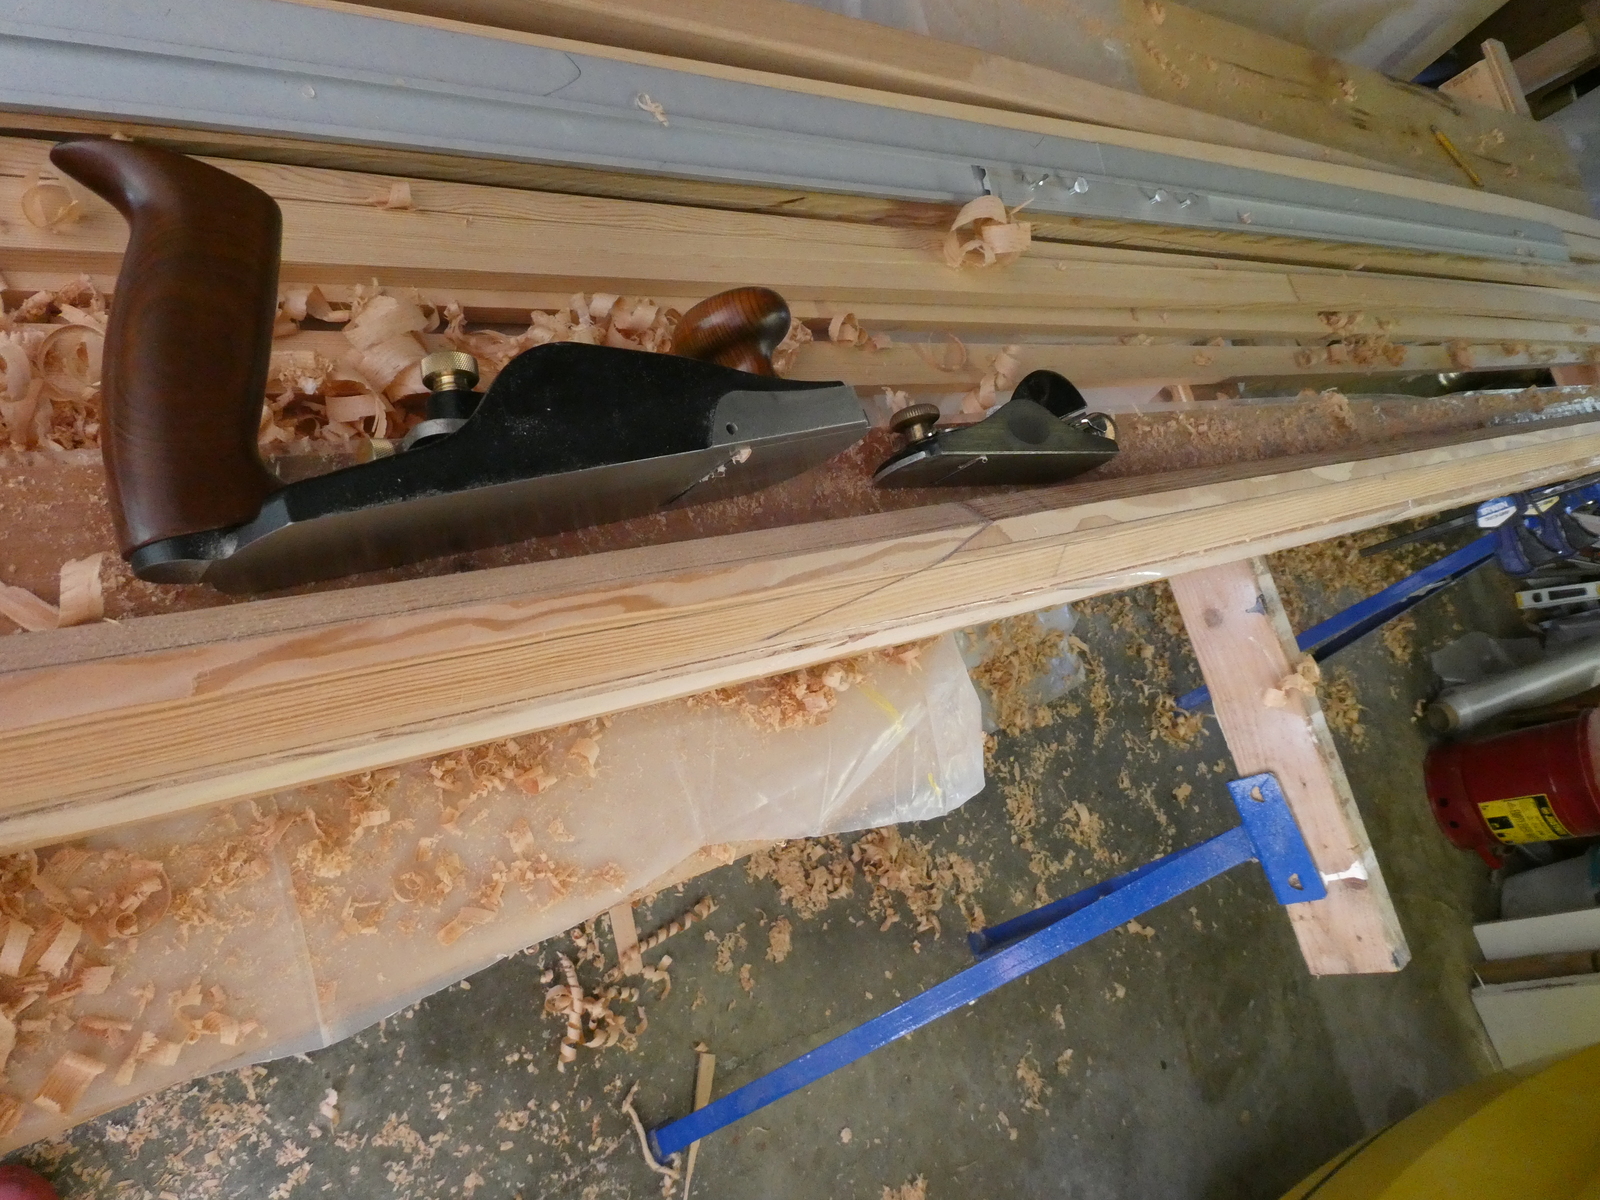
Both planes were useful
I found my little block plane encouraged a little more tearout depending on the orientation of the grain - likely because it needs a sharpening compared to the big one.
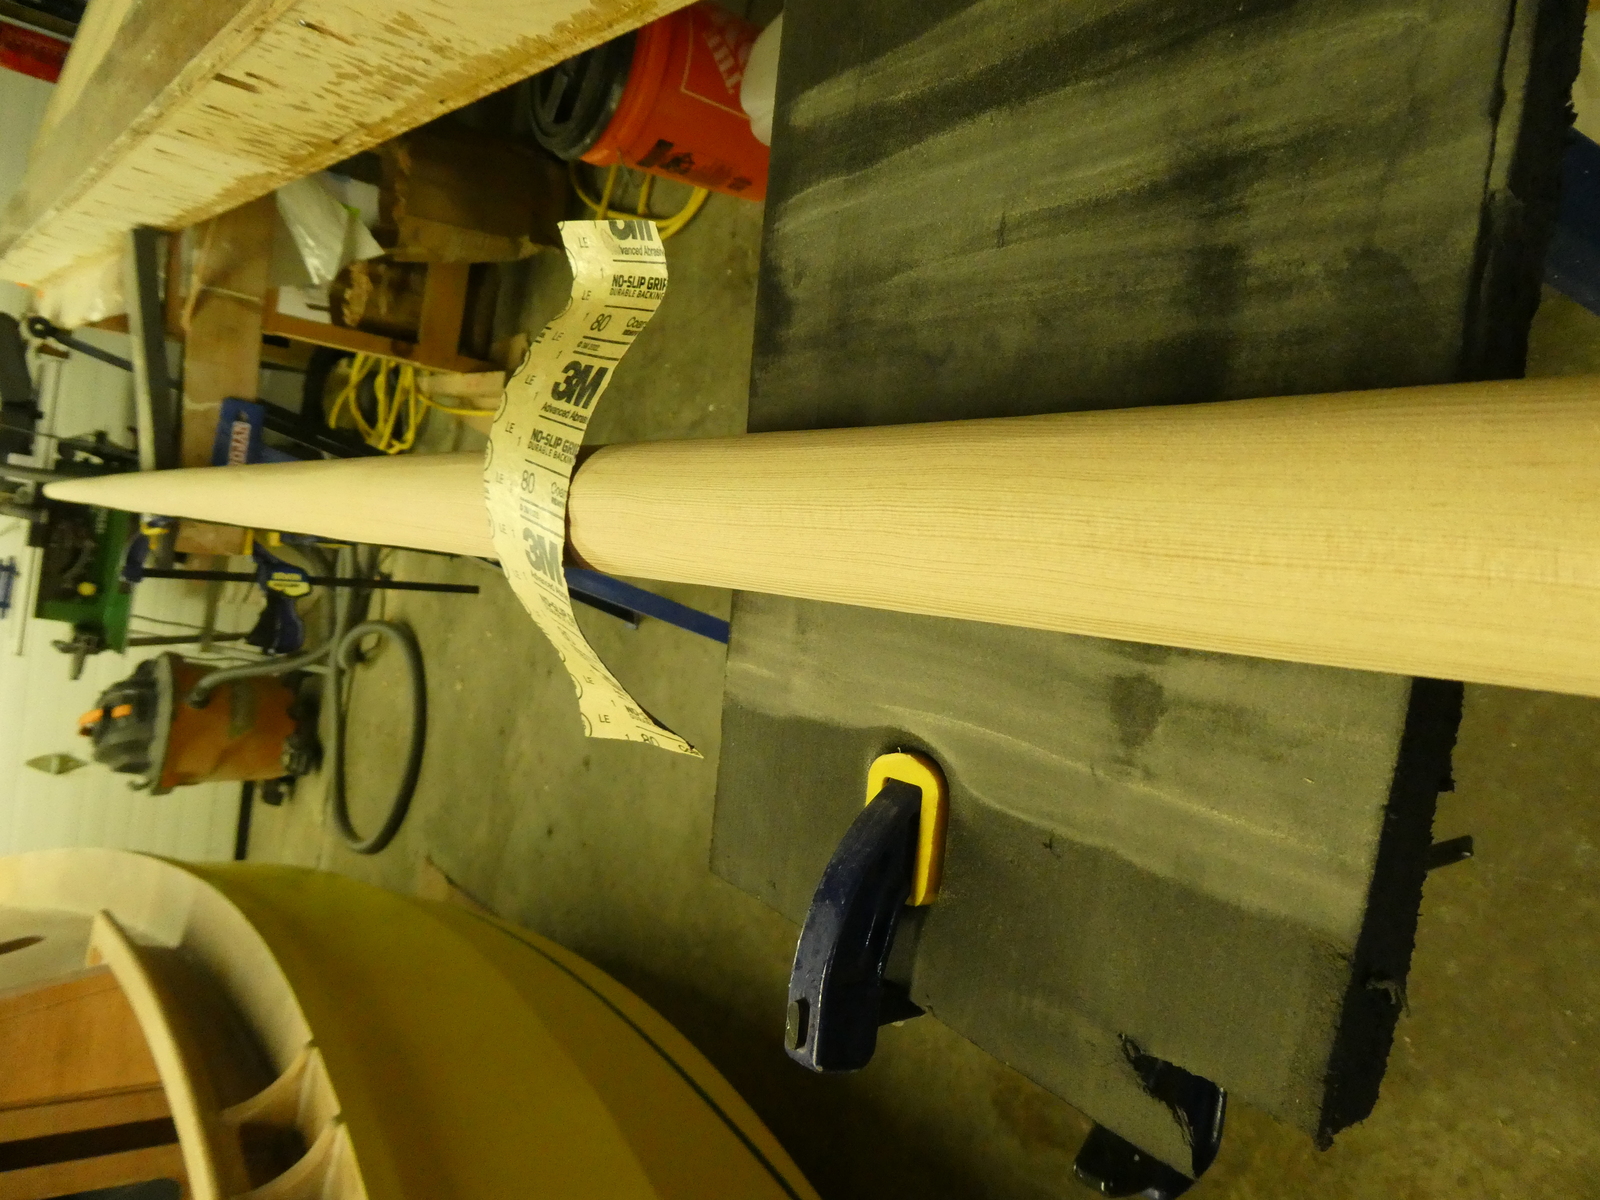
At any rate, I got down far enough to mostly-round-but still with edges running the length of the yard that I then decided to hit it quickly with the random orbital sander along it’s length, always moving the sander around the curve of the yard. This worked really well to get me to a point where it looked awfully good, but you could still feel some imperfections.
From there, my last step was to cut sandpaper into strips, grab an end in each hand, and sand around the yard.
Finishing touches #
From there I hit the ends with the random orbital to round the edges off. I also pulled out a router and used a 1/4" roundover bit on every edge of the boom, and then used the sander to smooth out all the surfaces of the boom. Both I declared now complete.
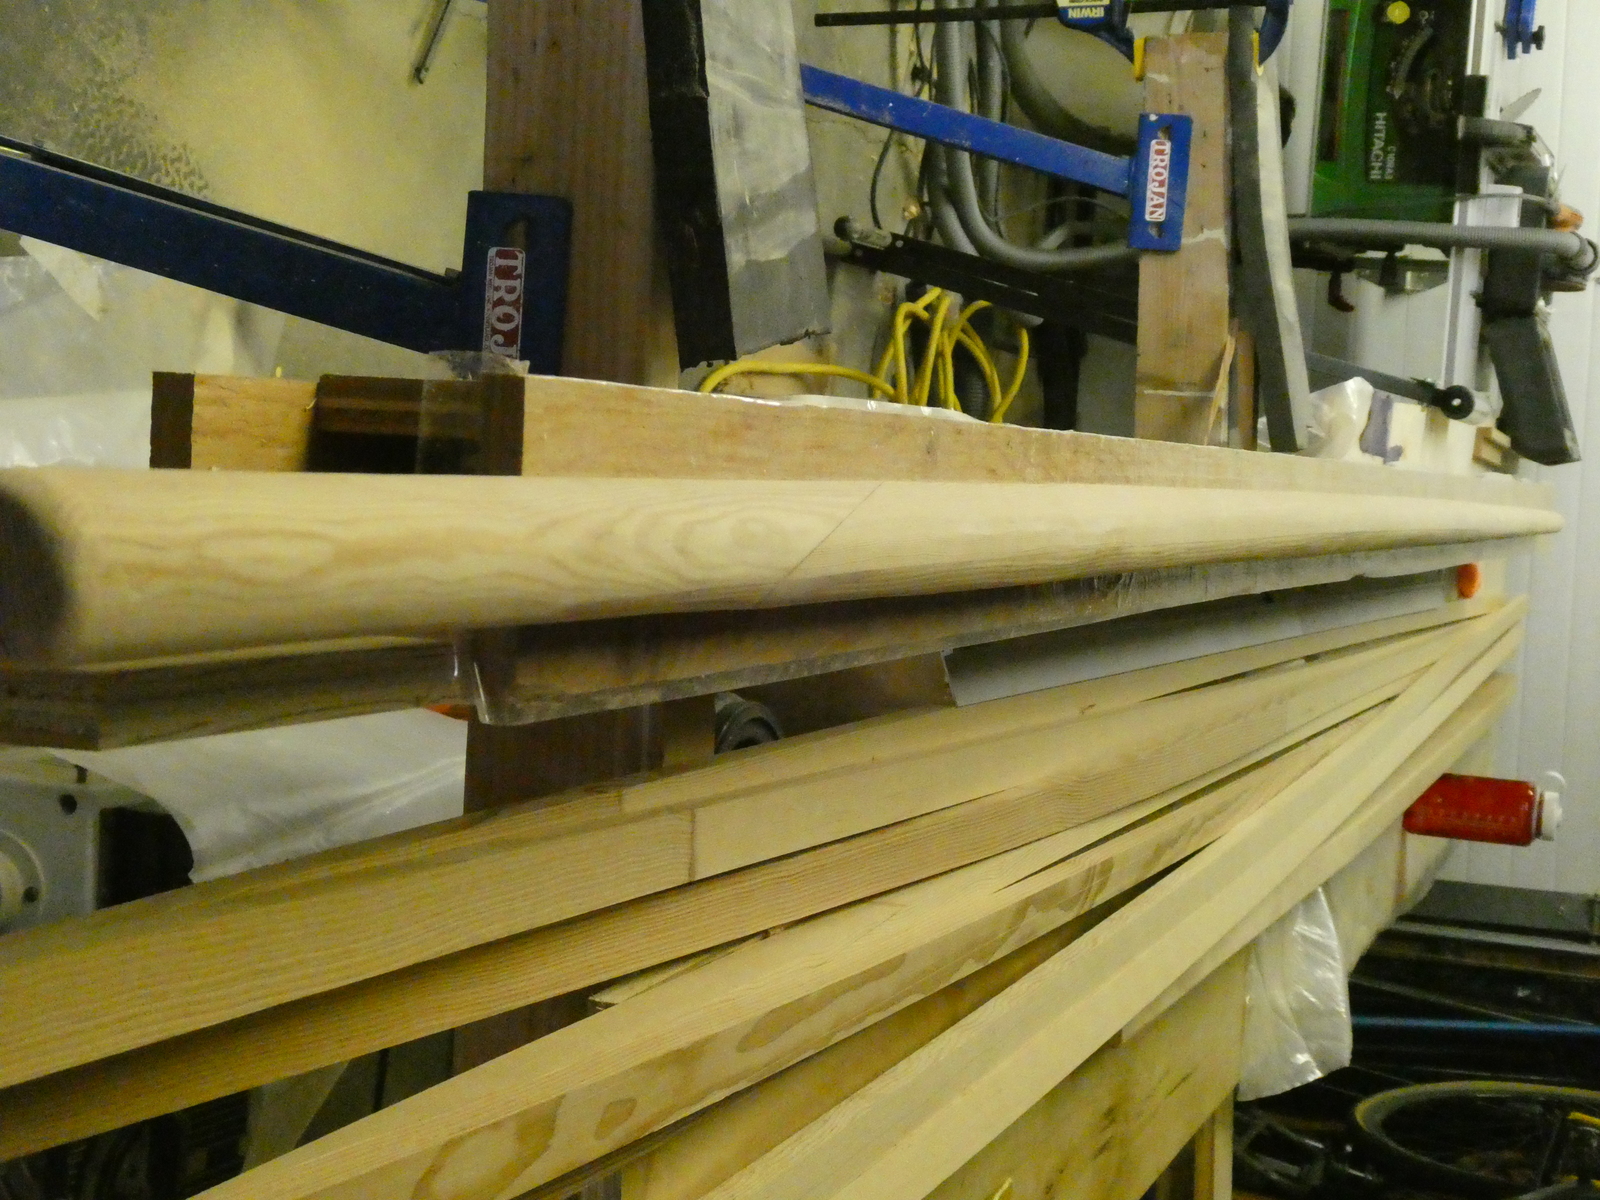

Although it’s hard to see in the photos, both the yard and the boom wound up being much more straight then I originally expected they would be. Indeed the curve seems to be completely gone from the yard and is only slightly noticeable if you really look for it on the boom - careful choices about which side I took the taper out of on each paid dividends.
Next step for these is a couple coats of epoxy followed by either paint or some kind of varnish (I haven’t decided yet how I’m going to finish them). The mast is also underway as well as several smaller projects on the boat in prep for priming/painting the topsides.