I started to create a punch list of all of the things I needed to do to the boat before I could prime. The weather is now warm enough to apply the primer, and with July 1st having slid by the summer boating season is here - that provides a little extra motivation to get this thing to floating.
A lot of work has also taken place on the mast (the post on that will likely come next month), but in the mean time here are some smaller tasks that needed to be finished up.
Fixing the void in bulkhead 4 #
Remember that back when I glued in the cutouts for bulkhead 4 I had a small void left at the bottom on the starboard side. I decided to fill that with just straight thickened epoxy.
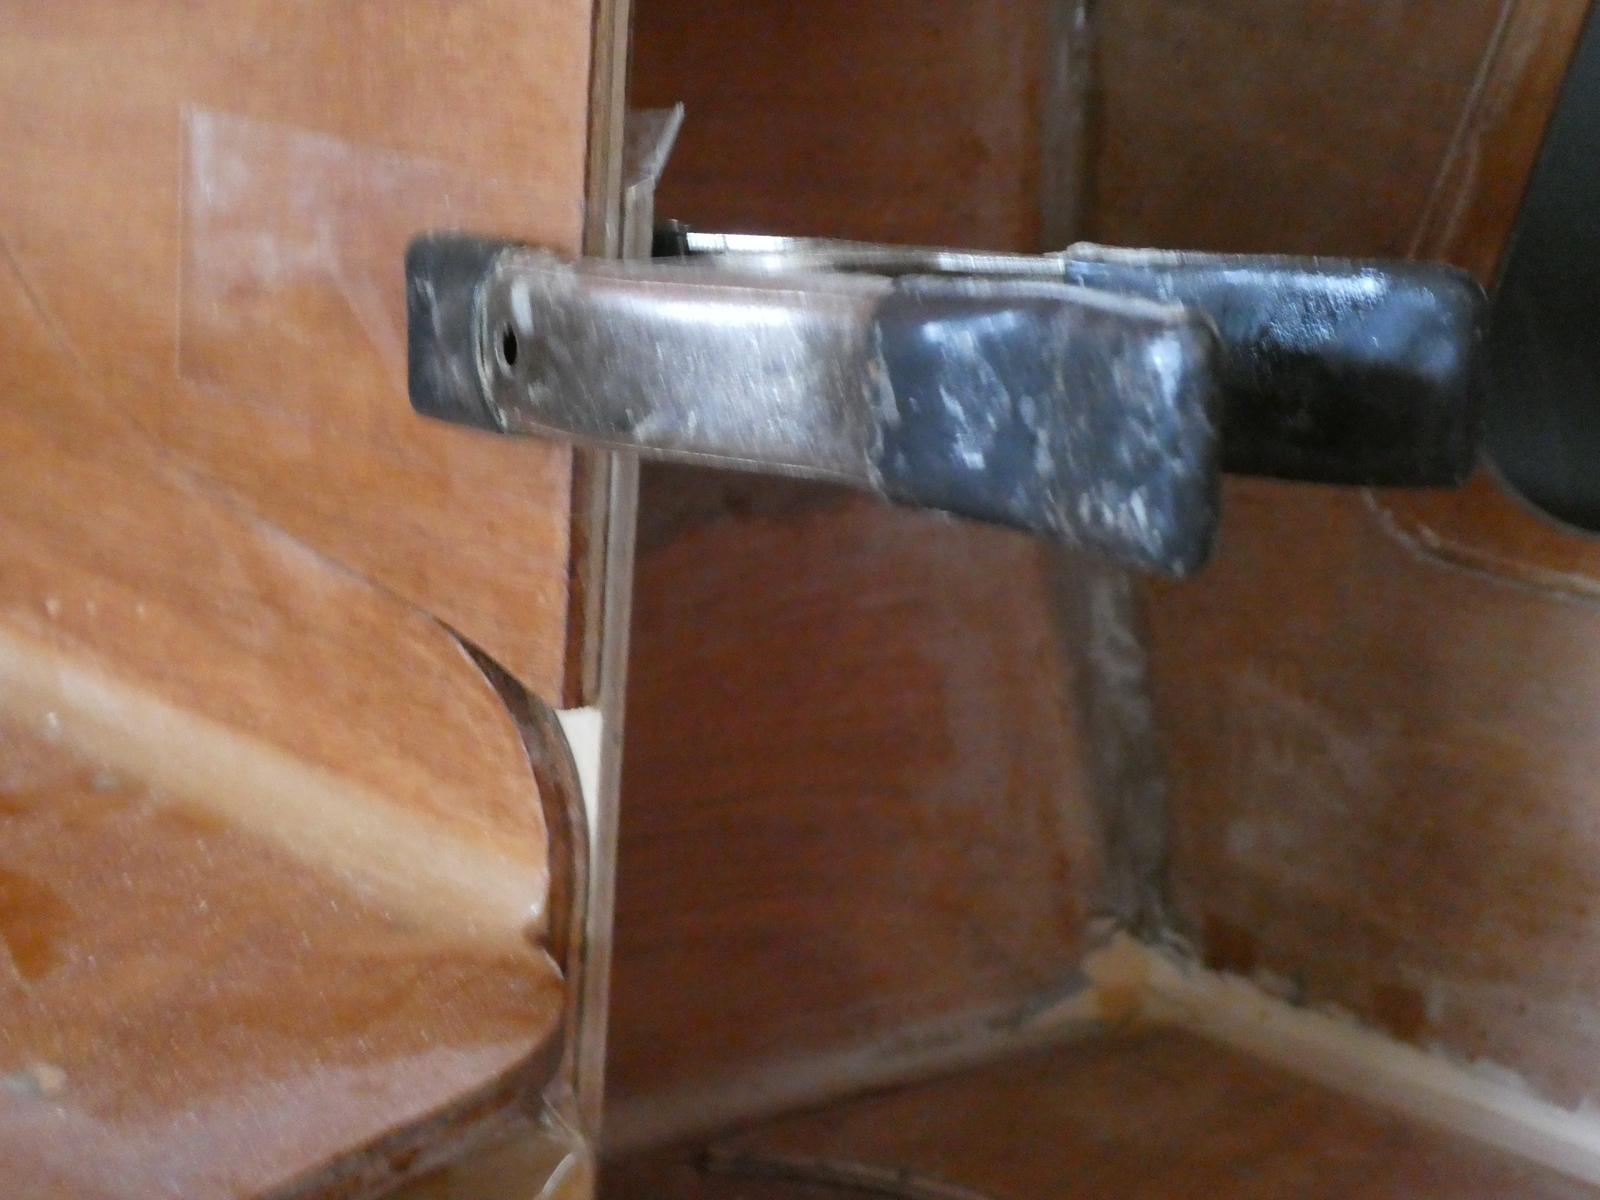
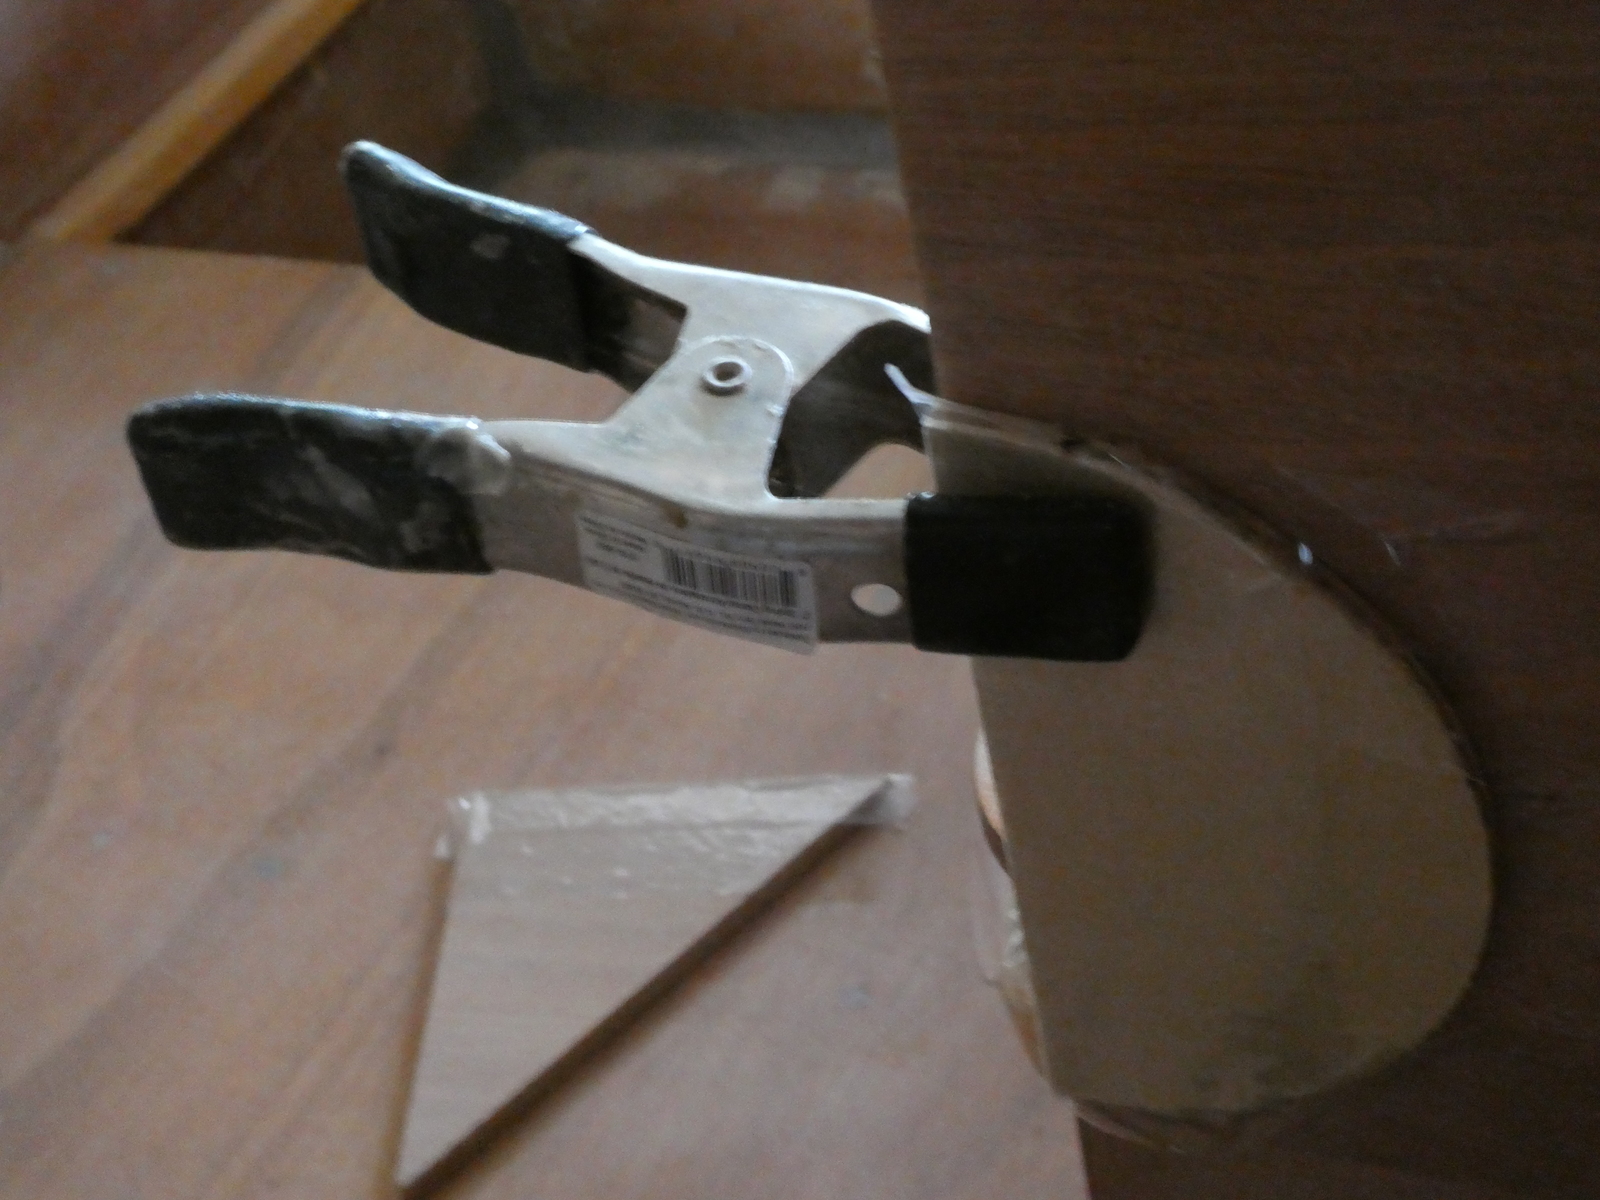
A couple of scraps of plywood, coated with packing tape, provided the front and rear surface needed. With these held in place, it was just a measure of filling the void with some epoxy and then sanding smooth once it had cured. This worked really well and will disappear under paint.
Oarlocks #
The next (bigger) job was to cut the oarlocks into the side rails. I bought a pair of top mount oarlocks that I intend to use, and I want to mount them flush with the side rails so that when not in use you can still sit on the rail there and not really notice them.
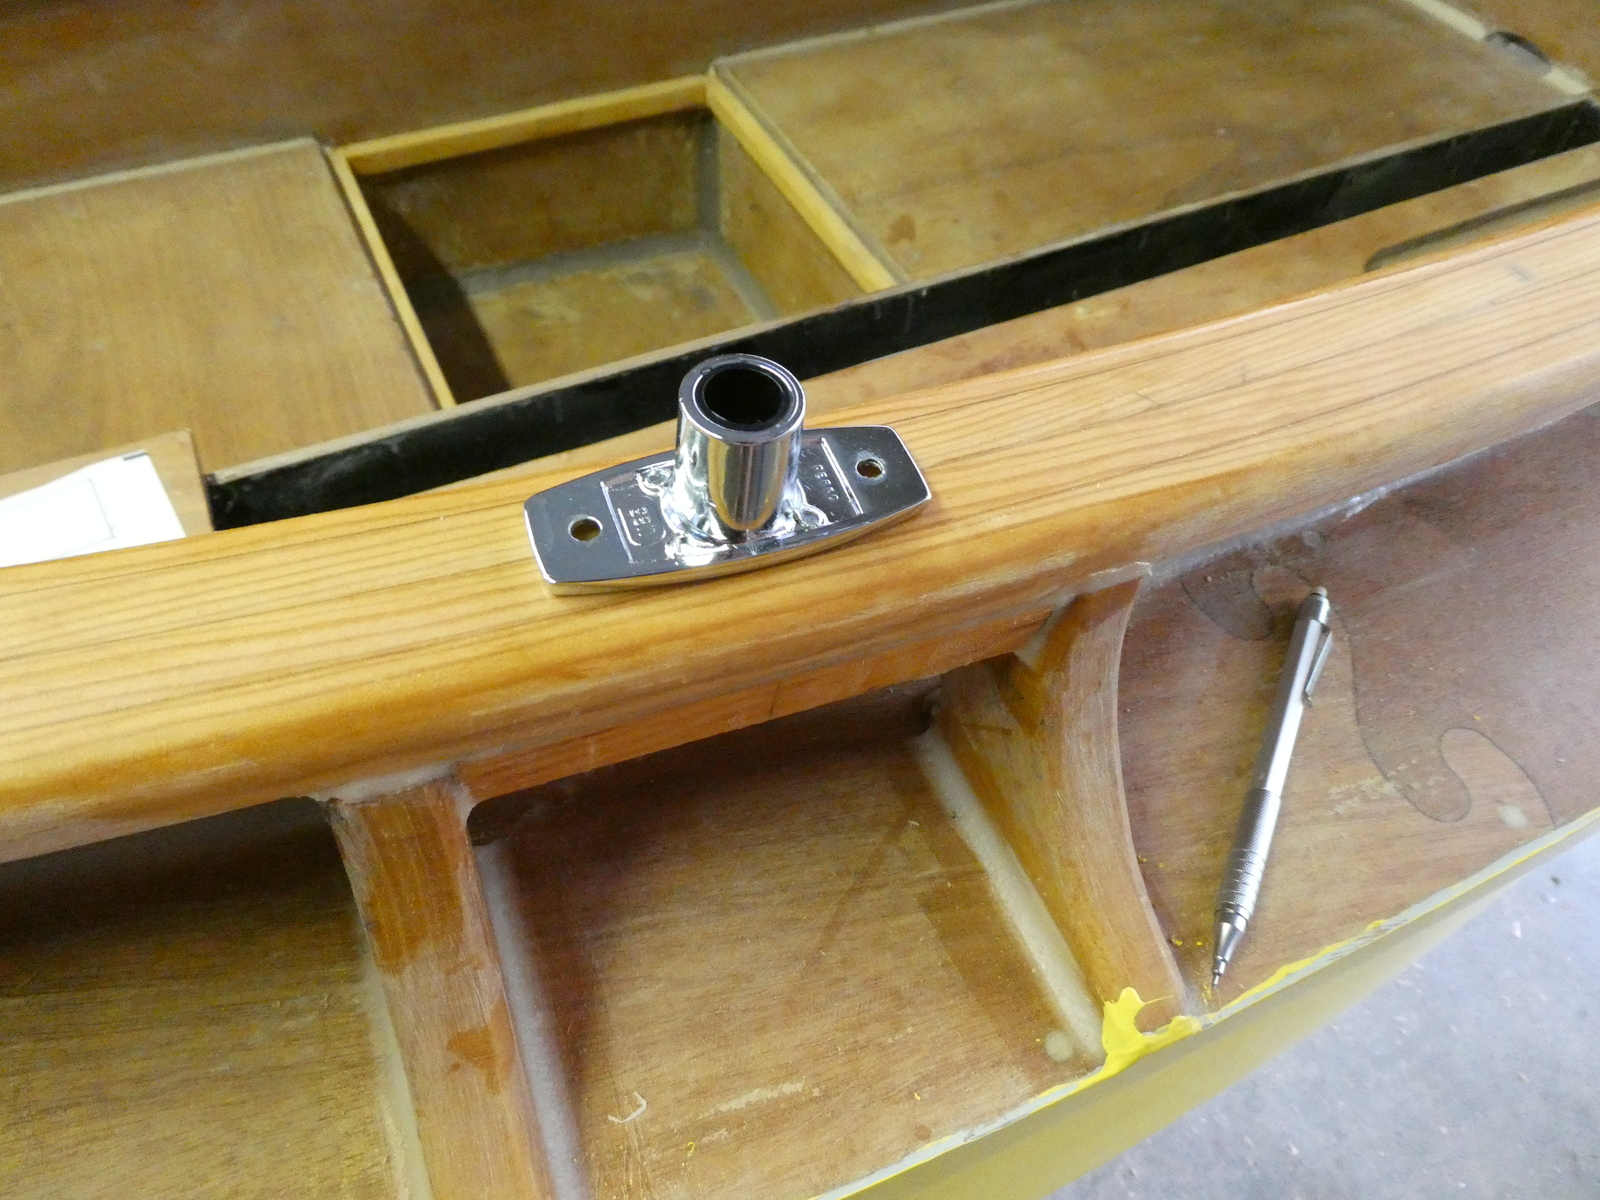
Where the oarlock will go
Cutting the template #
I decided the best way to do this was going to be with a router and a template, so the first step was to cut a good template in some spare plywood.
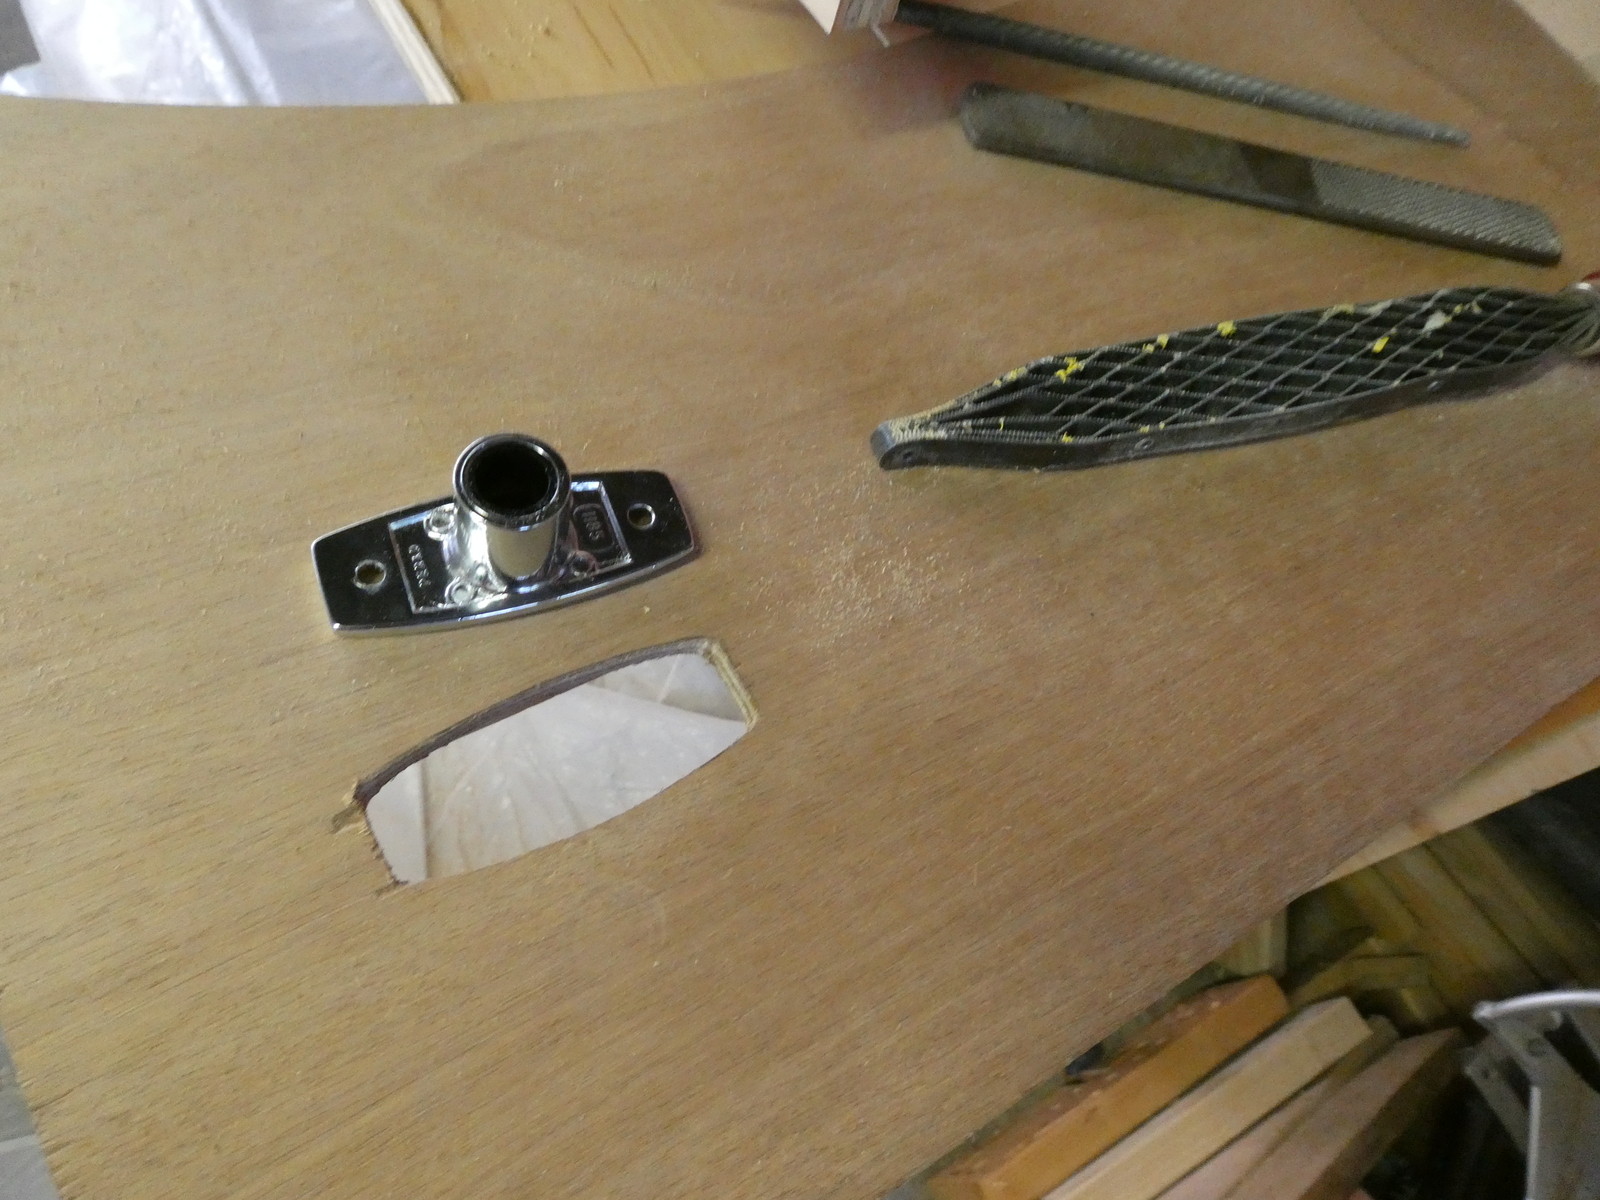
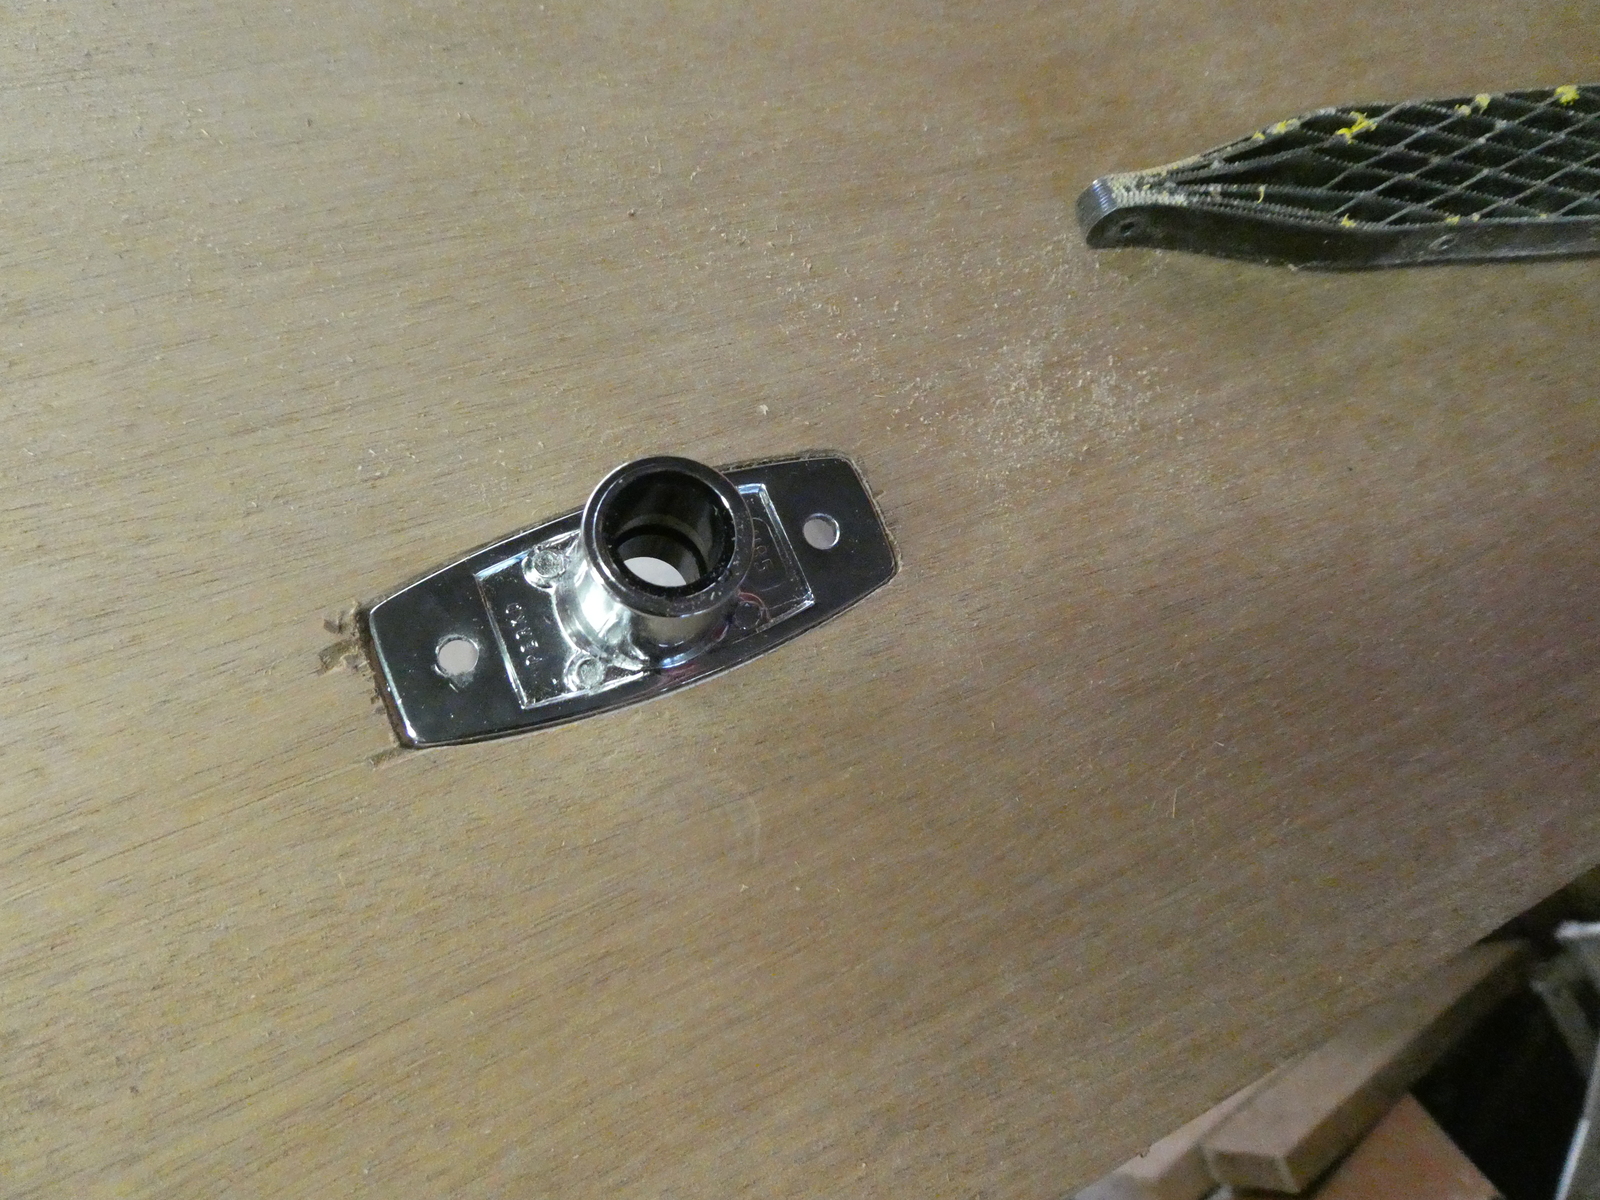
I wanted the fit to be a bit loose, as after I cut these into the rail they’ll have some epoxy followed by primer and paint applied before installing the oar locks themselves, all of which will take a little room.
Testing the template #
Next I had to buy a new template routing bit (surprised I didn’t have one already honestly), and then I reached for a spare block of wood to test out the template and also test for what the right depth should be for the routed out space.
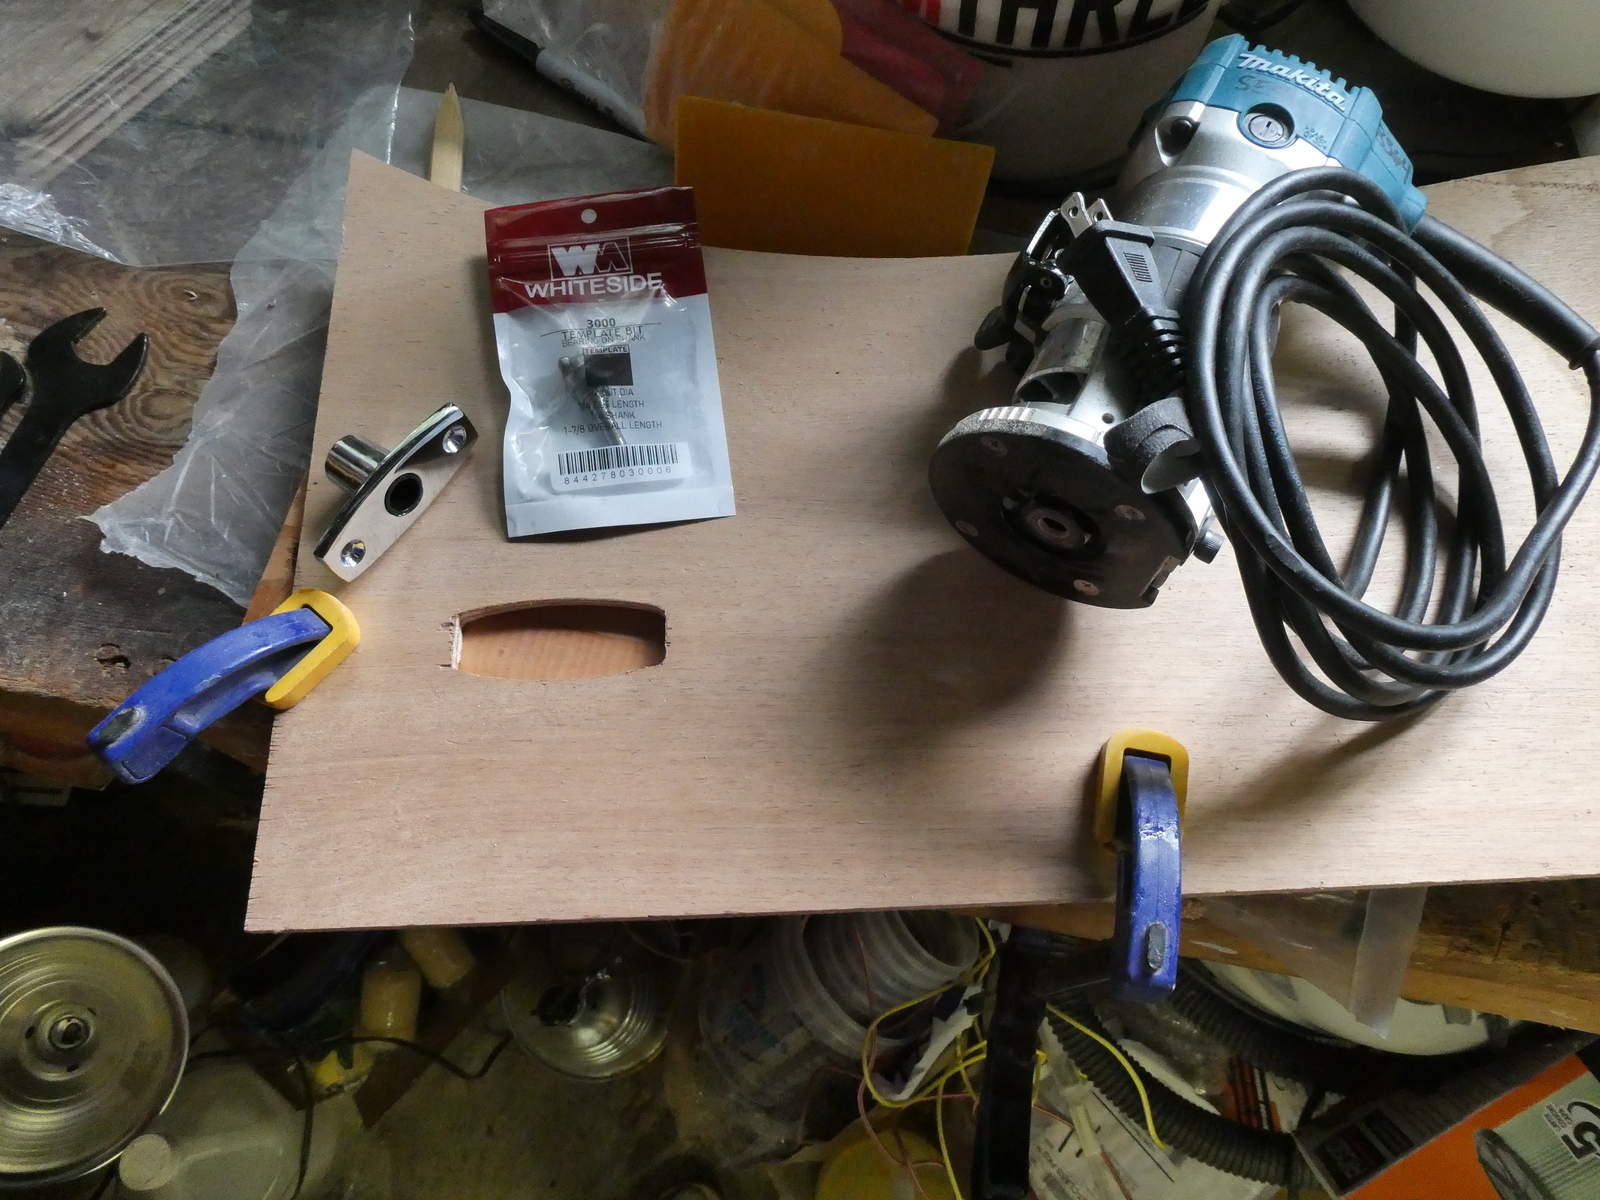
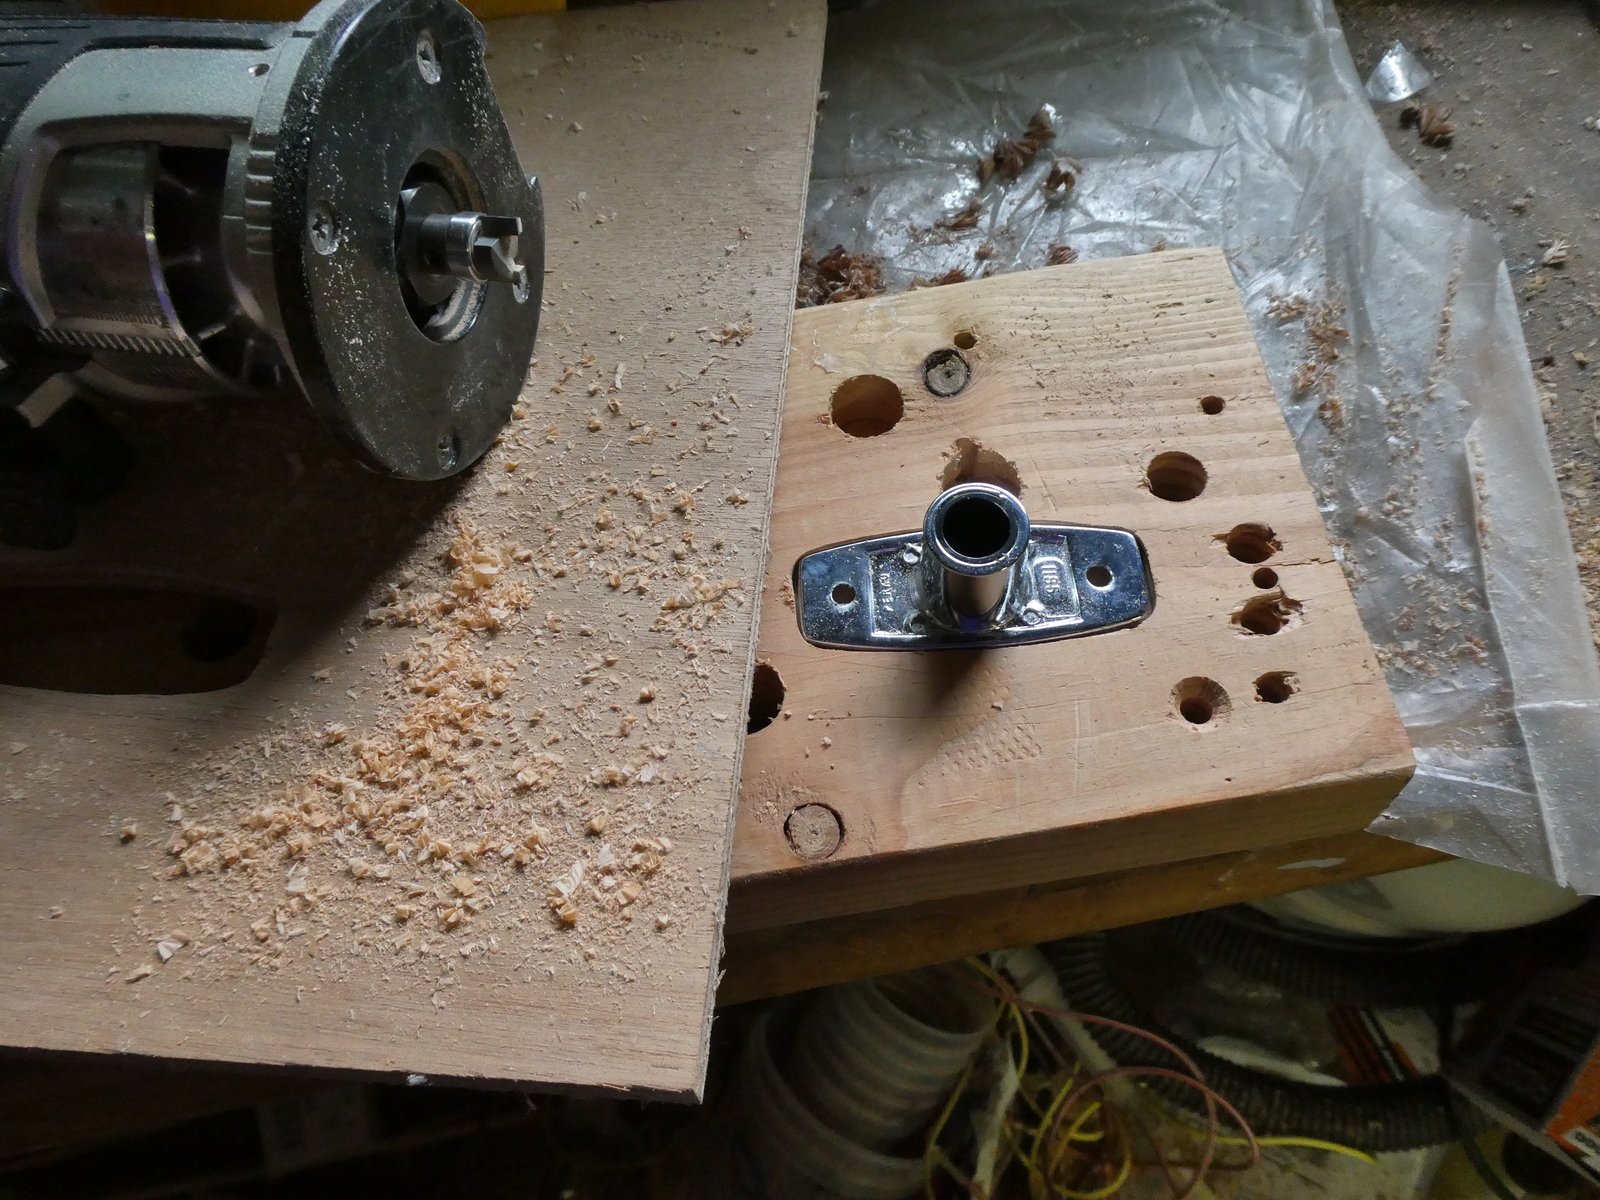
Drill fill drill the hole #
With the template set and the right bit depth set on the router for the mitre, next was to figure out what the right size of the hole would be for the shaft of the oar locks.
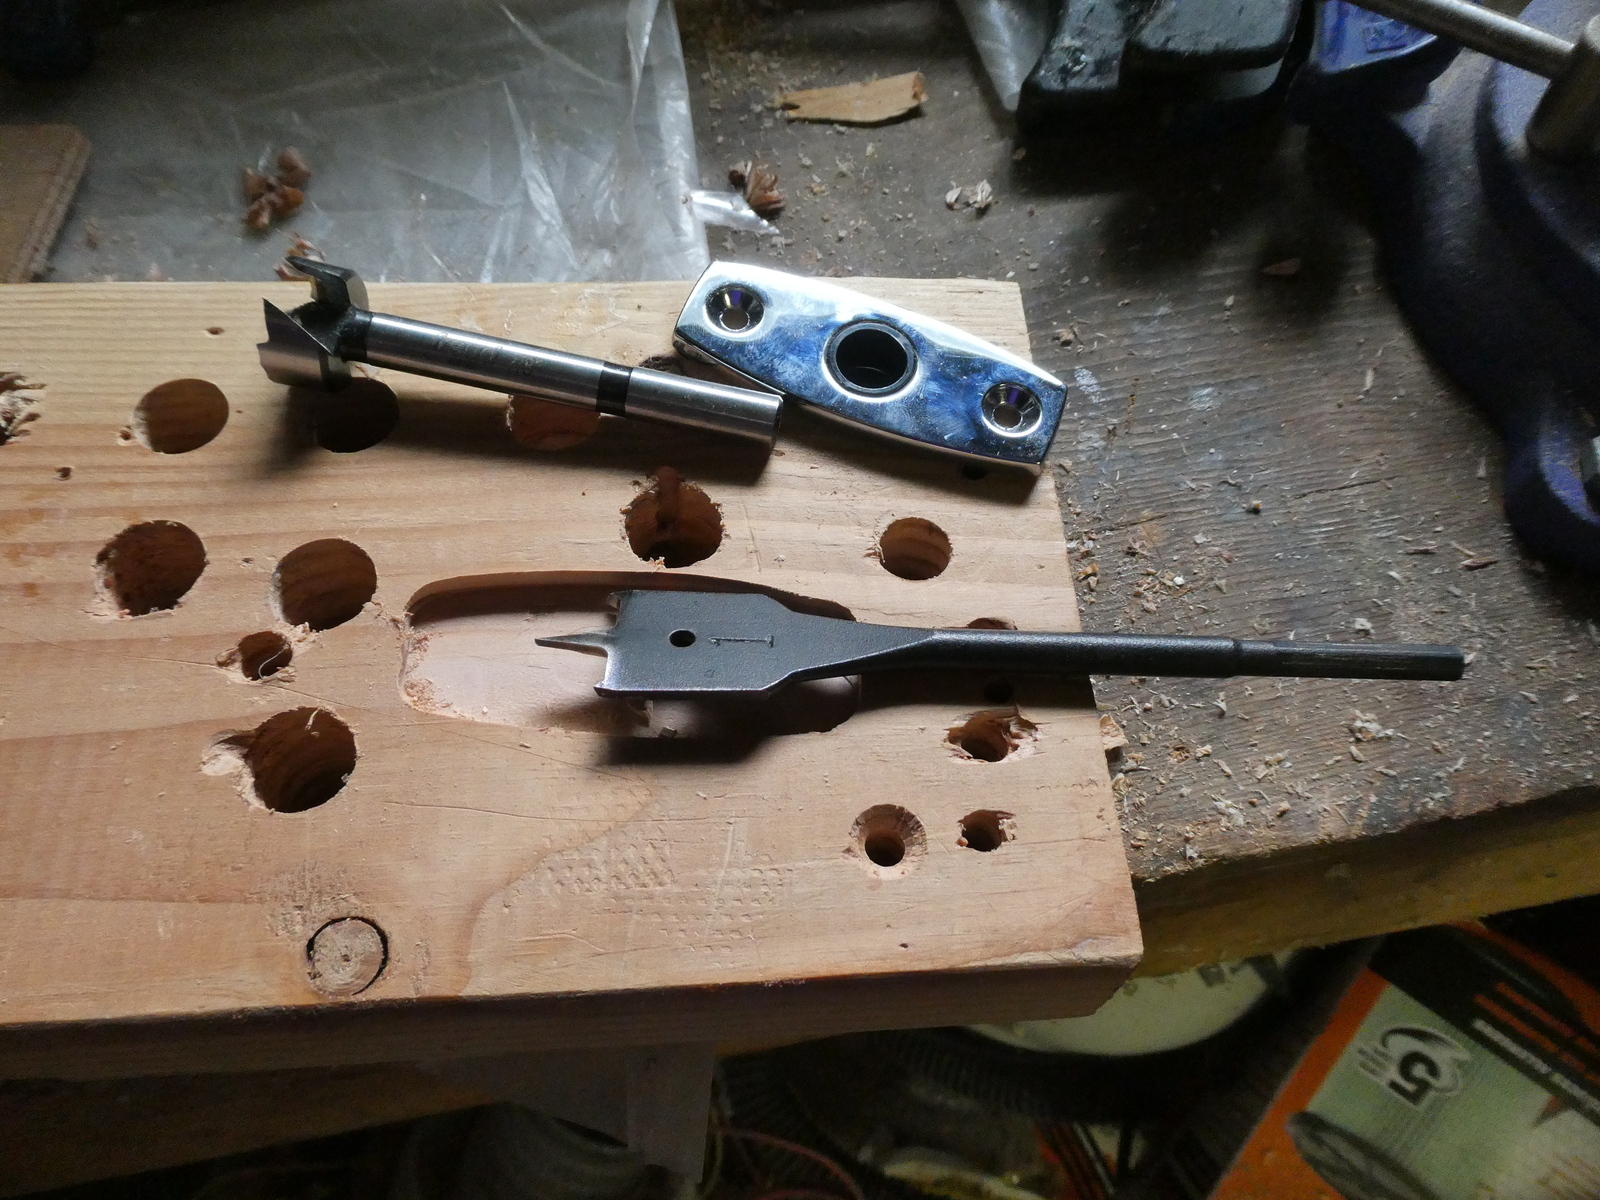
1 inch outer, 7/8ths inner
For these oar locks it turns out the initial hole at 1" works best. With all the measurements set, it’s time to actually install them now.
Install #
After marking where the oarlocks would be installed, first was to drill the initial oversize hole.
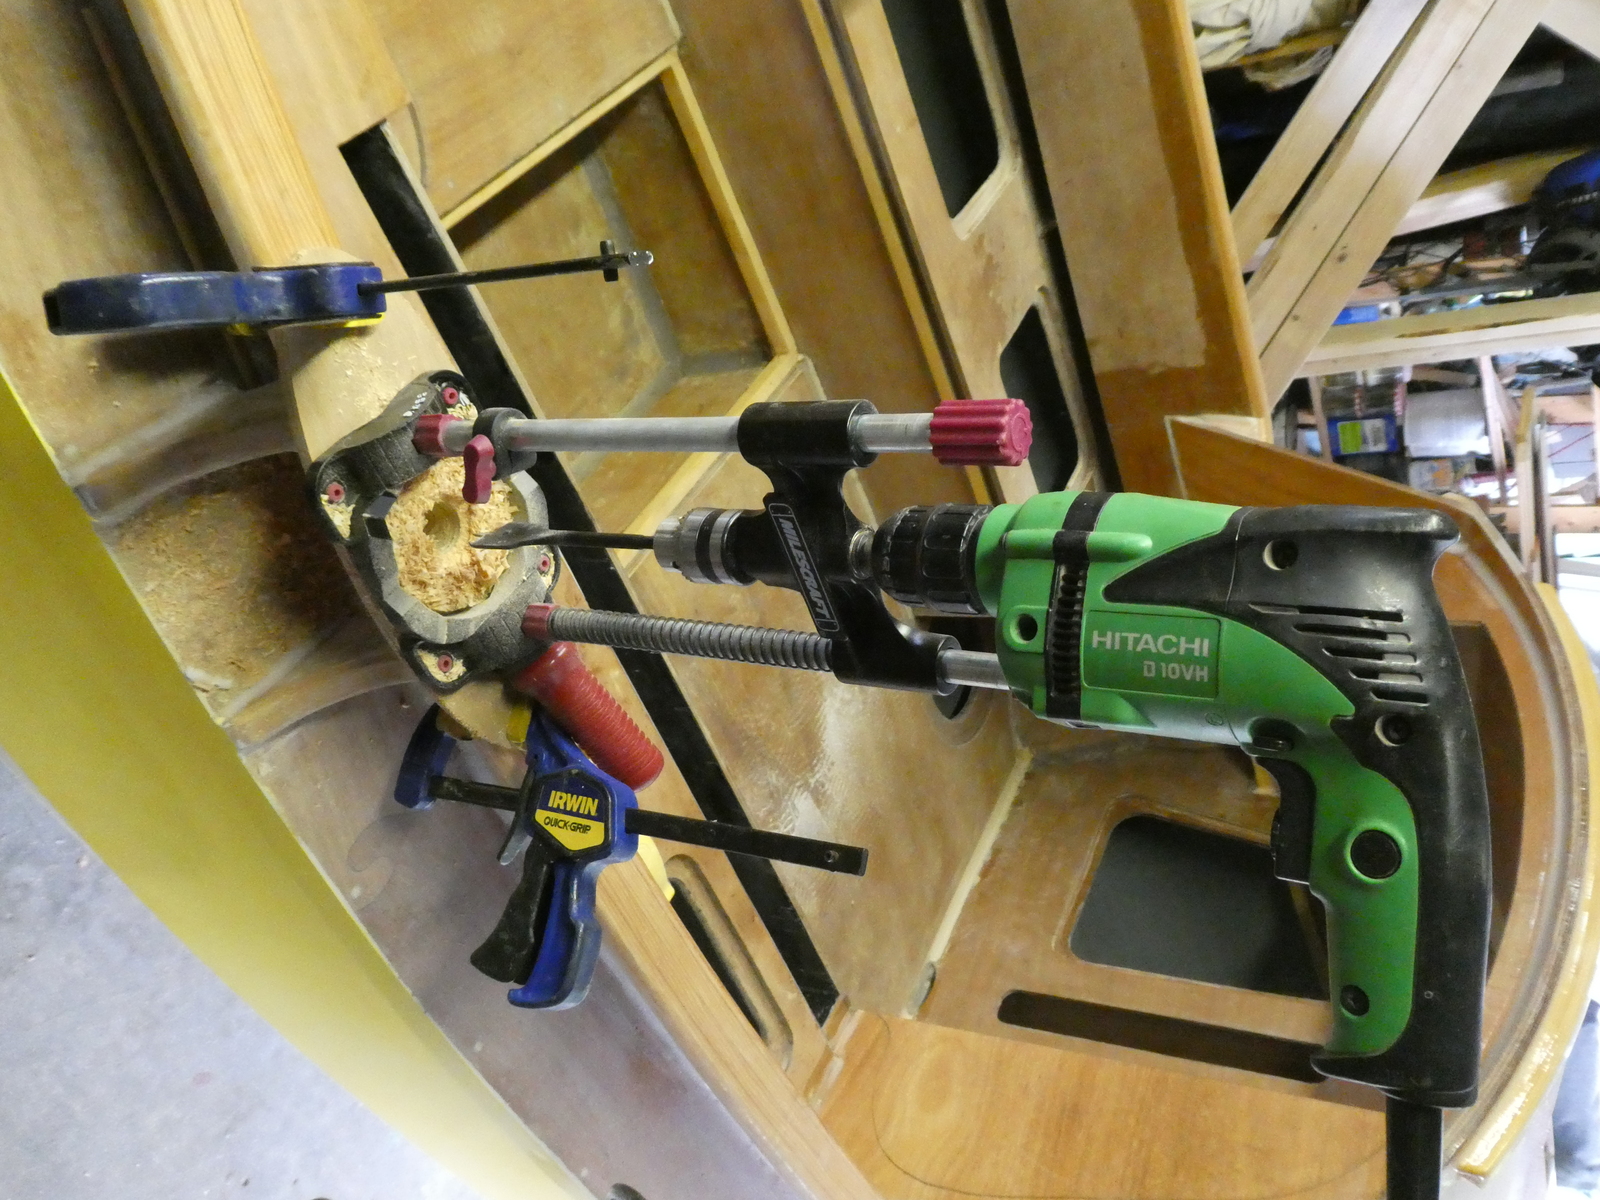
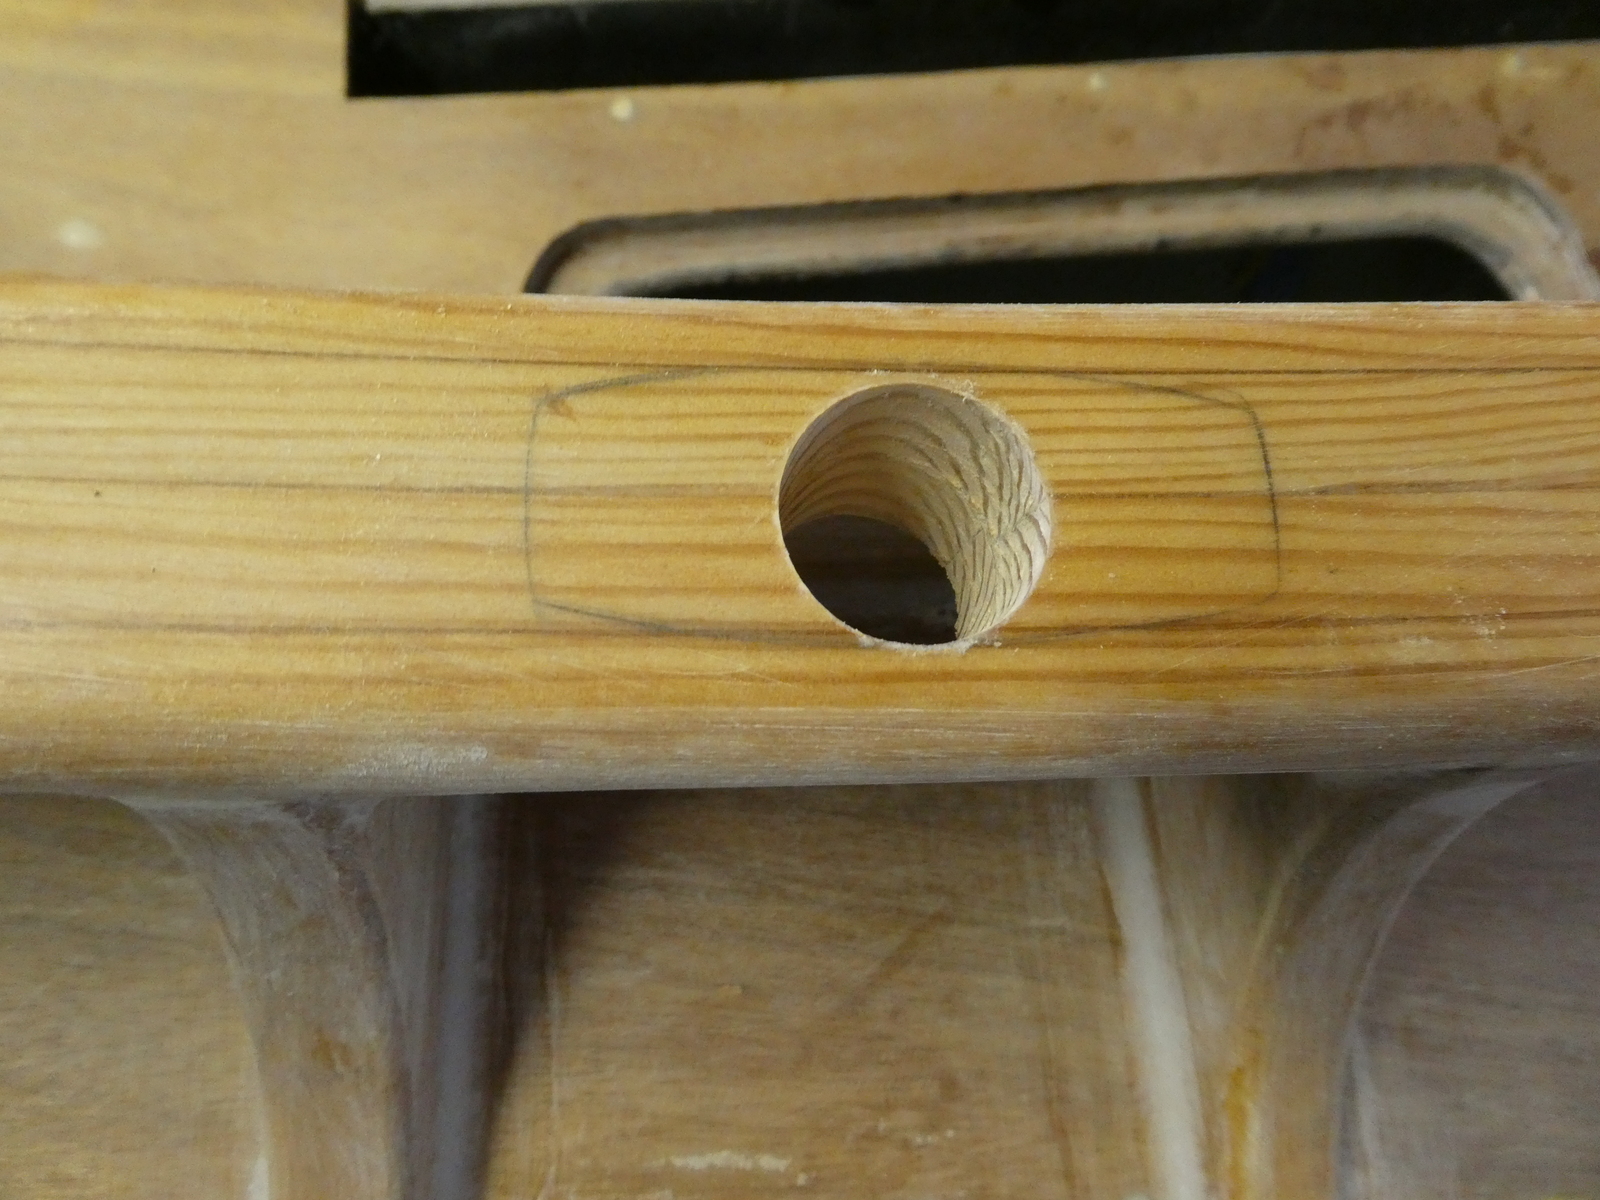
Next up was routing in the miter.
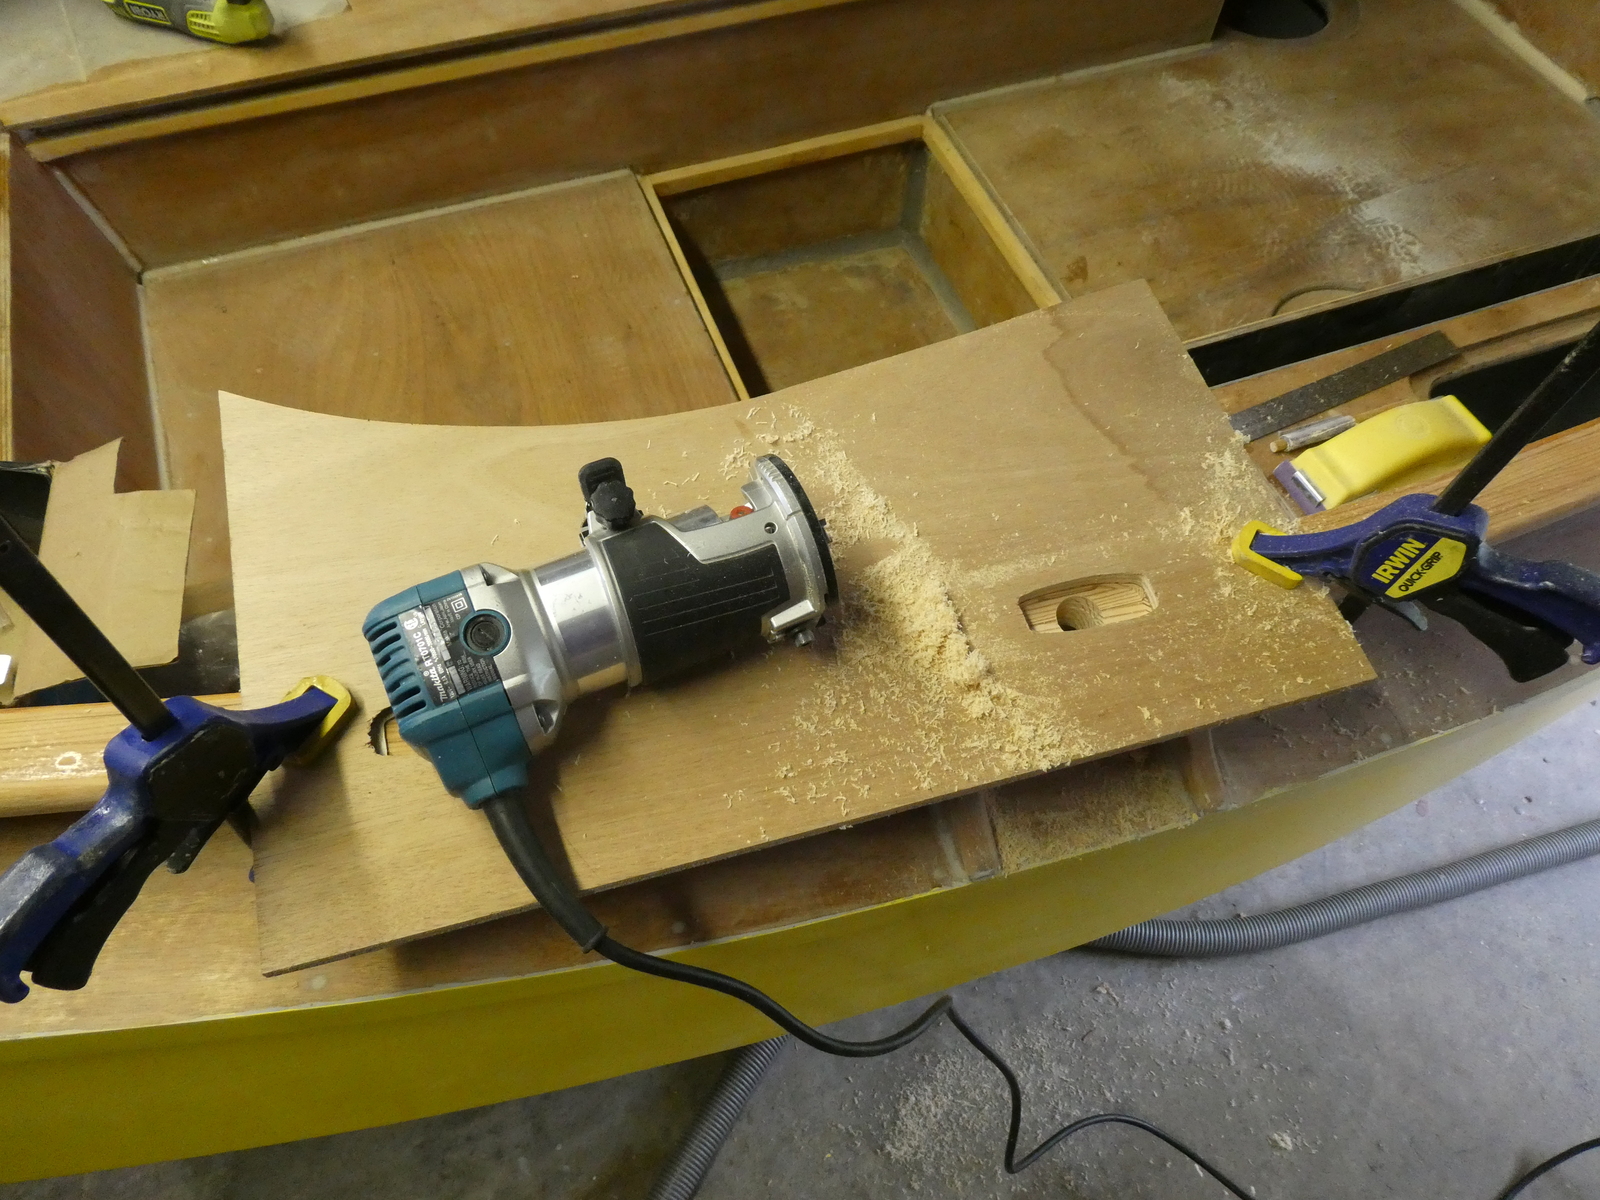
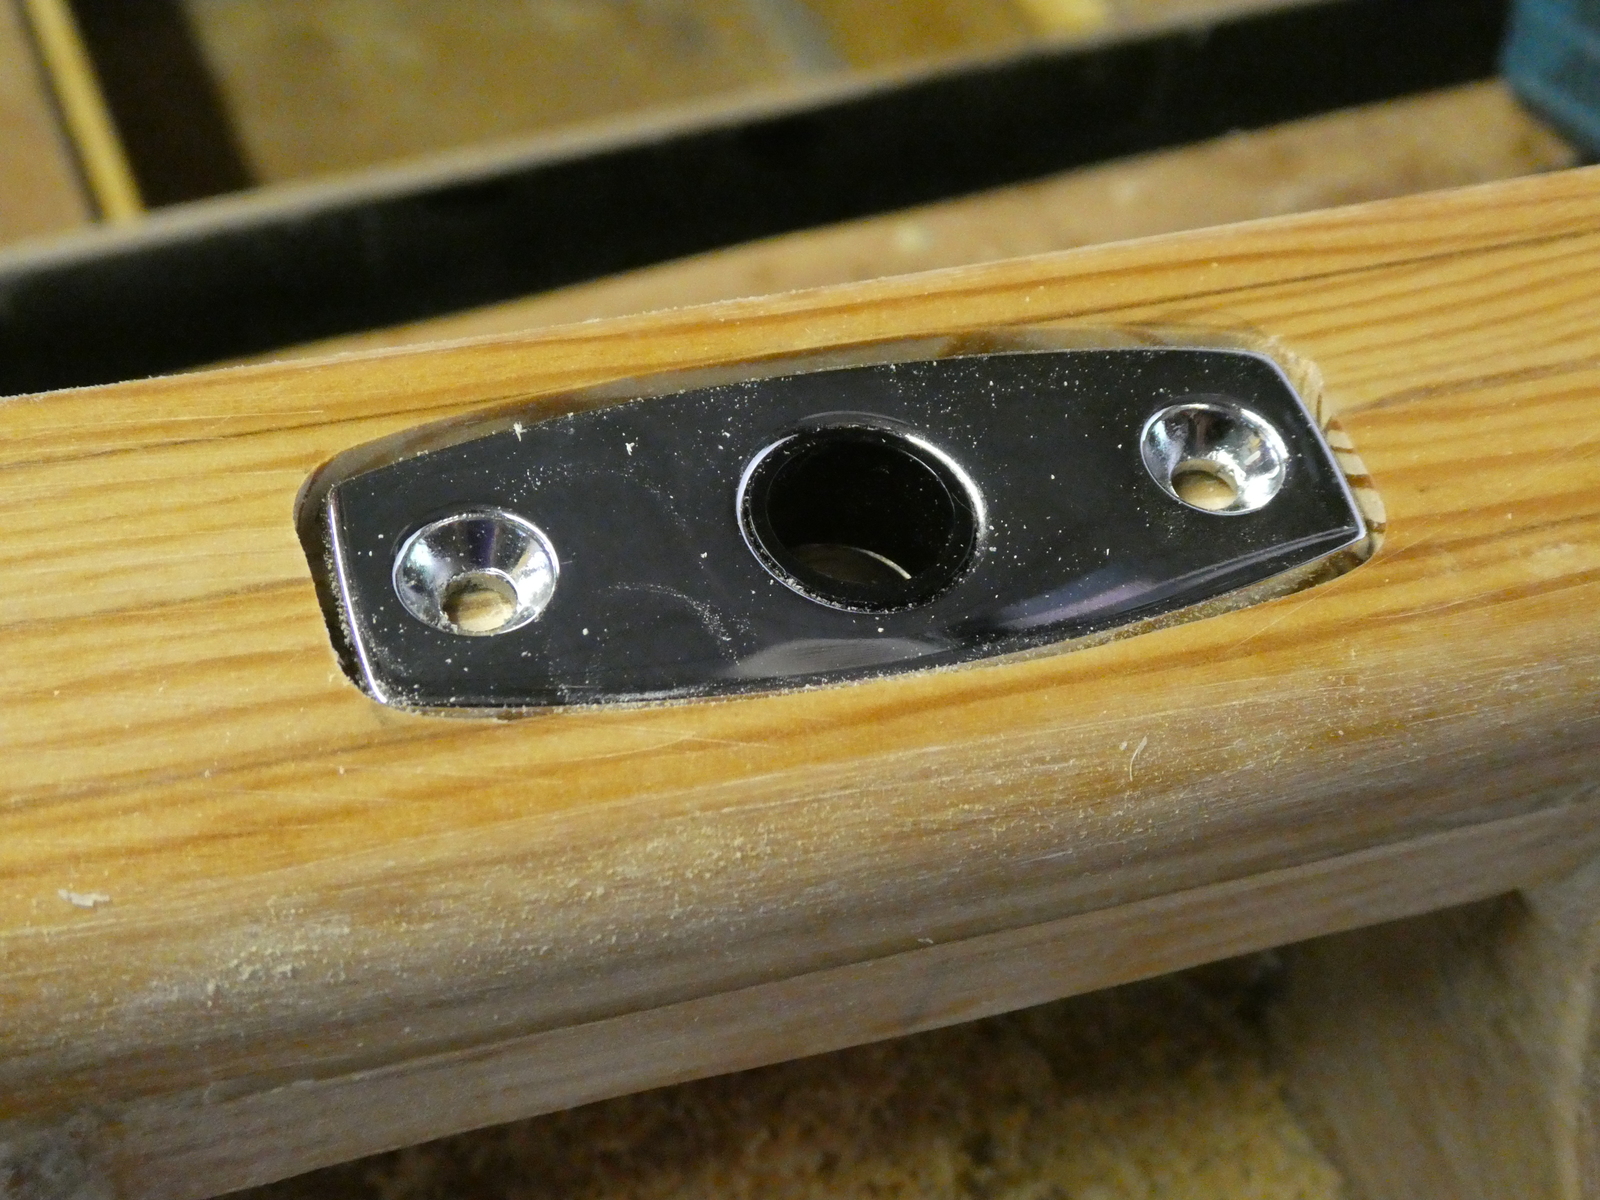
Now it was time for the first epoxy coat and to fill the initial oversize hole.
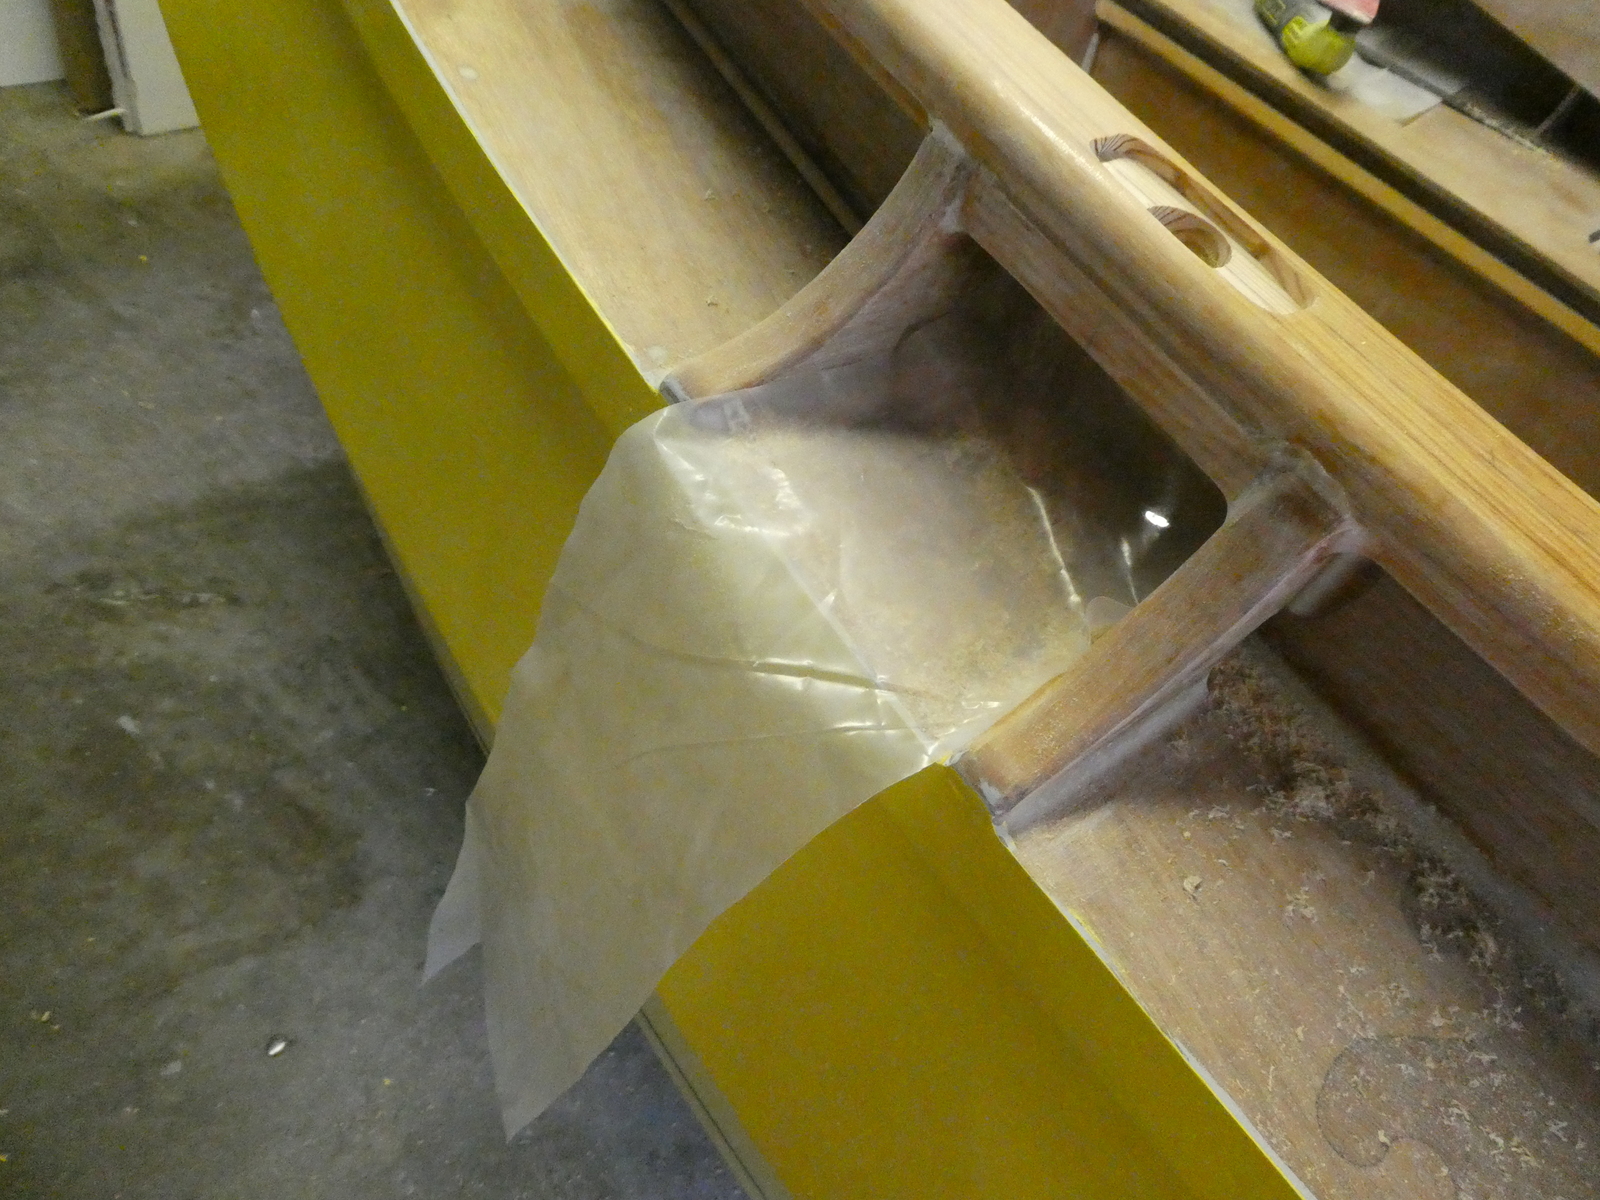
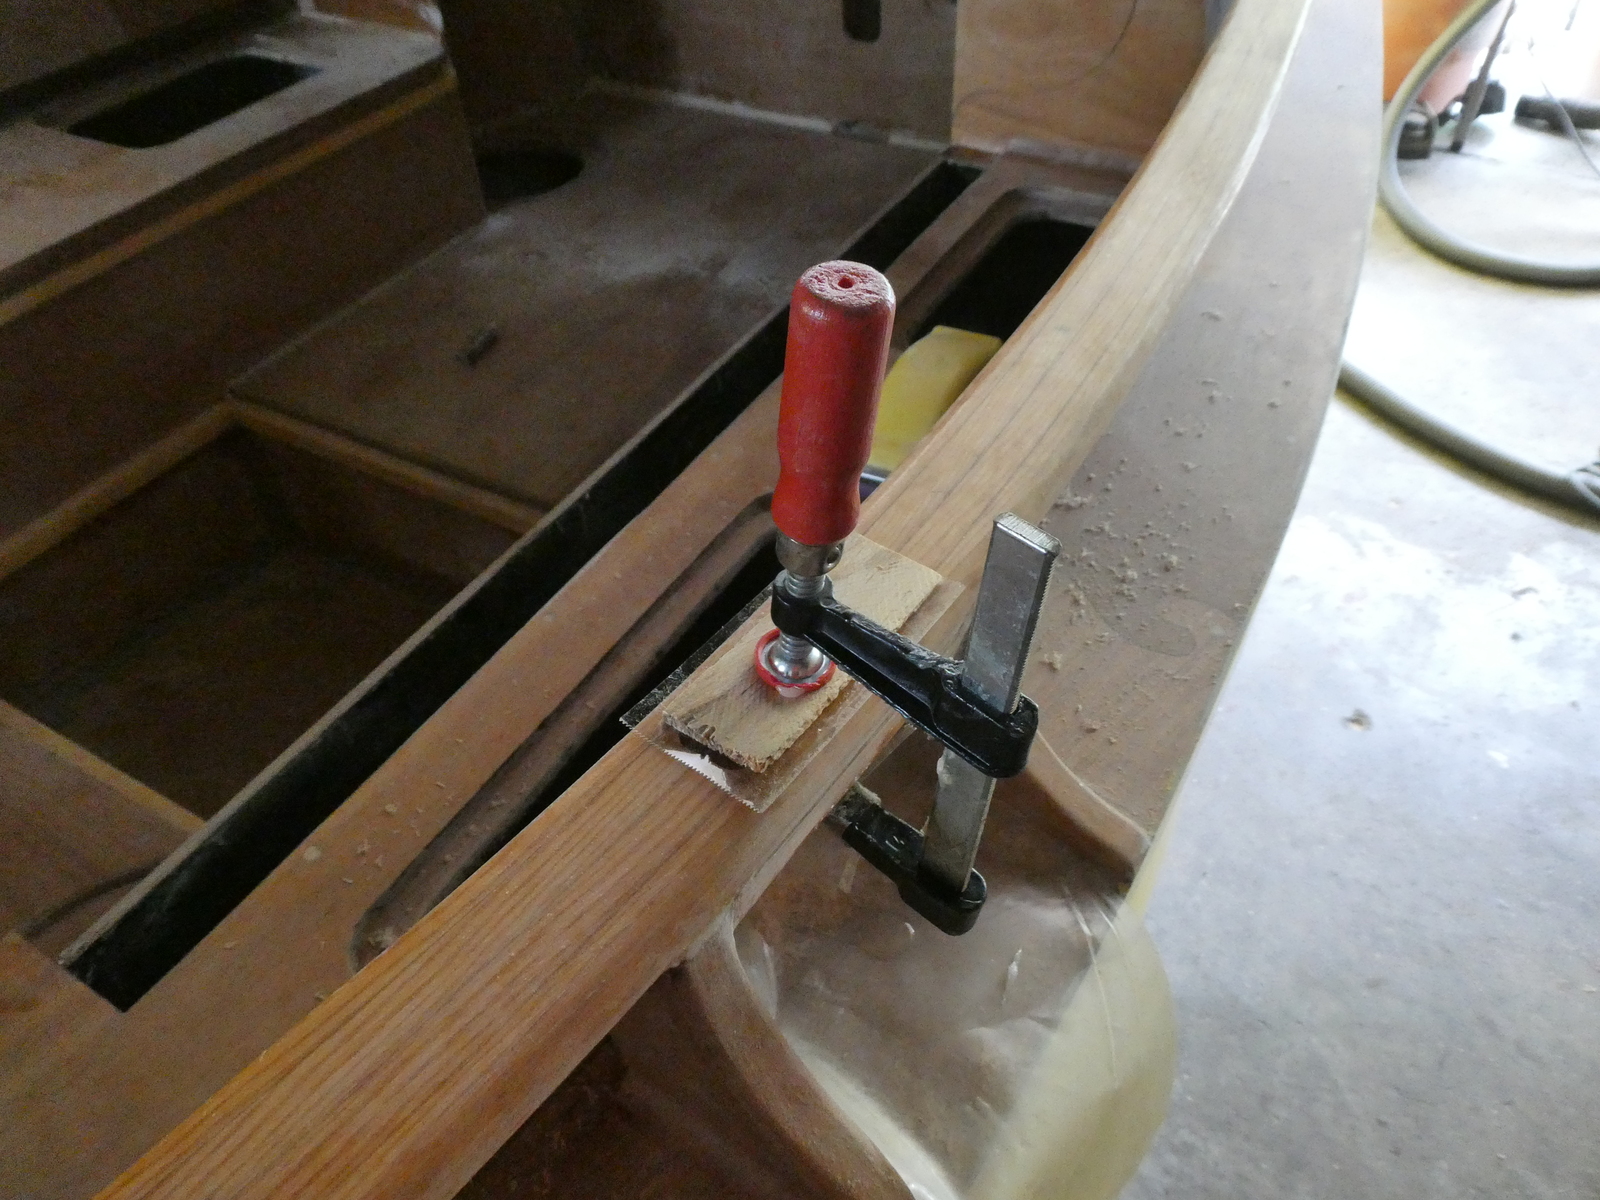
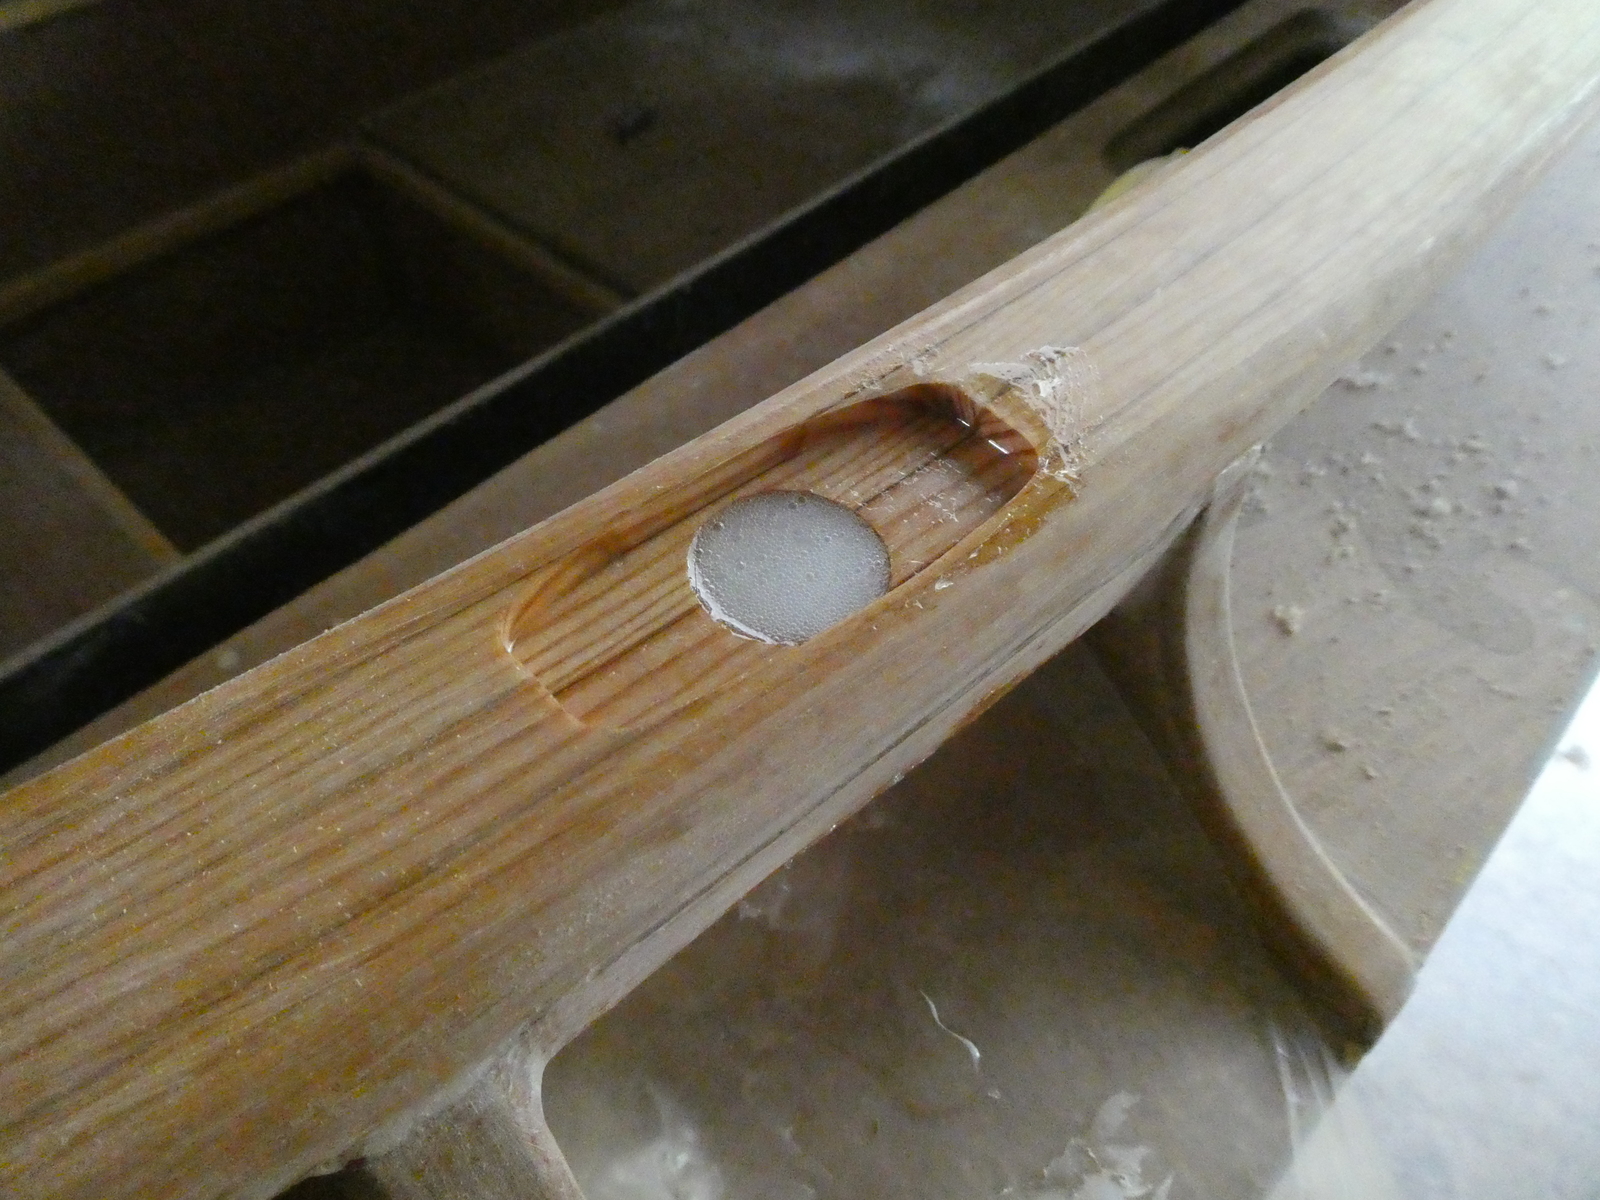
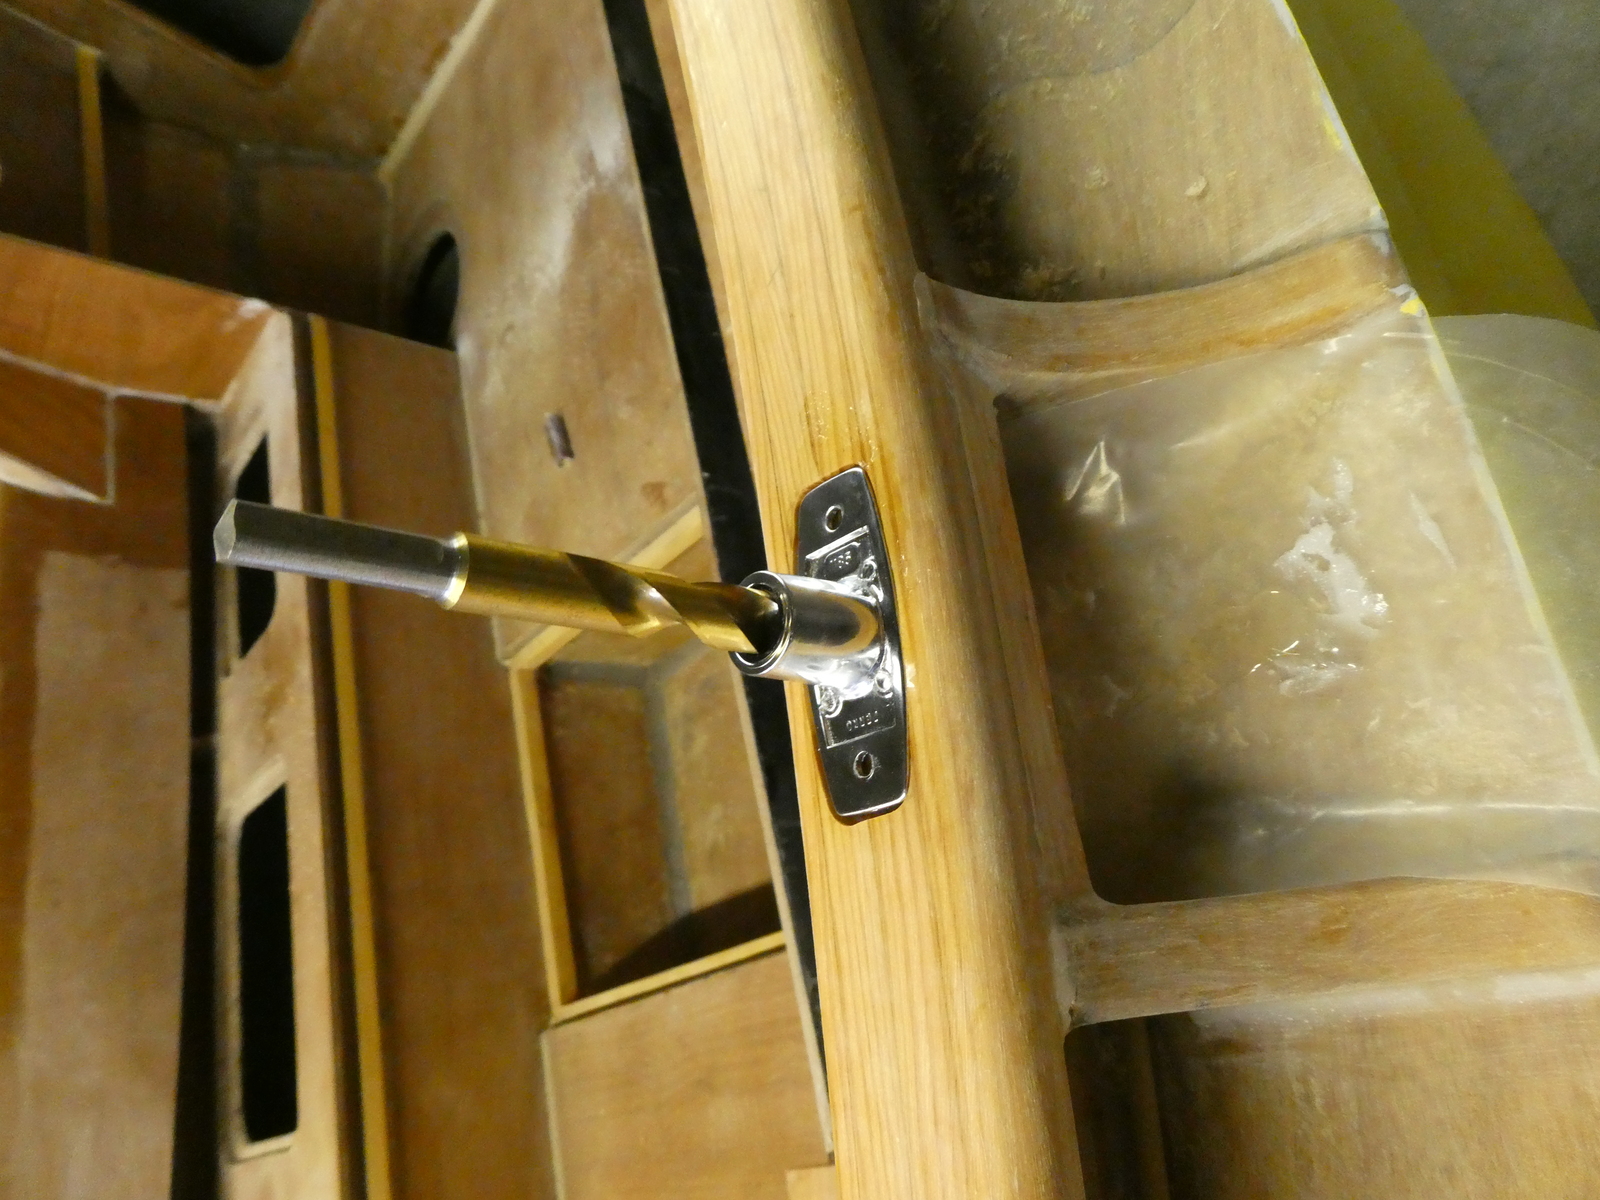
After it was filled, in order to make sure the next hole was drilled in the right spot I flipped the oarlock mounts unpside down and used a 1/2" drill bit (the same size as the shanks for the oarlocks themselves) to make a mark exactly in the center. From there, a 7/8" bit (which is the size needed for the oarlock mount itself) can be centered on that mark and driven through.
This was again done with a drill press, leaving a hole with a nice ring of epoxy all the way around it.
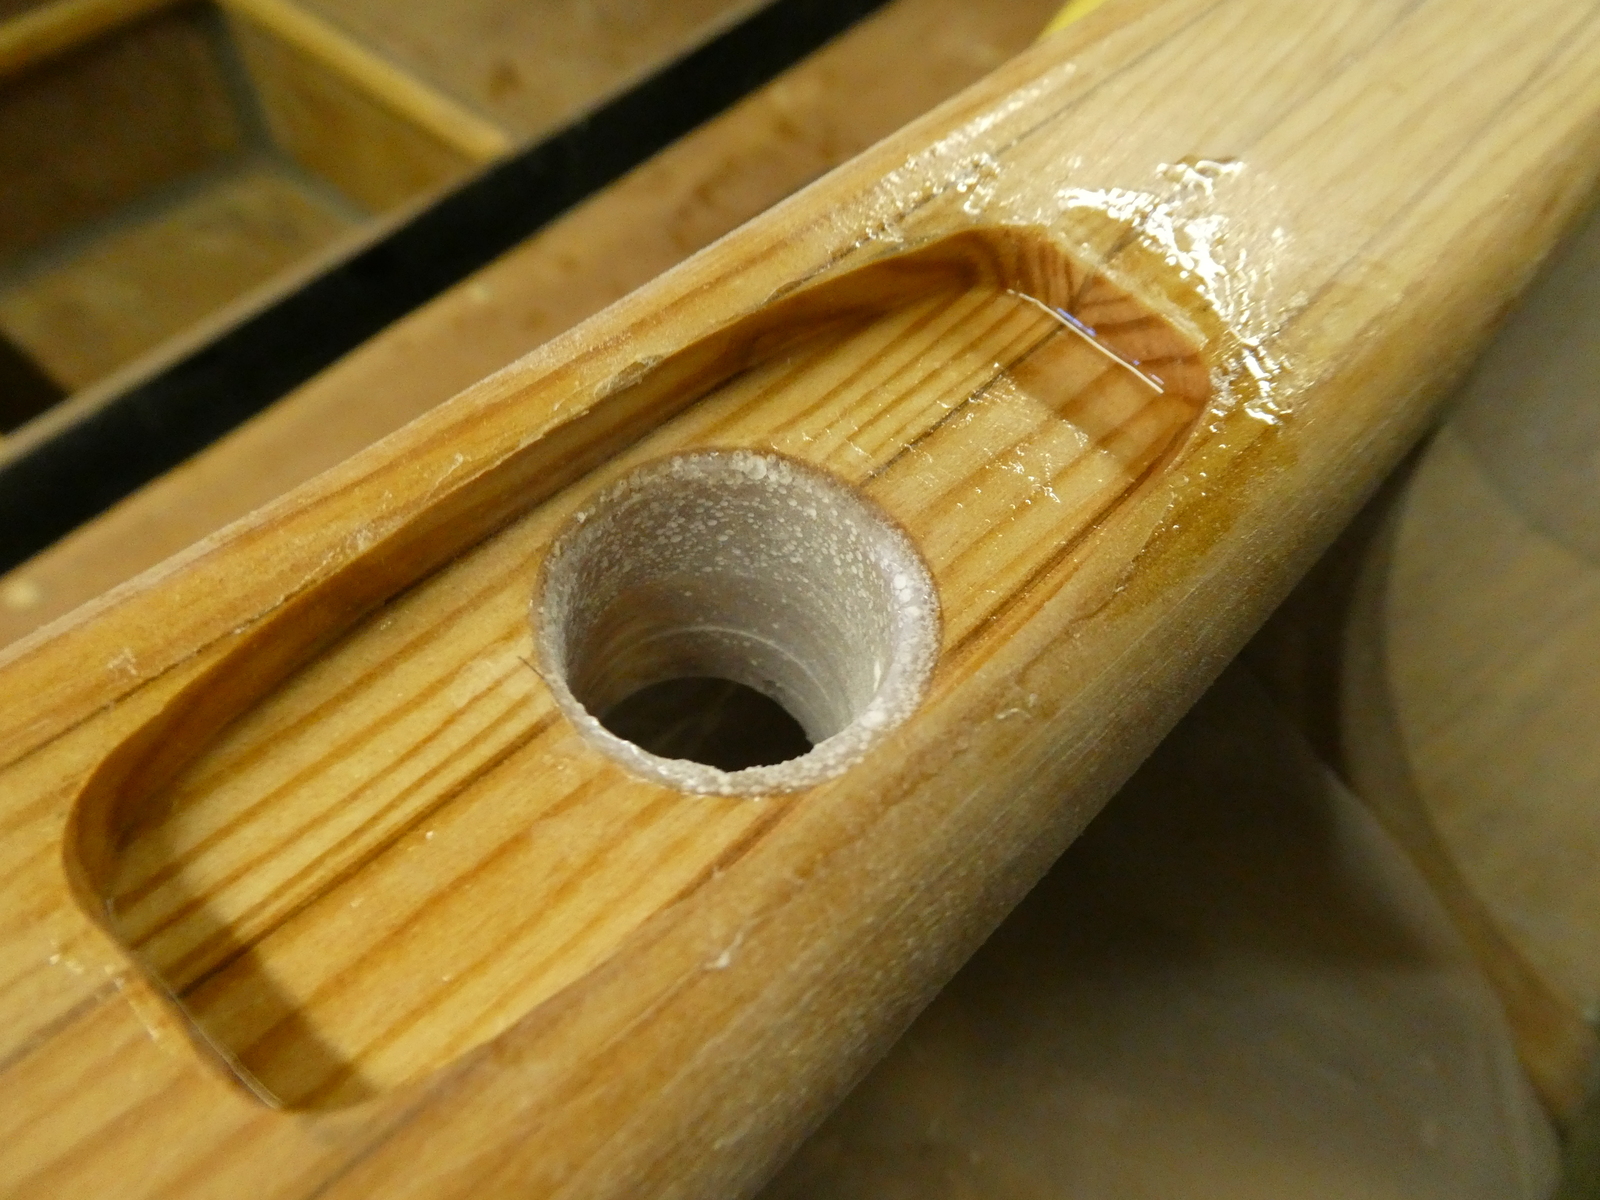
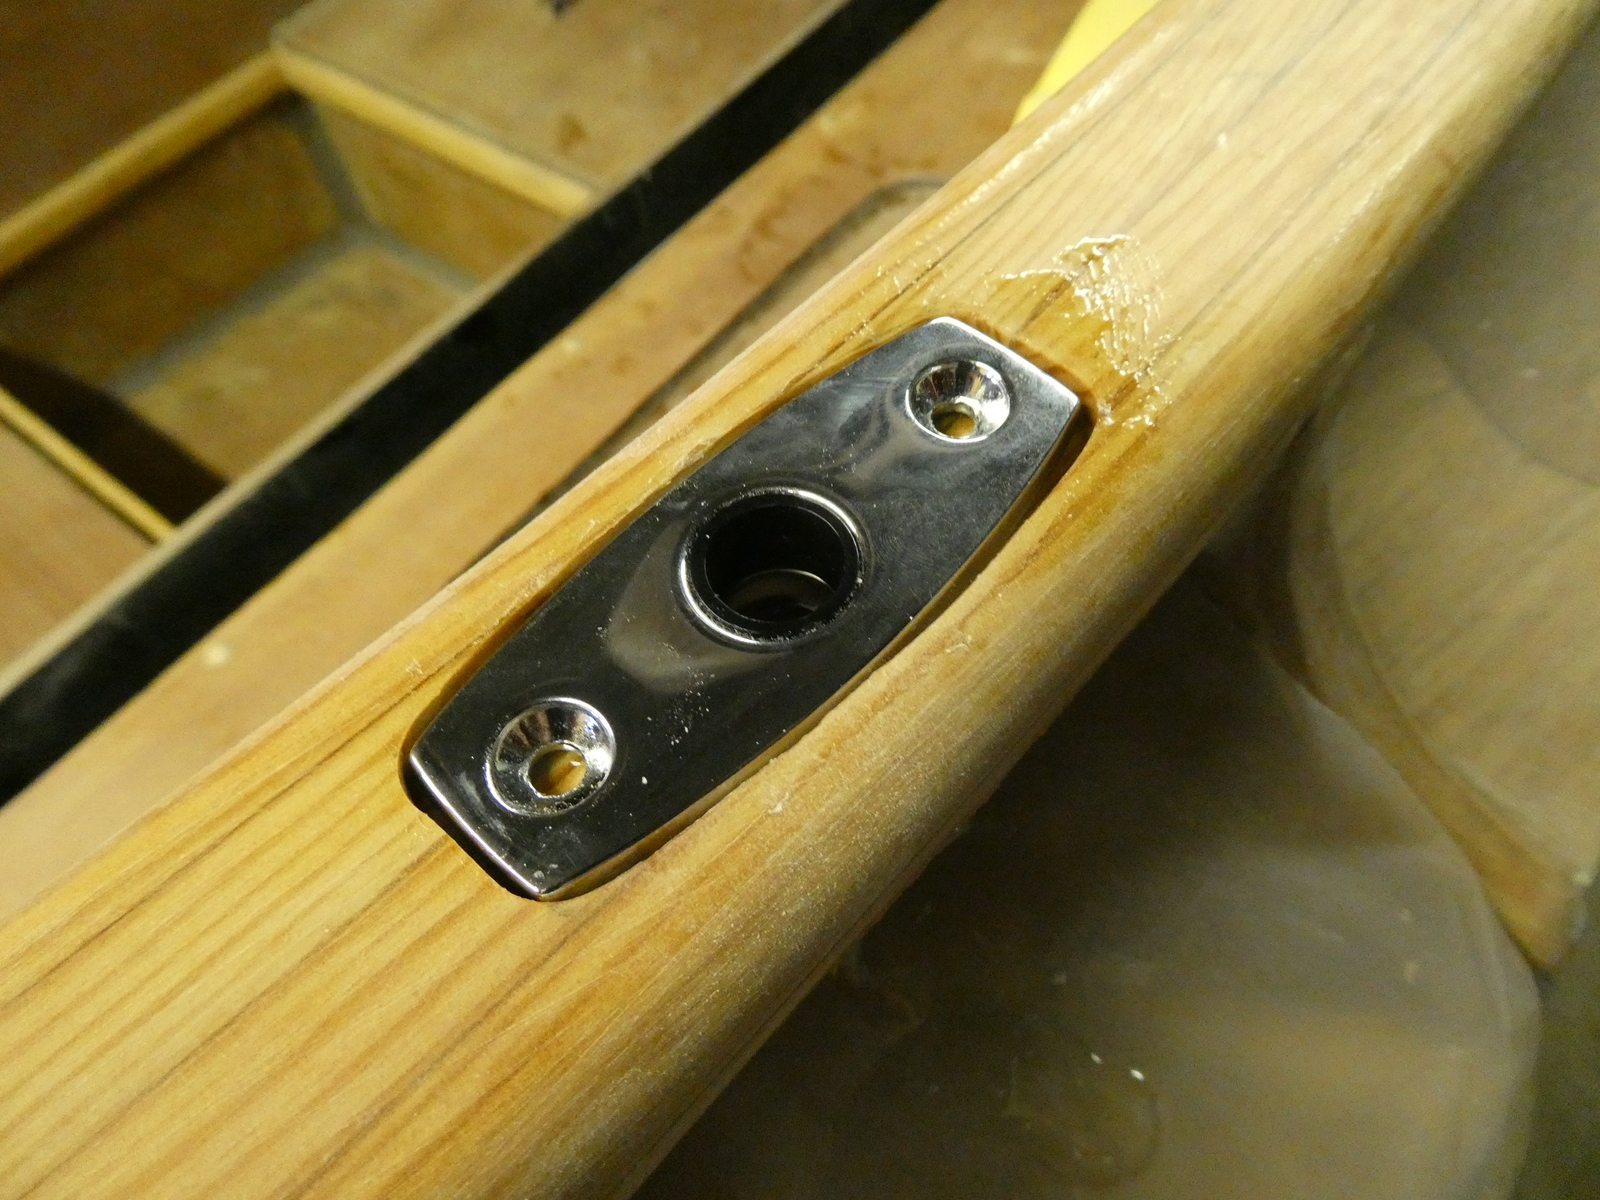
As it turns out I didn’t quite get the drill guide lined up at the right angle on the port side, so I drilled at just a slight angle and just barely into some bare wood at the bottom of the hole. Not enough to worry about - a coat or two of epoxy followed by primer and paint and it will be sealed well against any water rot. The starboard side turned out perfect.
Offset mounting blocks #
The next task was to build offset blocks for the cabin top cleats as well as for the keel uphaul tackle. The goal for all of this was to raise the tackle enough so that the lines the run aft from the mast can more easily be controlled given the cabin top handhold I added earlier.
I bought a thick piece of mahogany and used that to create the blanks for both above and below the cabin top. I made the height of the blocks on top of the cabin top to be roughly the same height as the cabin top handhold itself, meaning the downhaul for example could run from the base of the mast up through a cleat and straight back and over the hand hold. Same with the halyard on the port side.
Making the blocks themselves was relatively straightforward - cut them to the right height and size, round over all the corners, use the actual hardware to mark where the (oversize) holes should be drilled for drill/fill/drill, etc. Perhaps the only slighly interesting part was that I needed to decide on the orientation of the blocks on the cabin top as, because the cabin top is slightly curved, that curve needed to be represented in the gluing faces. Not a big deal, just forced me to decide where to place the blocks a bit earlier then I expected to.
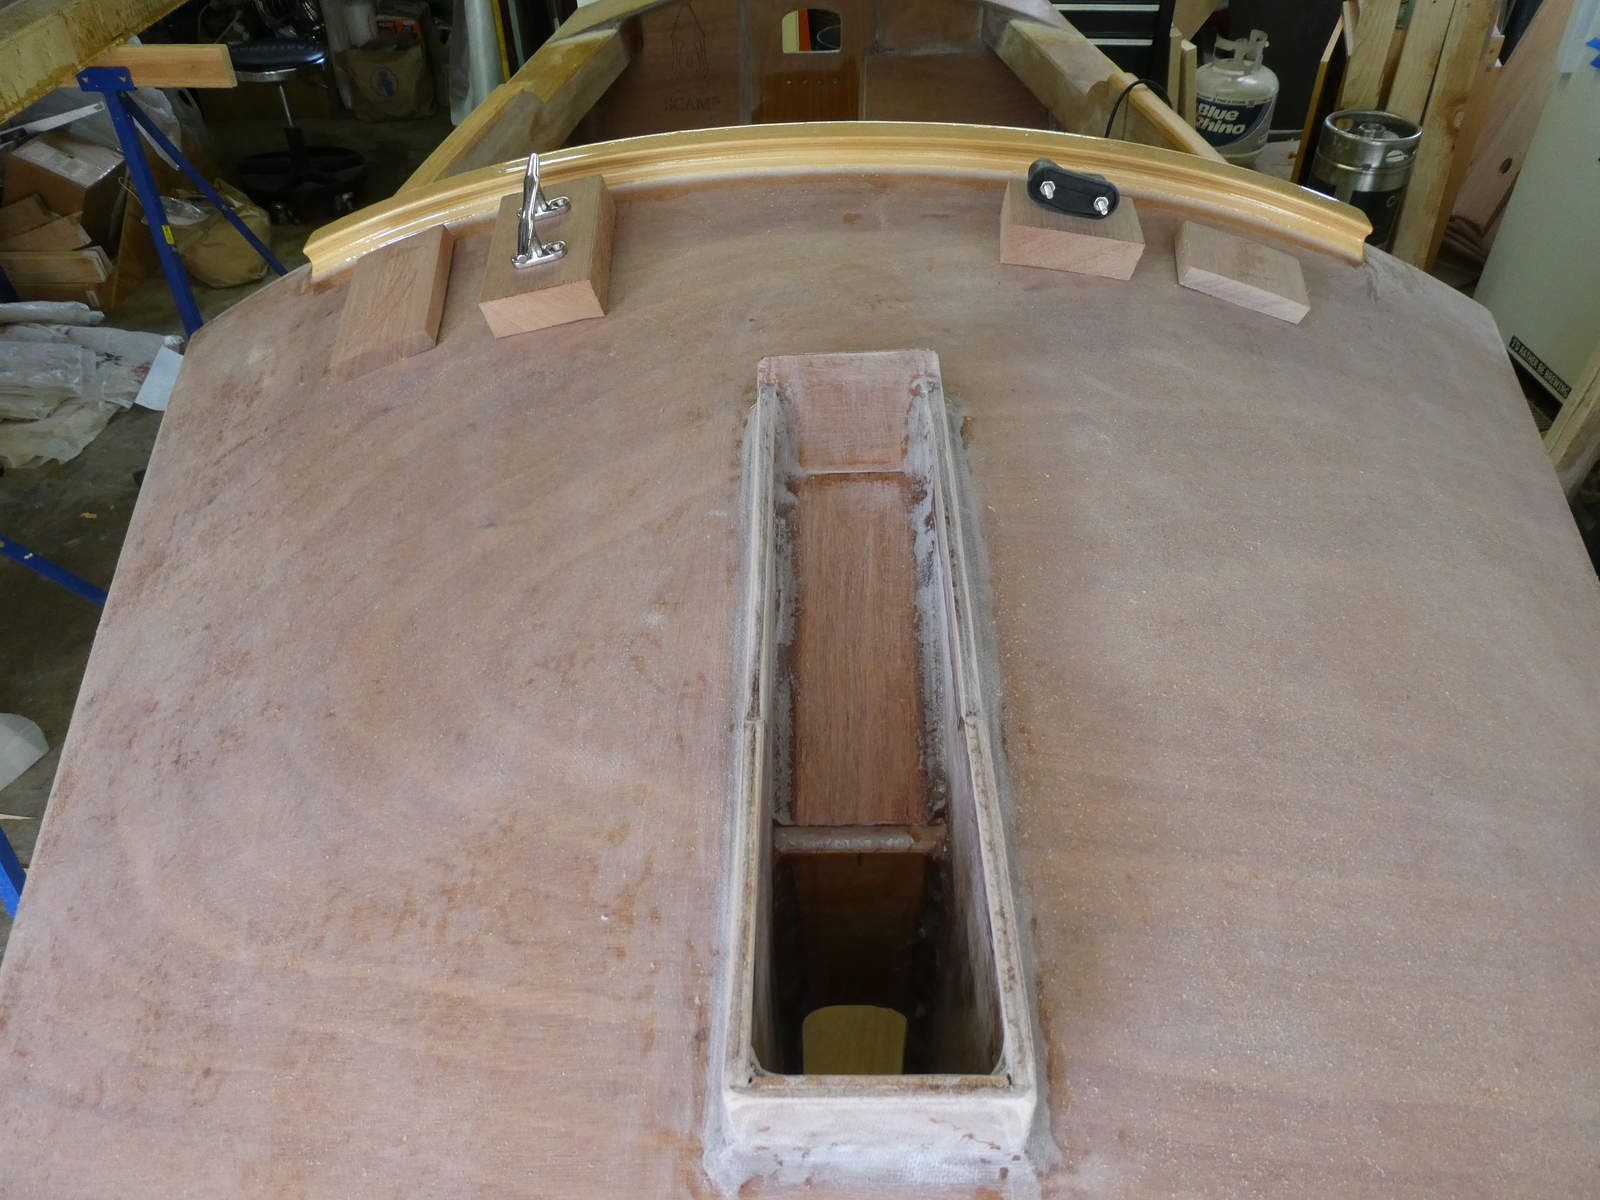
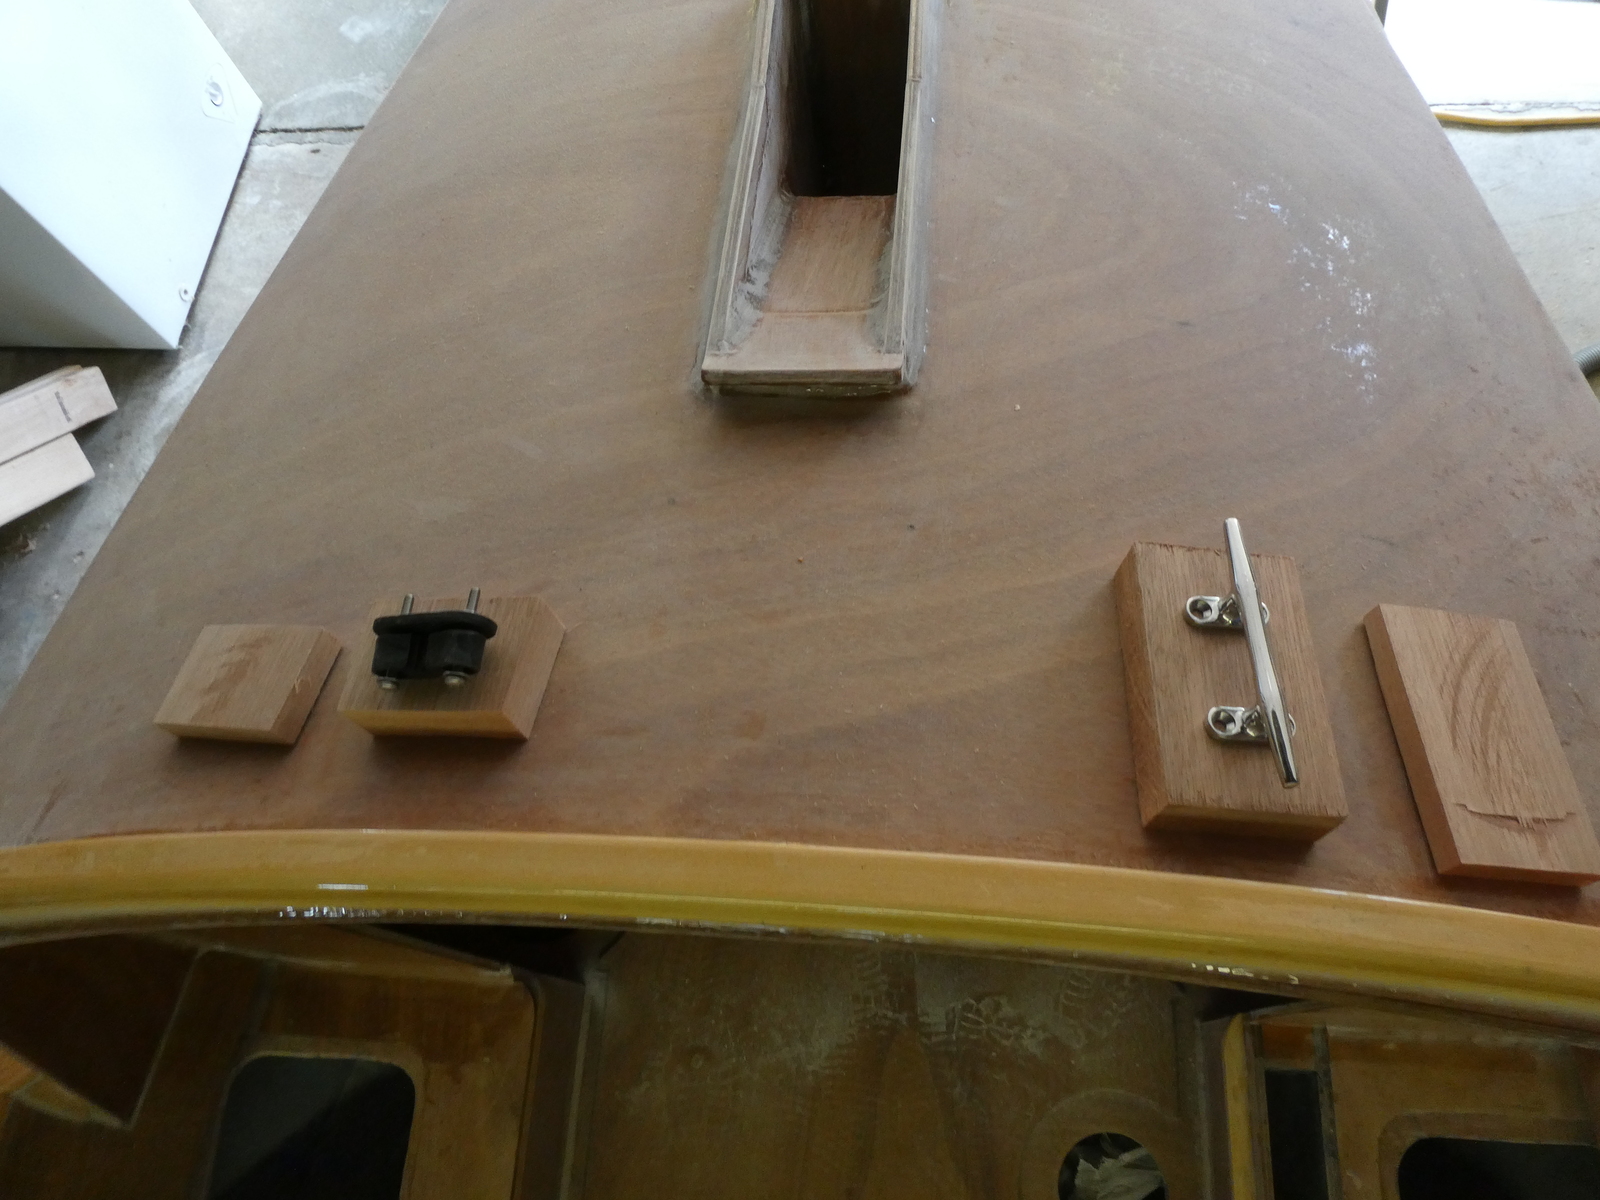
I decided to splay them out just slightly from running them straight back from either side of the mast box.
Once I drilled in the oversize holes on the top and bottom blocks (clamping them together to make sure all the holes lined up), I then used the top blocks as drill guides for drilling those same holes in the cabin top for the through bolts.
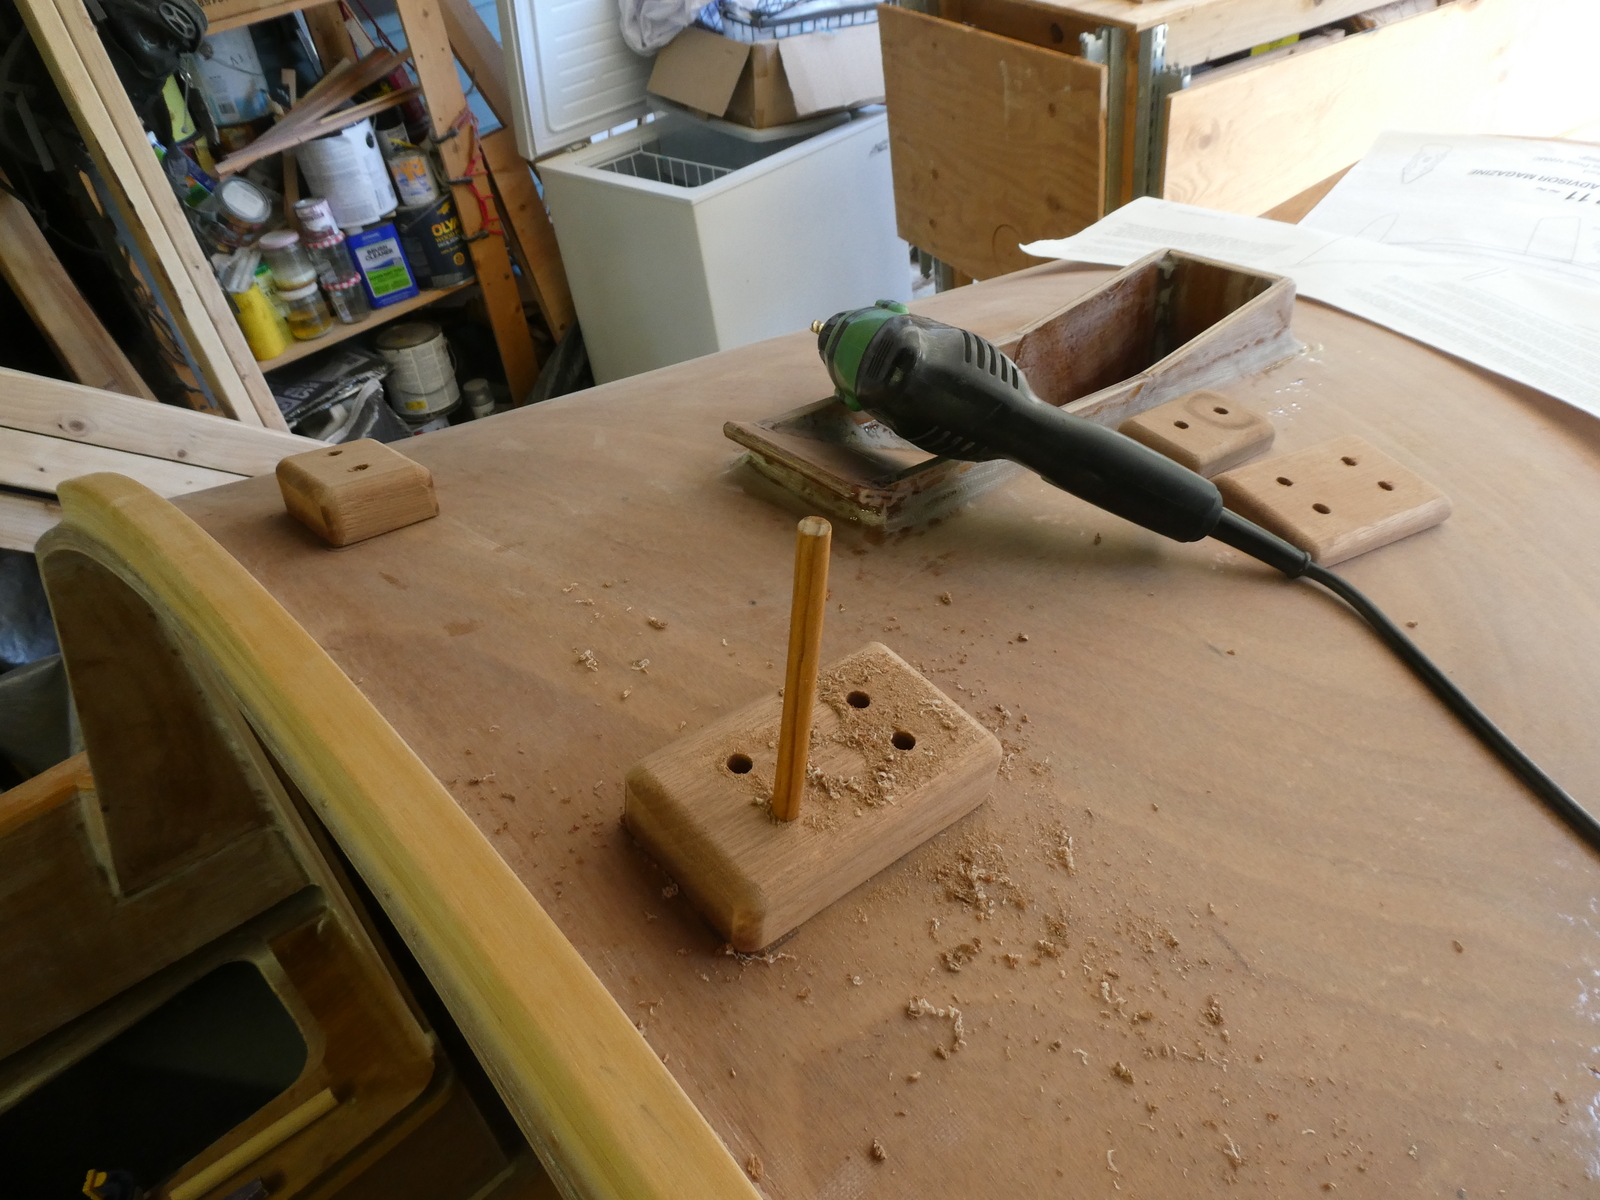
Dowel being used to hold position
I then filled the holes with thickened epoxy and drilled out the smaller holes needed for bolt holes. I also coated all of the blocks with two coats of epoxy.
With that all done, it was time to glue them on.
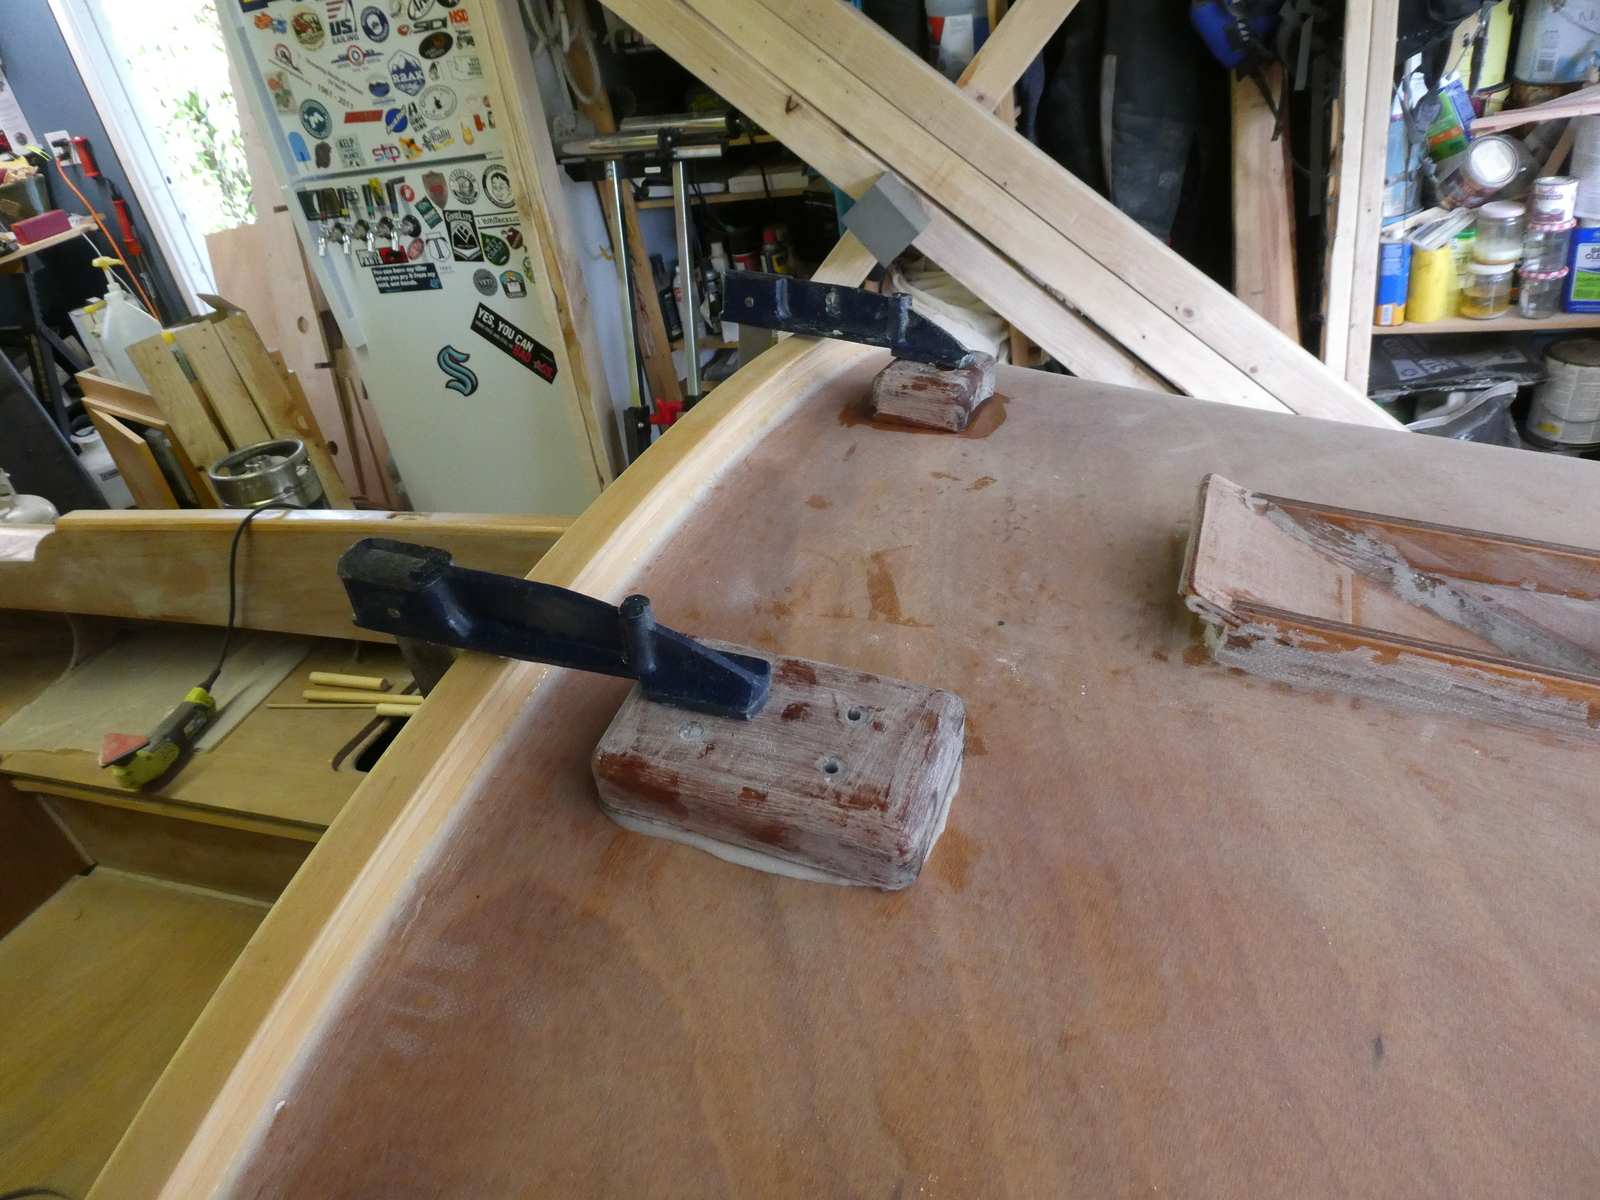
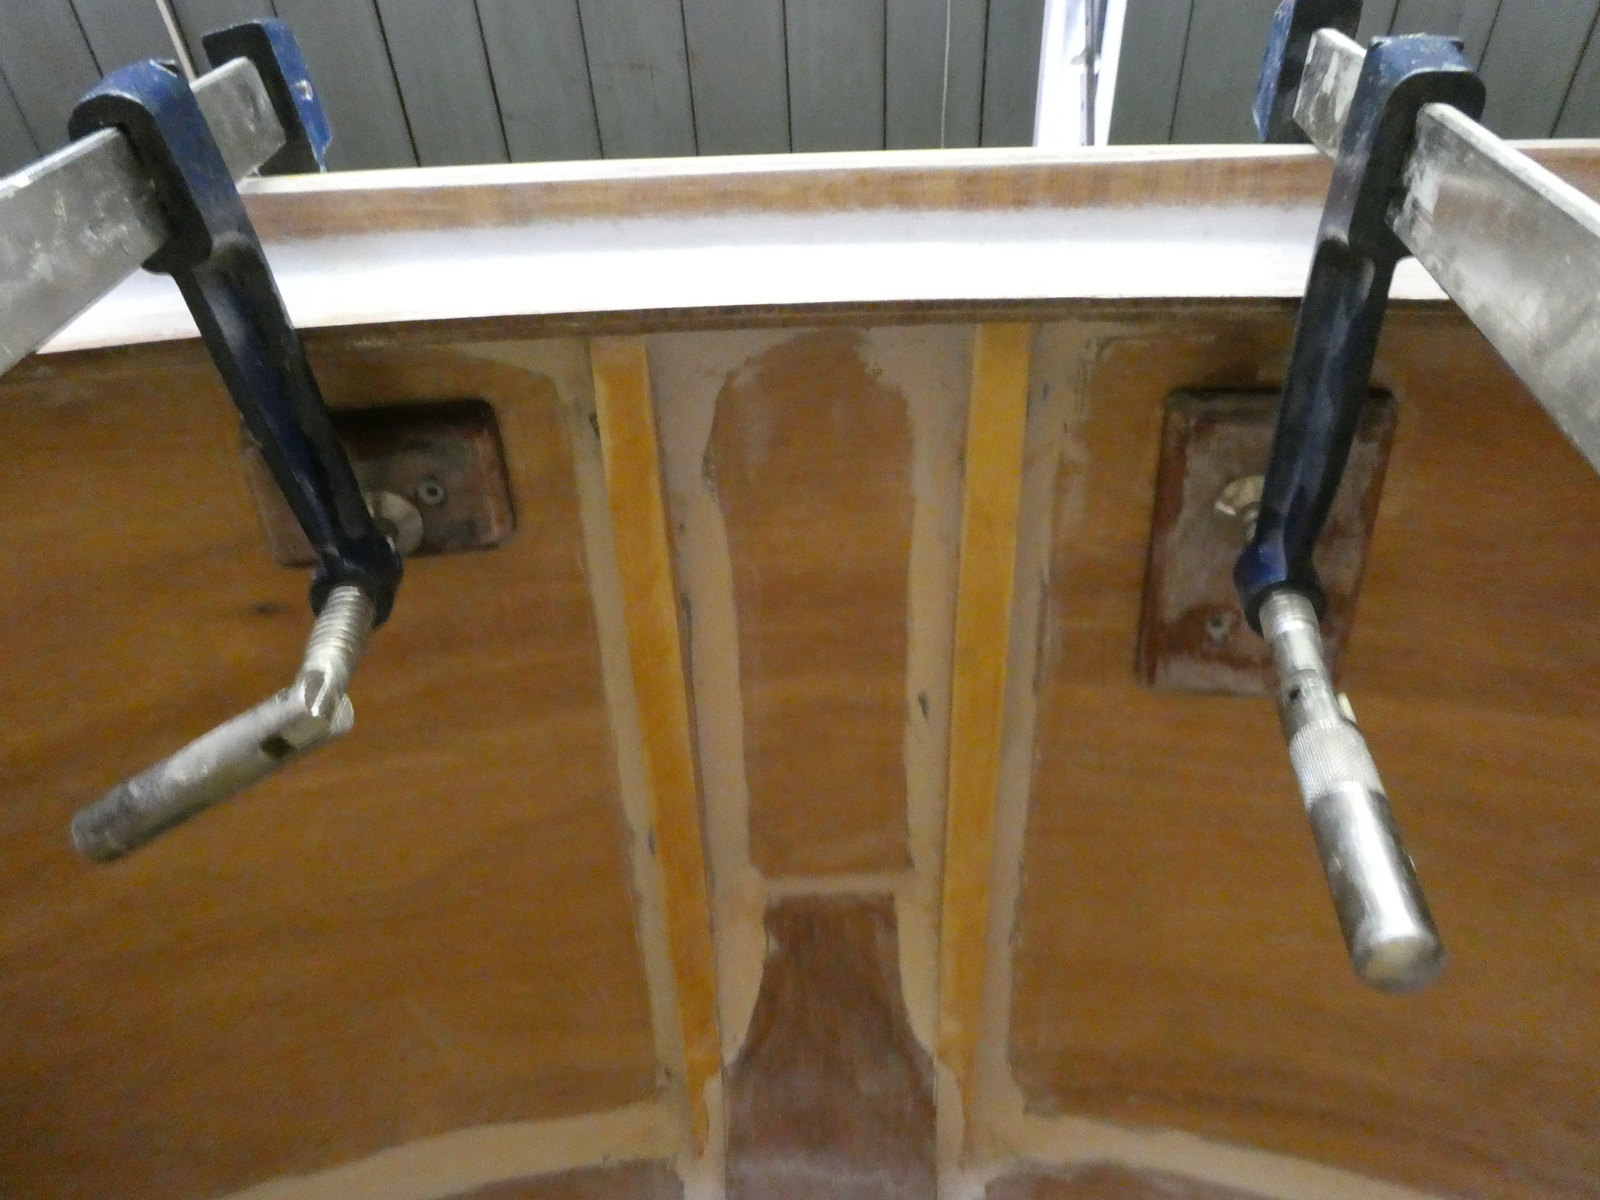
This worked out pretty well. There was squeeze out from the epoxy into the actual drill holes, so once the epoxy holding the blocks to the cabin top dried I had to redrill all the holes. Not all of them I had the drill lined up perfectly, so not some of them angled through into new wood, but given this area isn’t going to see a lot of water it should be ok, particualrly if I remember to install the bolts with a touch of sealant.
I added fillets around all of the blocks and cleaned them up/sanded, and they’re now ready for primer and paint with the rest of the boat.