Somewhat parallel to the last couple of steps was getting ready to build the mast. I decided to build the mast slightly longer then I needed to (plans call for it to be 16'4", I built mine to be 16'6" - or is it 16'5"?) mostly to give myself just a tiny bit more room between the boom and the cabin top for the downhaul.
As for wood, rather then break the bank on some clear Sitka spruce or similar, I decided to use clear vertical grain fir, as that is pretty prevalent around here. This is slightly heavier then Sitka spruce but also quite a bit stronger, so a spar made to the same dimensions as the plans called for should be quite a bit stronger then as designed, which given the number of broken masts out there for this boat, I’m more then OK with that trade-off.
Making the staves #
The first step was to plan out how to make the staves.
Now I don’t have any pictures of this, but essentially what I had to figure out was a few things:
- how much wood did I actually need to buy
- What lengths of individual pieces of wood do I need to buy to ensure a good variety of locations of scarfs in all my various staves
That second point was important because I wanted to make sure that in the final glue up, no two scarfs were put into the mast right next to each other. In fact, I wanted to spread the scarfs out as much as I could on the mast, meaning ideally no two scarfs would be even two or three staves apart at the same height on the mast.
So for a mast that I was going to intentionally overbuild at least in the glue up stage to be 17’ (ish) long, this led me to figuring that four different scarf positions were needed - one that was relatively close to one end (about 2 feet away), one that was 3.5 feet away, one 5 feet away, and one in the middle. If I made two spars each of with the scarfs in those positions I should be able to position them in the mast well.
Cutting the staves #
As it turned out, the fir I bought wasn’t quite long enough to support making a 15 foot long stave onto which I could scarf a 3 foot piece to make a 17 foot stave (remember the scarf itself takes roughly a foot of length). So I wound up with two staves with the scarfs near the end, two staves with the scarf in the middle, and four where the scarf was somewhere in between the other two extremes. Not the best, but it should be OK. There’s one spot on the mast where two scarfs are glued up relatively close to each other separated by one stave, but it’s near some interior blocking and thus should be OK.
So after cutting all the blank staves, I used my scarf cutting jig to cut scarfs at the appropriate spots and then glued up all my staves, two by two, on my strongback (I could only fit two staves on there at a time, and I definitely wanted to glue everything on the strongback to make sure the staves were as straight as possible).
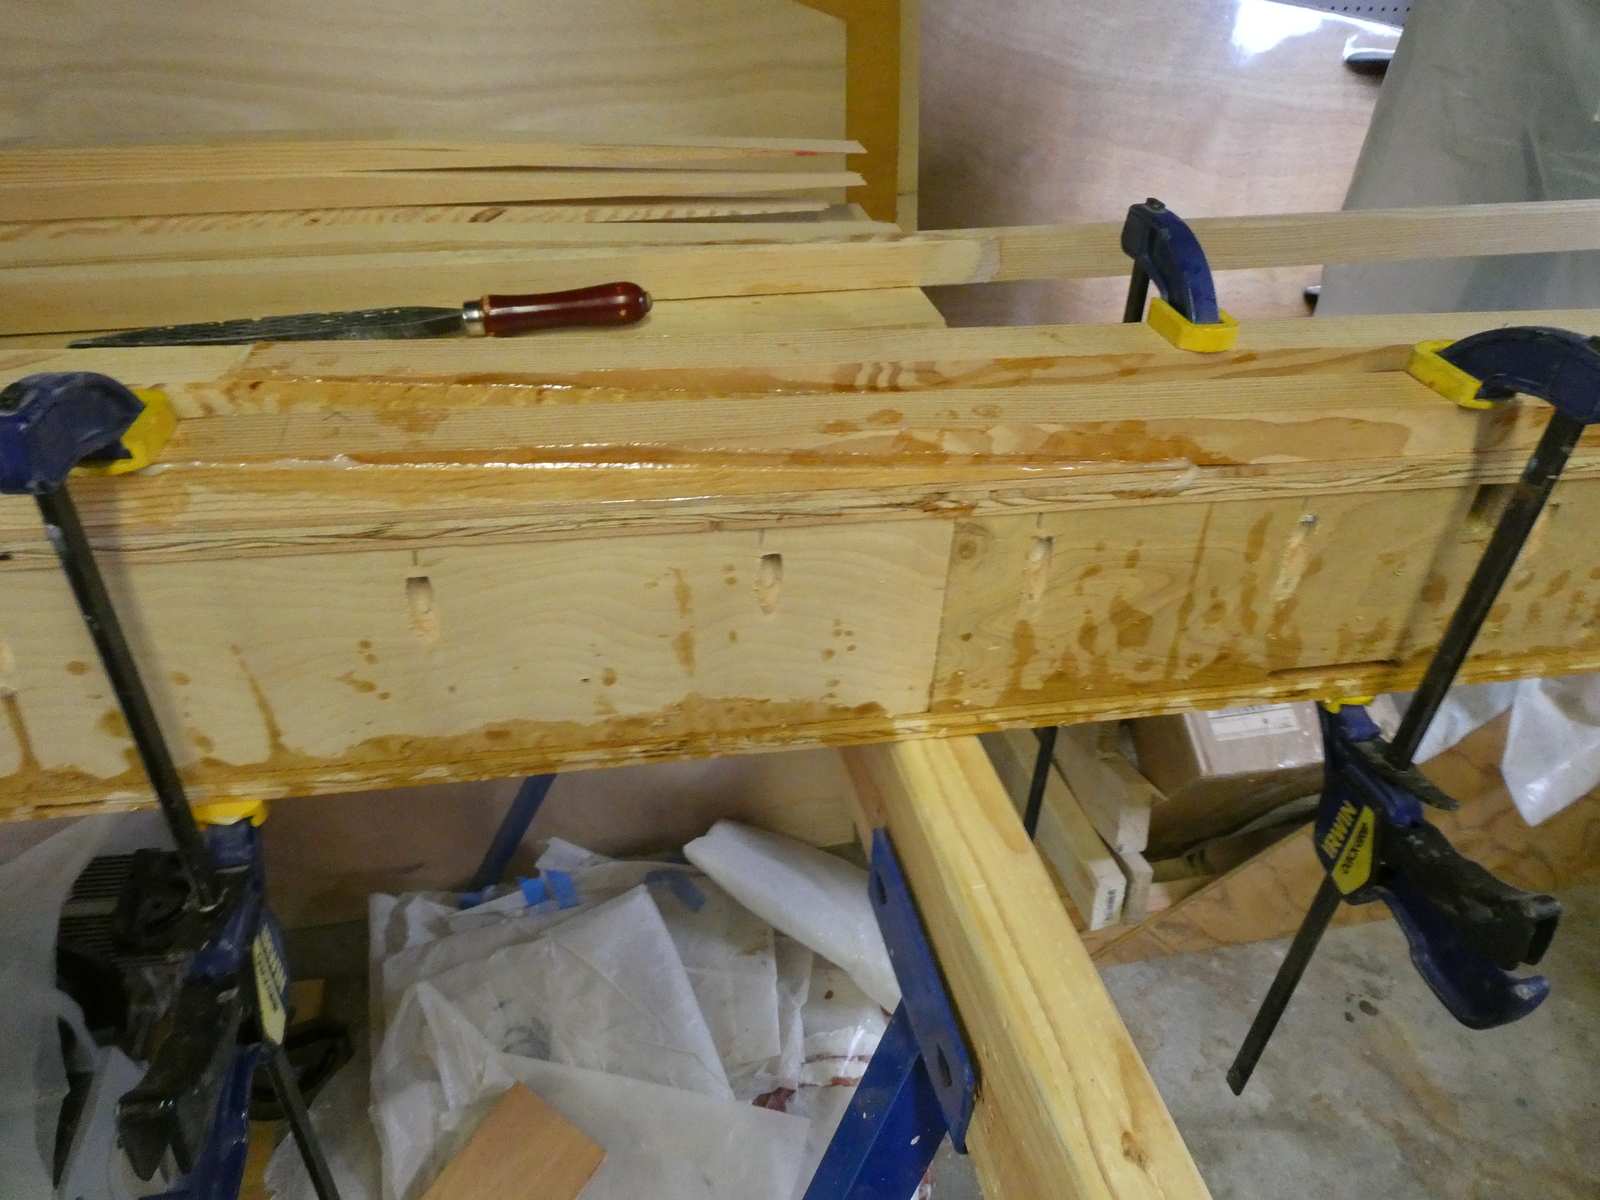
Two scarfs clamped and epoxy setting up
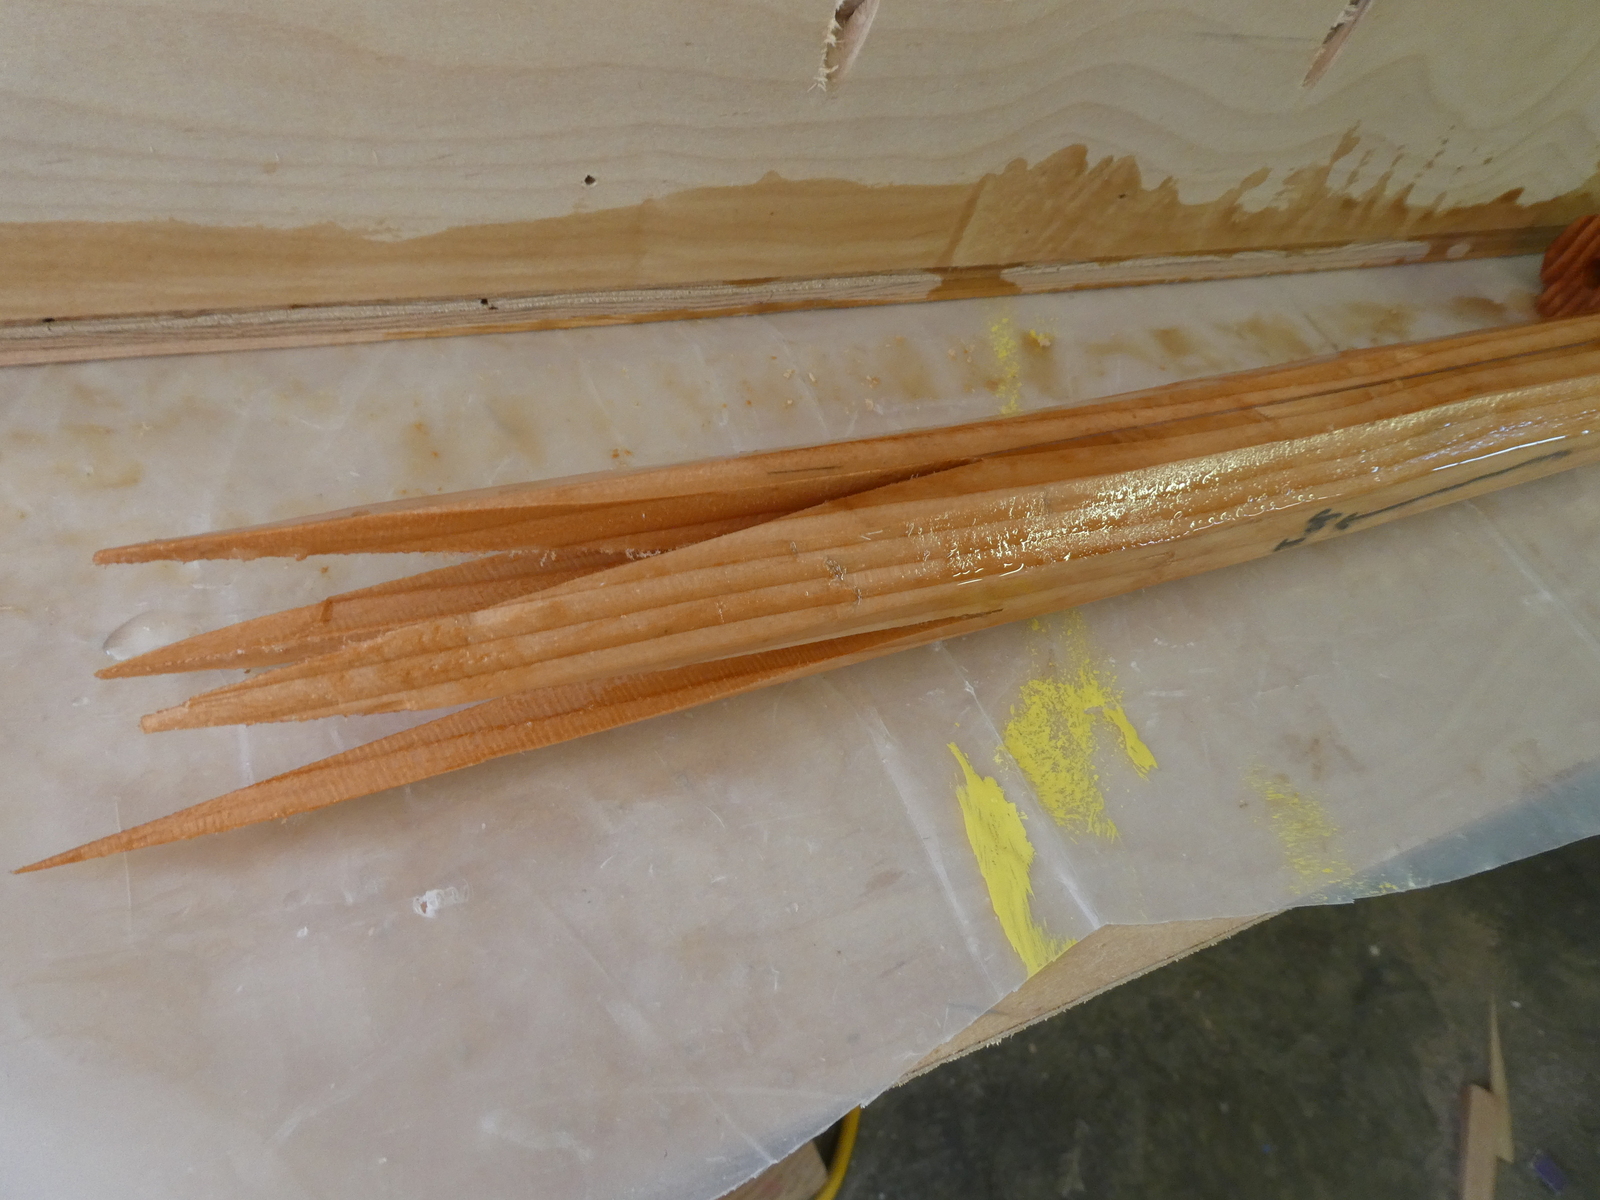
This, as it turned out, wasn’t that effective. Well, the scarfs came out straight, but clearly the fir boards that I ripped up to make the staves had some internal tension that was released when I ripped them, as some of the staves had some pretty incredible bends to them in one end, as you can see below.
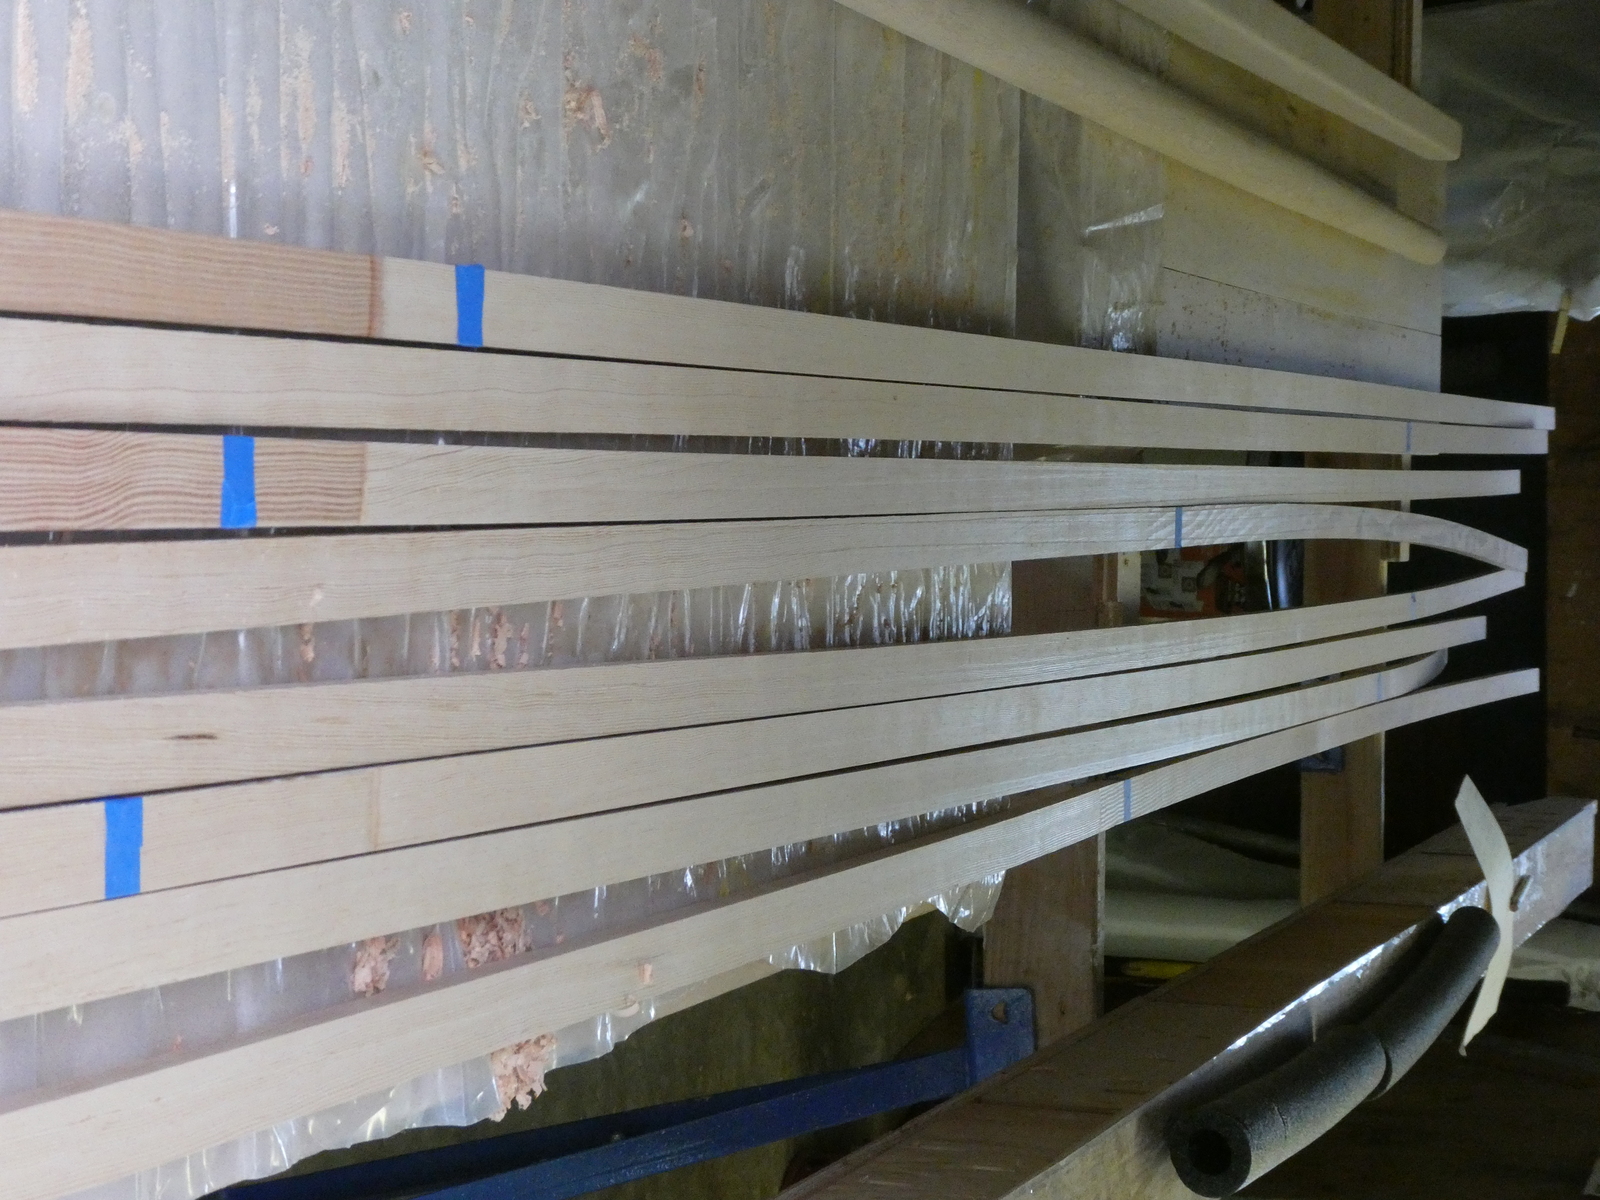
Look at the curve of those!
I figured that if I positioned the staves carefully such that staves with opposite curves cancelled each other out that I could still make a straight mast.
Aligning the staves #
I arranged all the staves so that they were even at one end (I’d need to trim some of my staves to even up all of their length before gluing the mast) and then found the best arrangement I could taking into account both where scarf joints were on nearby staves as well as any bend that may have appeared in the staves themselves.
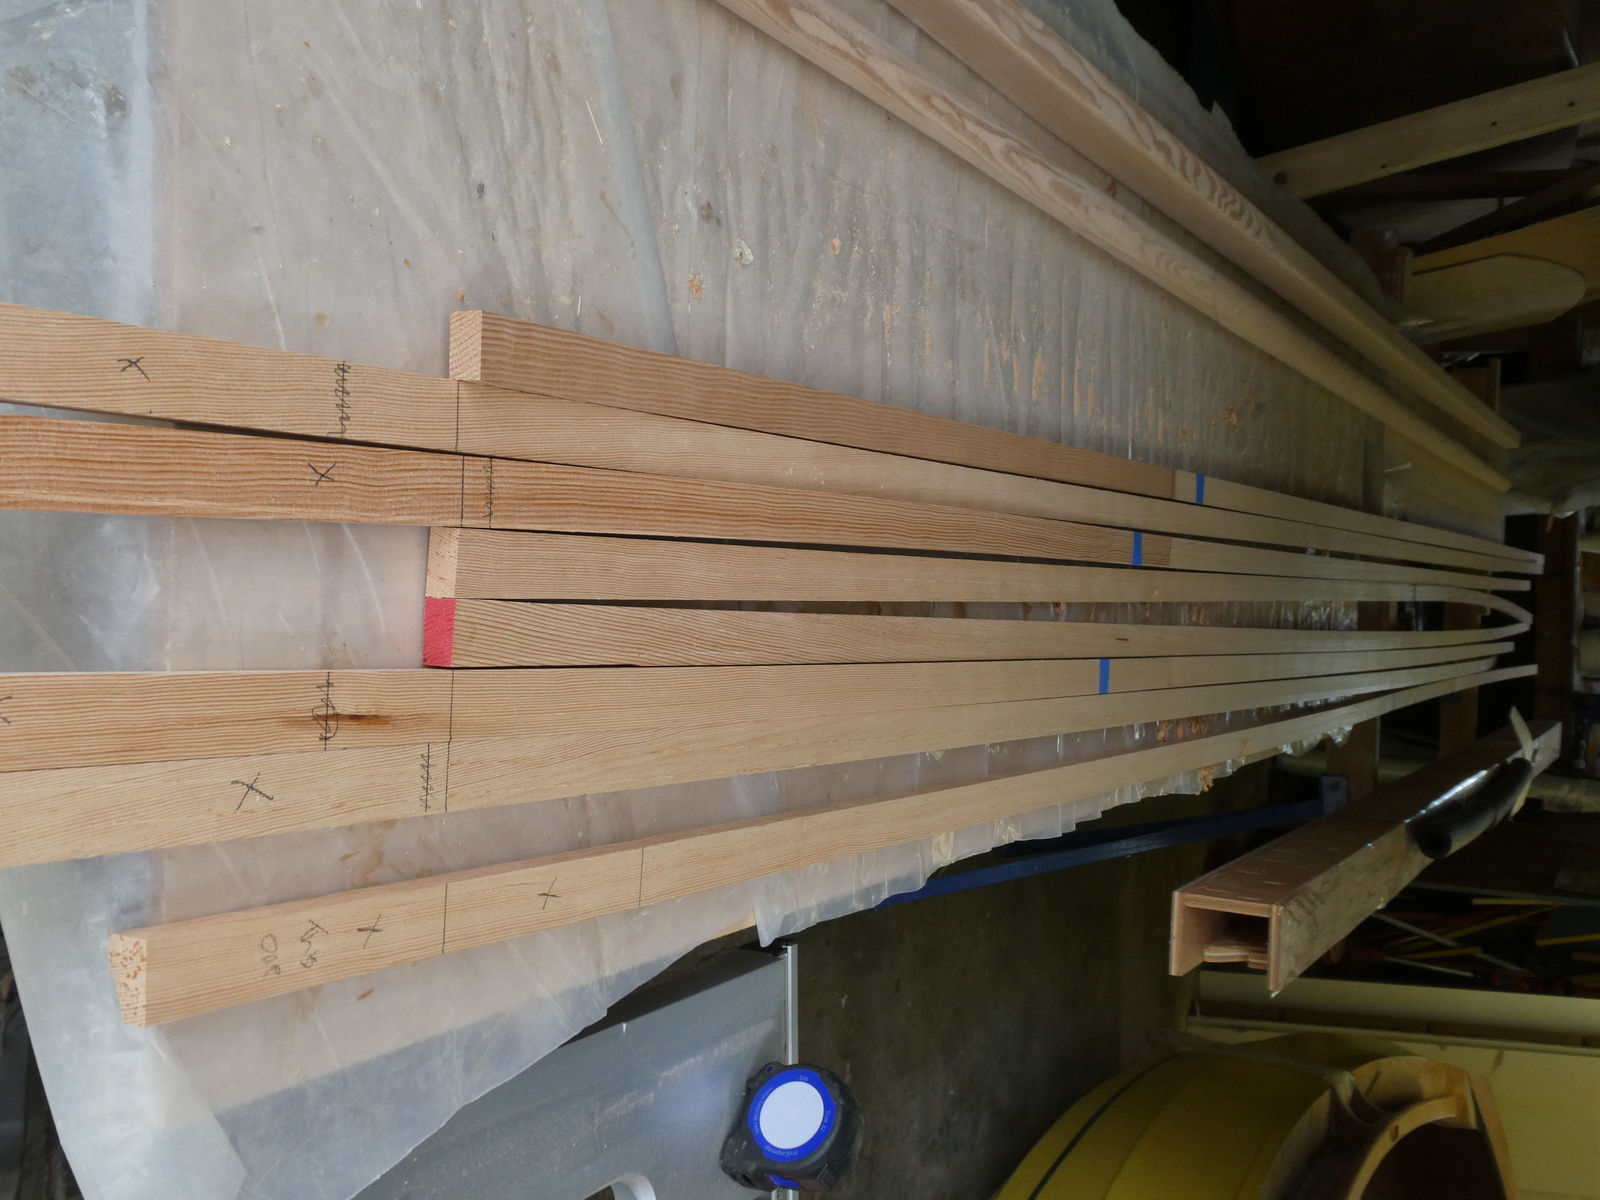
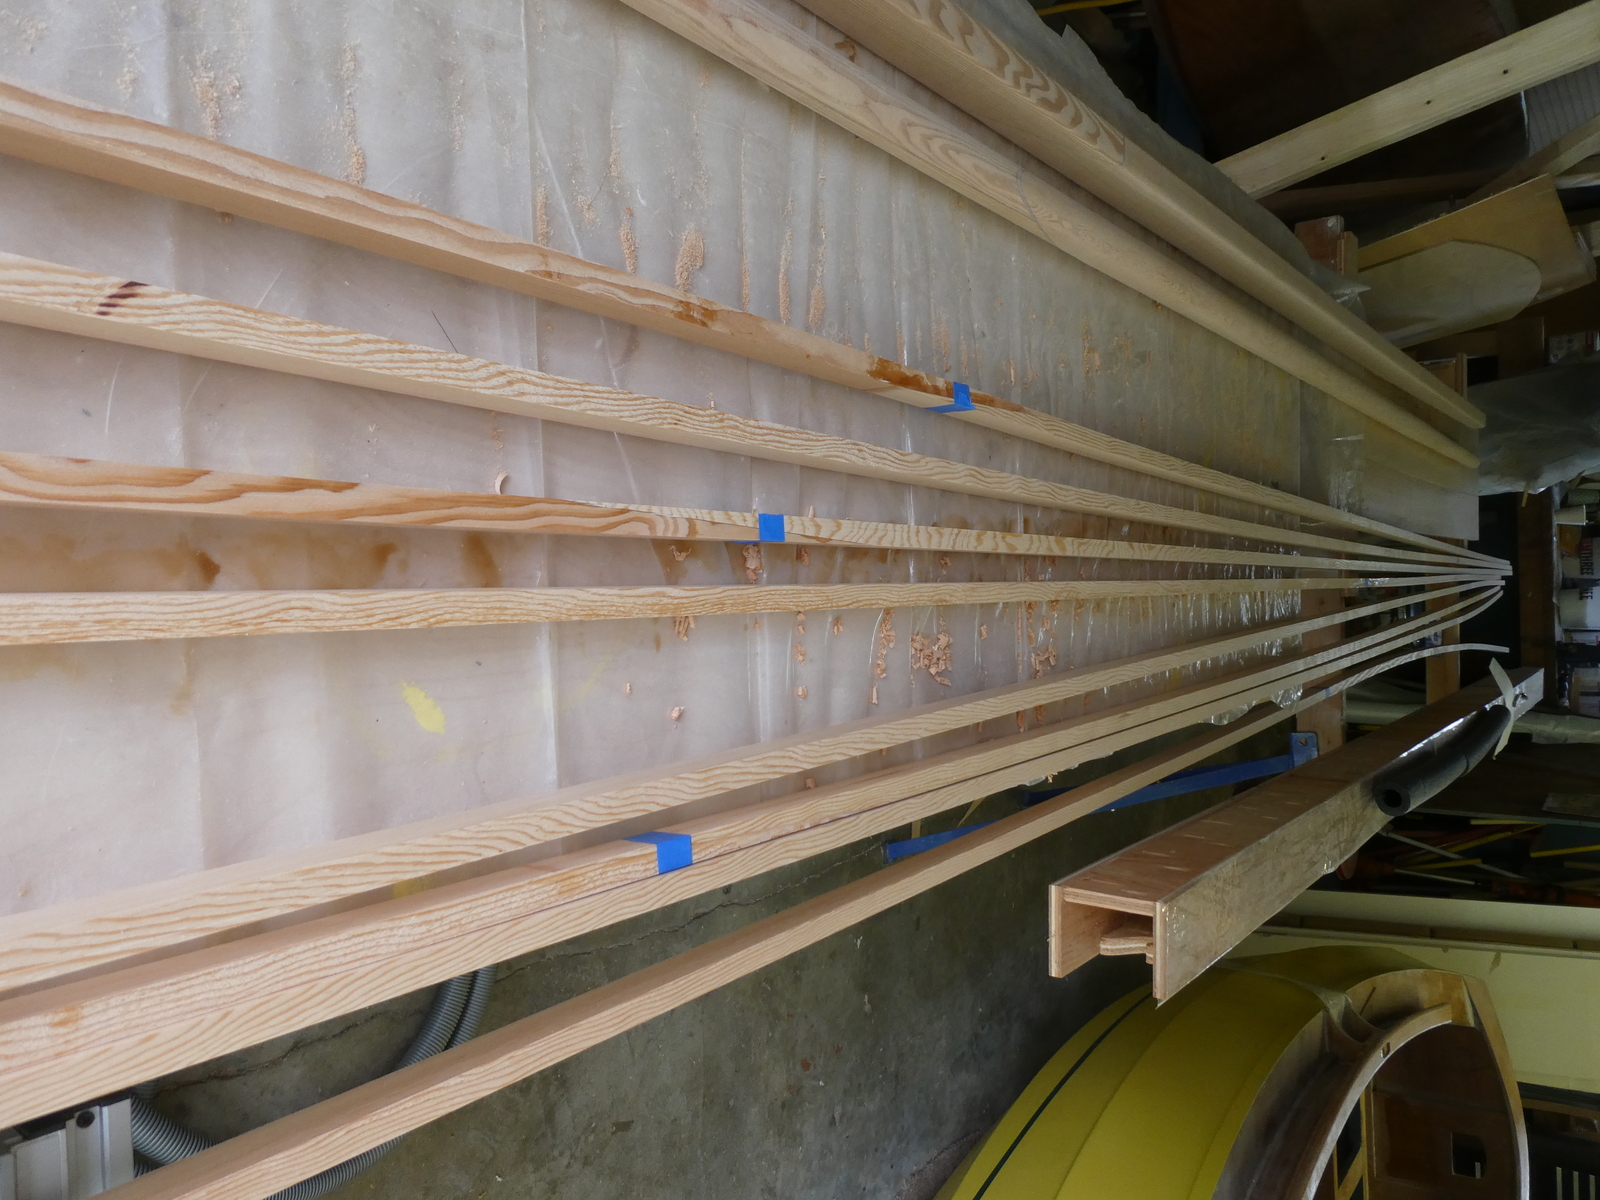
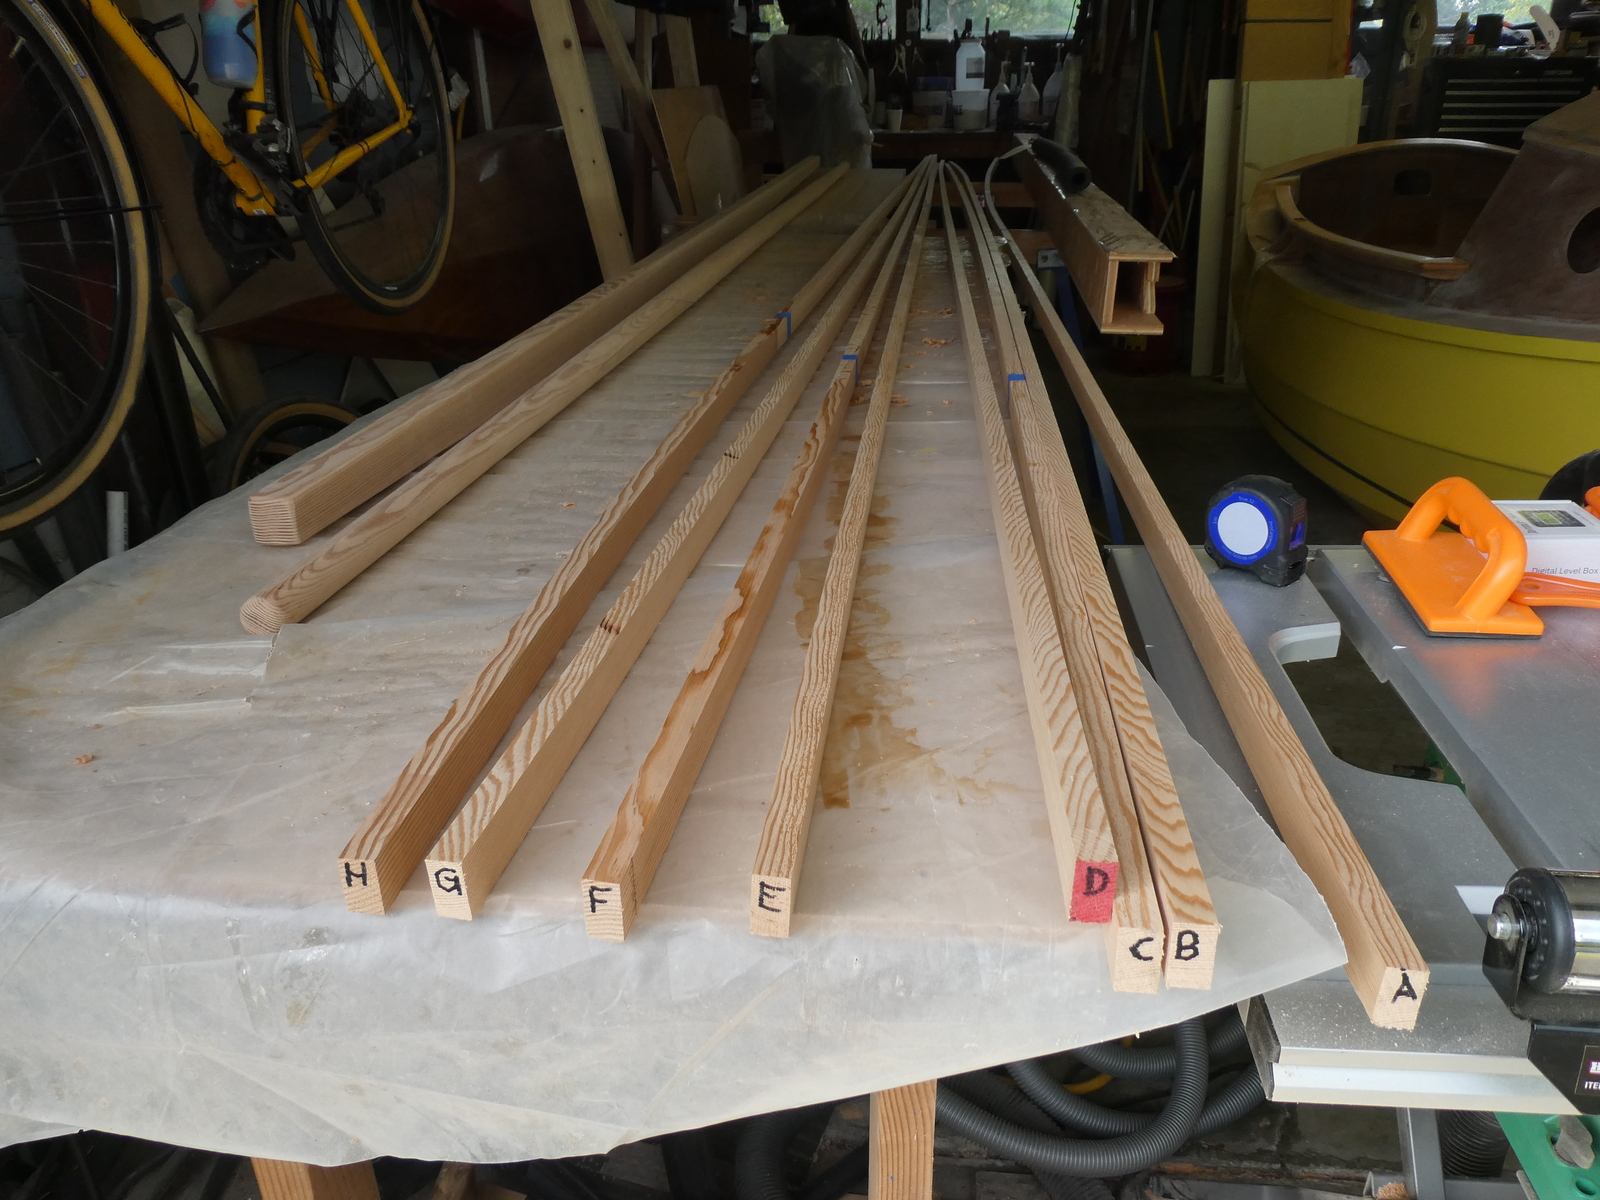
Staves labelled in order of assembly
Tapering the staves #
The next step was to add the taper to the stave blanks so that the mast would get thinner as it got taller. Given I was making a mast slightly longer then as planned, I added an extra inch at the base of the full width staves/mast and an extra inch at the top of the least width staves/mast.
In order to do this, I took two staves, lined them up on the strongback, clamped them down, and then used the plans to mark, on opposing sides of the staves, each measurement of how thick the staves should be at various station points. I wound up joining these just with a straight edge as the changes were so minor (think half a millimeter over three feet of length in some cases) that a batten for a fair curve was overkill.
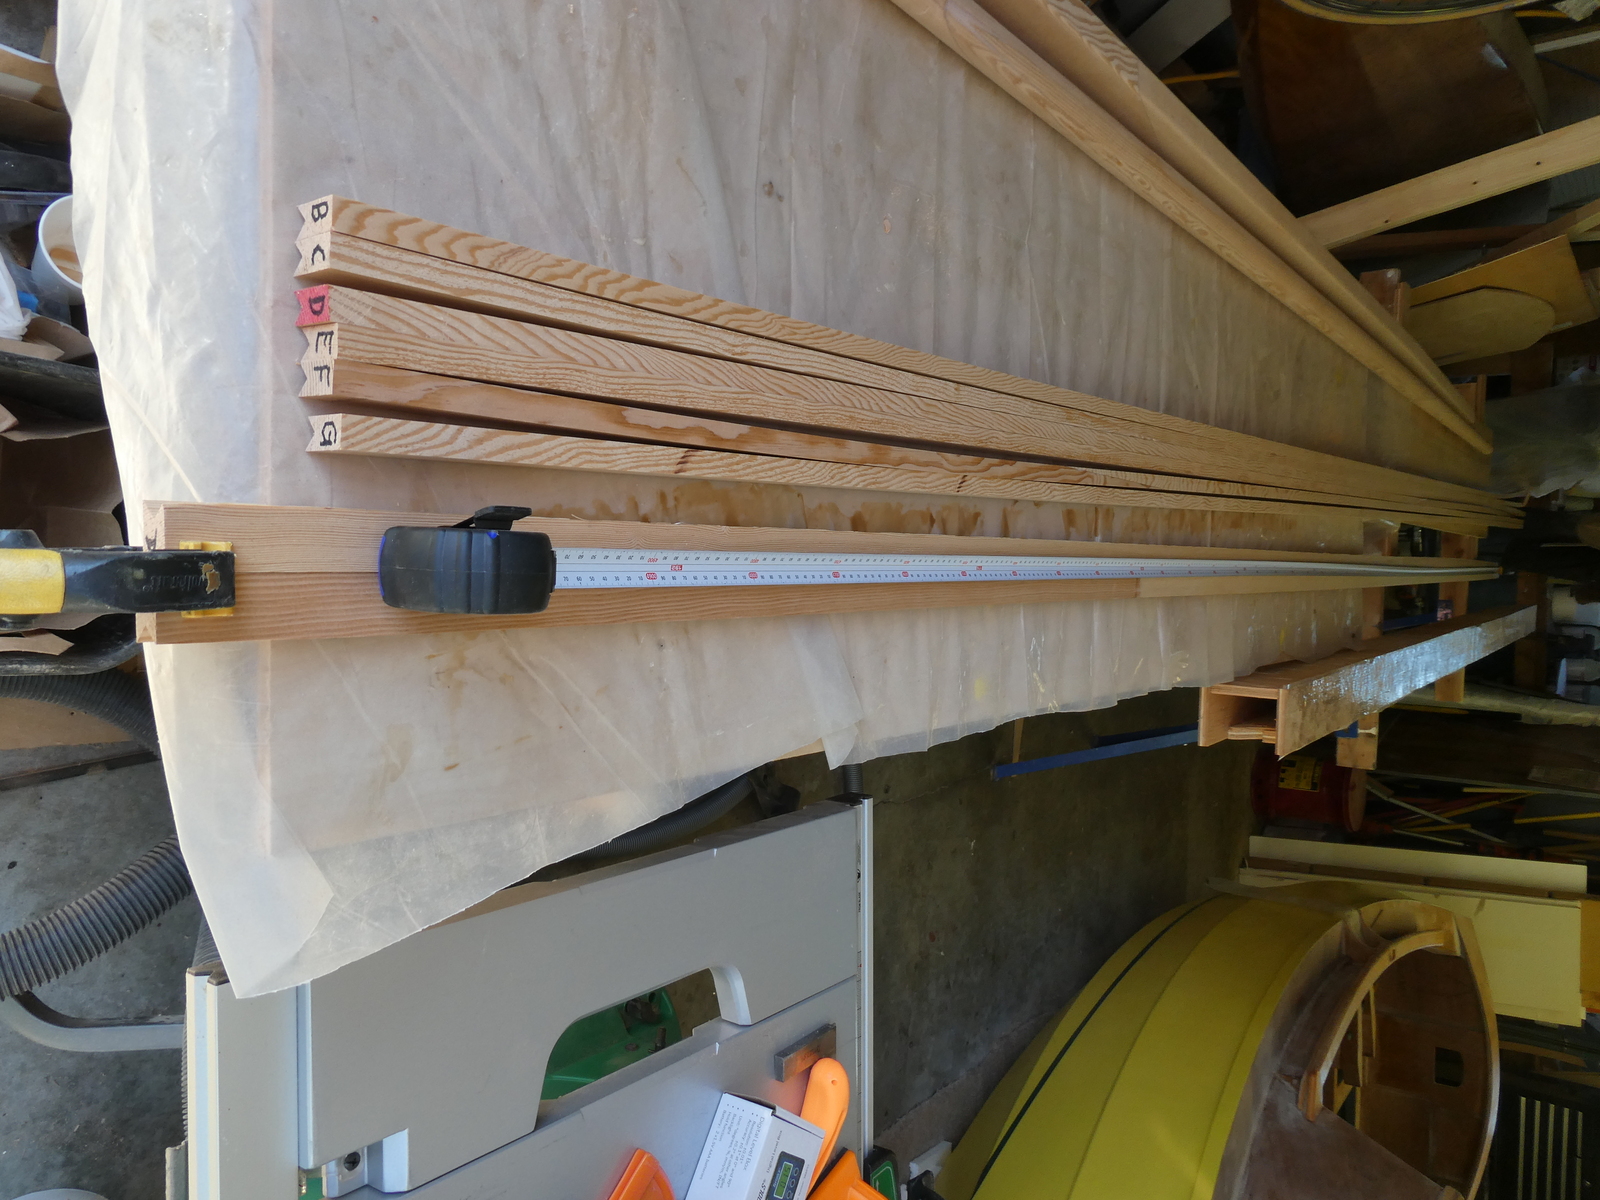
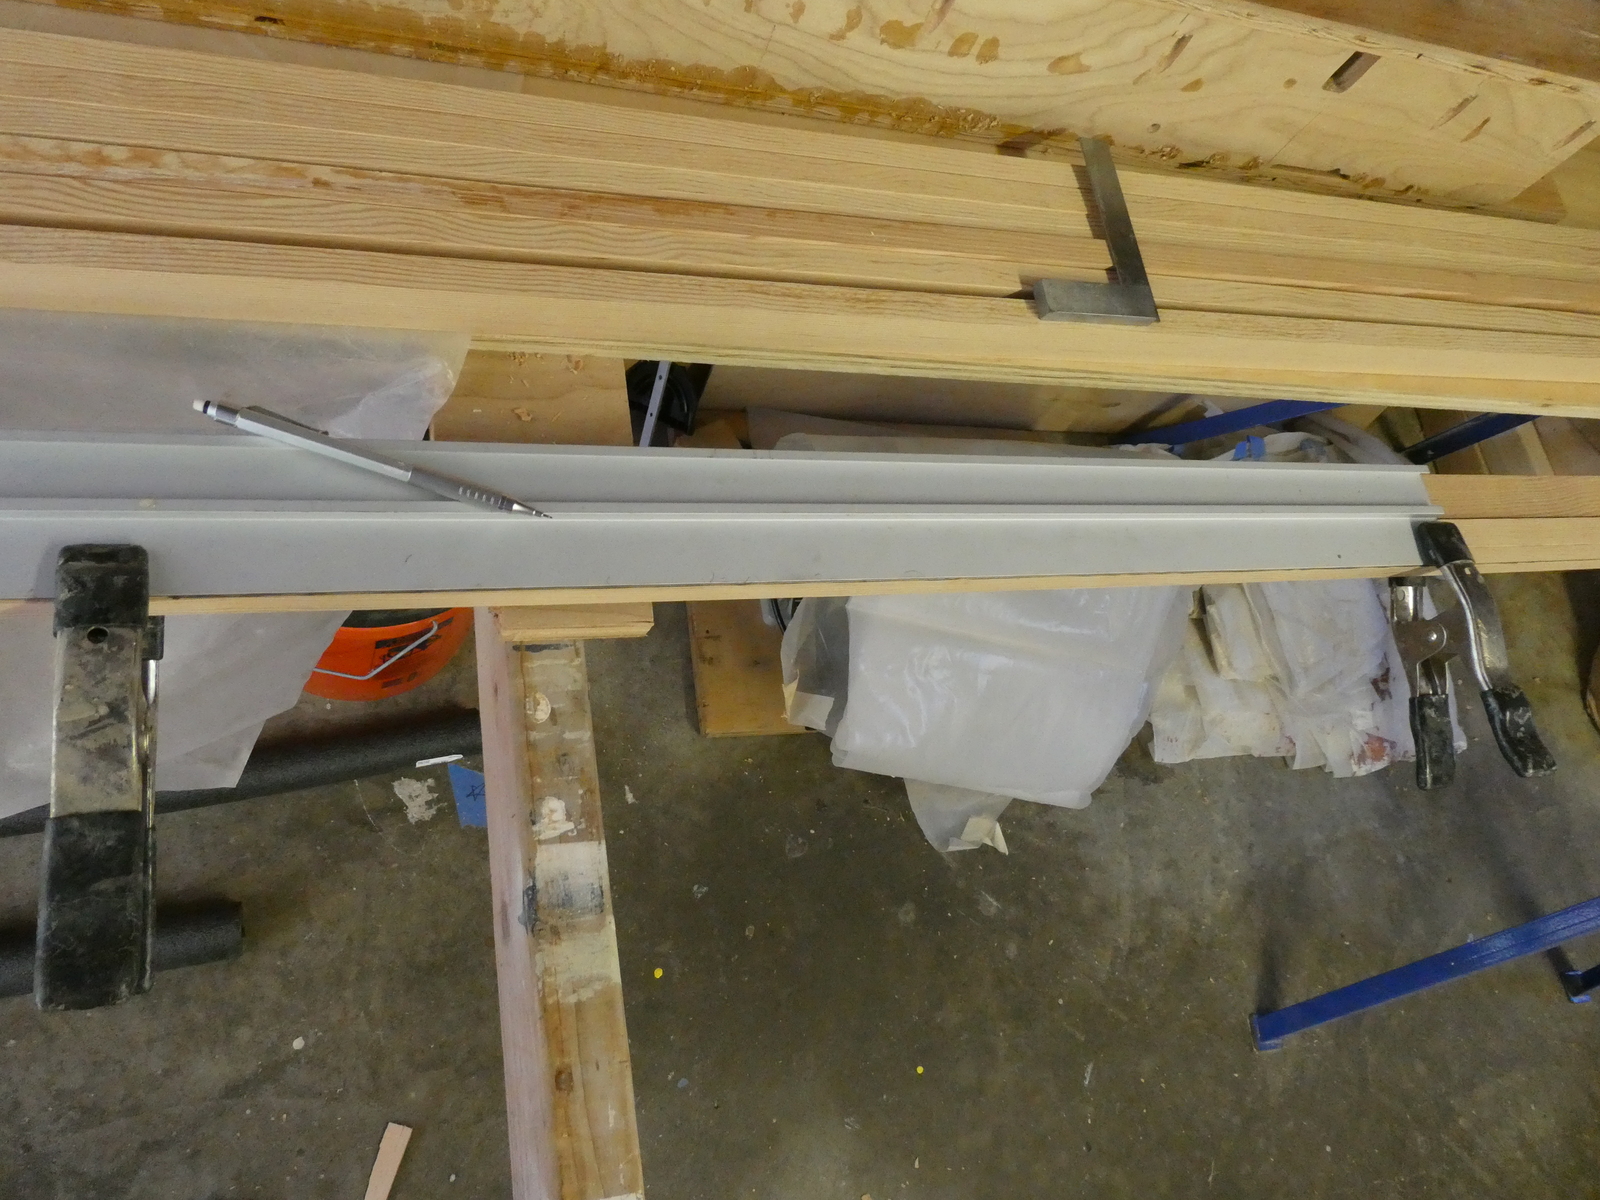
At this point, I clamped all of the staves together, edge side up, with the two staves showing the taper on the outside of the bundle.
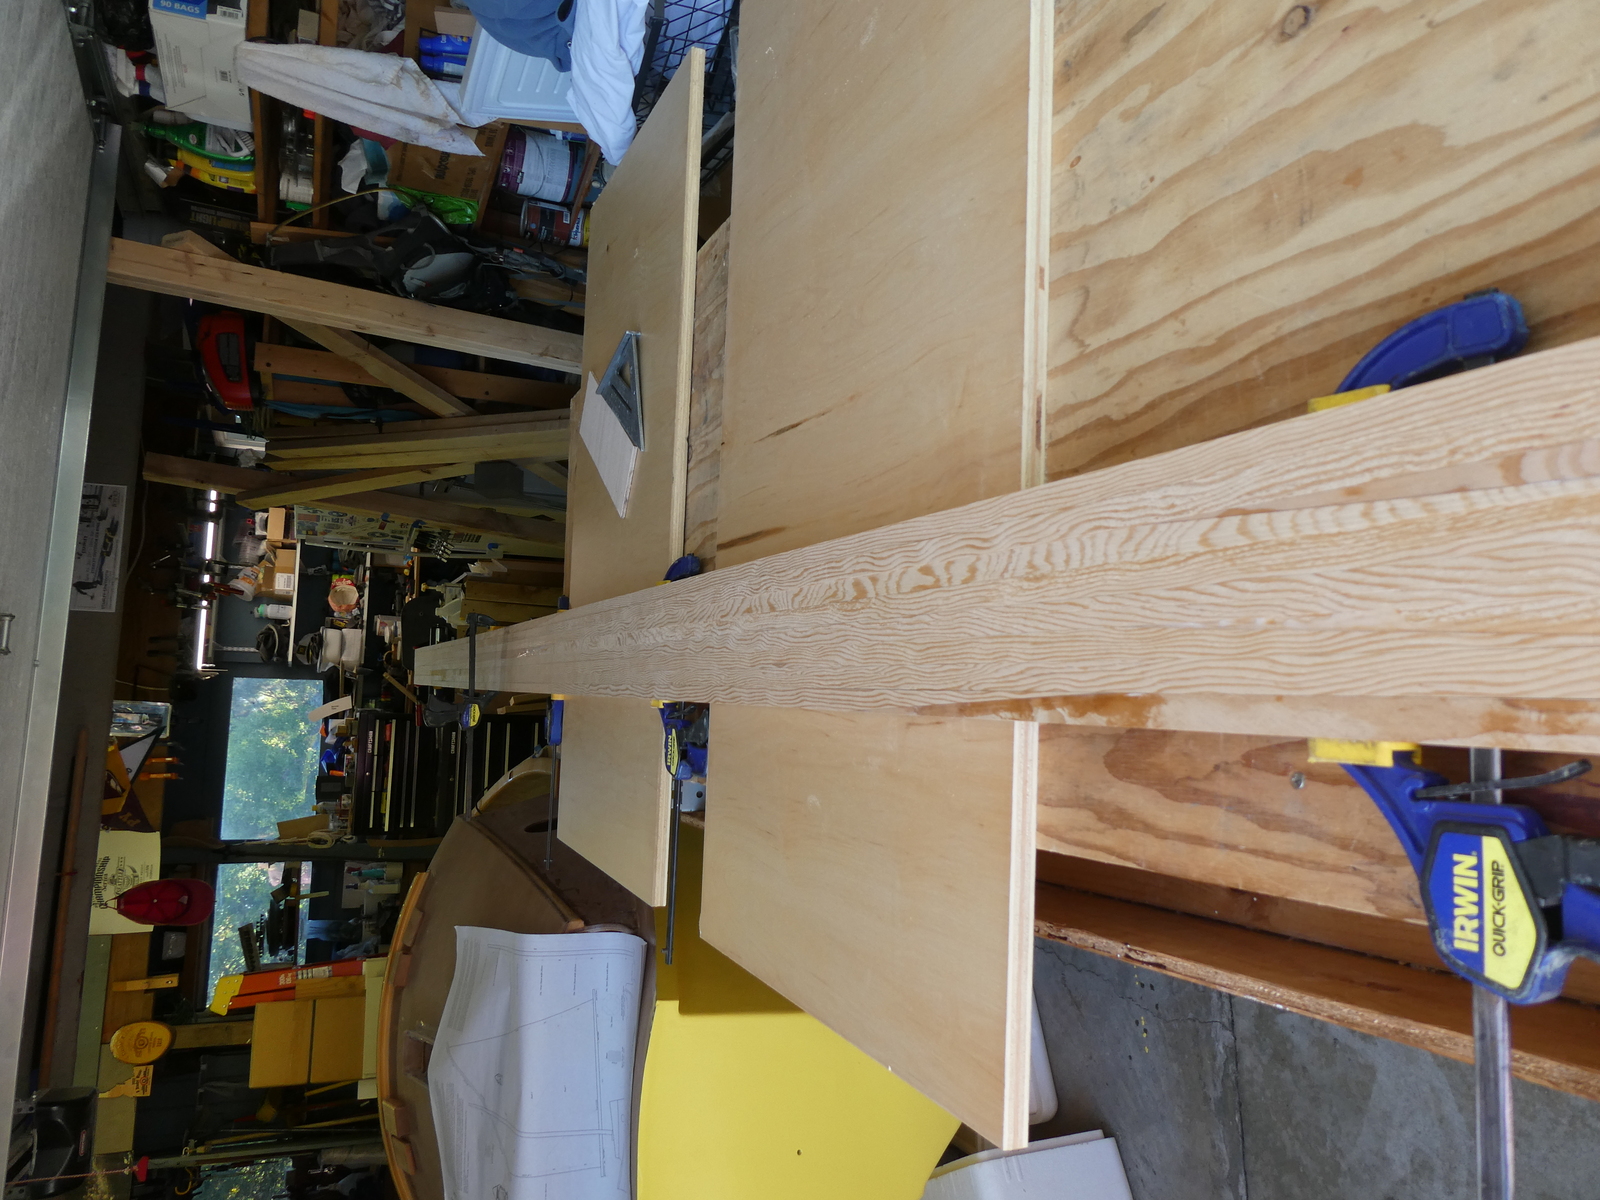
Staves clamped together ready for tapering
You can see I also laid the clamped bundle down on some pieces of flat plywood
- I did this to ensure that because all the staves were not exactly the same width, if I ensured the bottoms of them were all flat against a flat surface then as I tapered the top I’d ensure that they all finished with the same taper and same widths.
How to actually cut the taper? That was a good question.
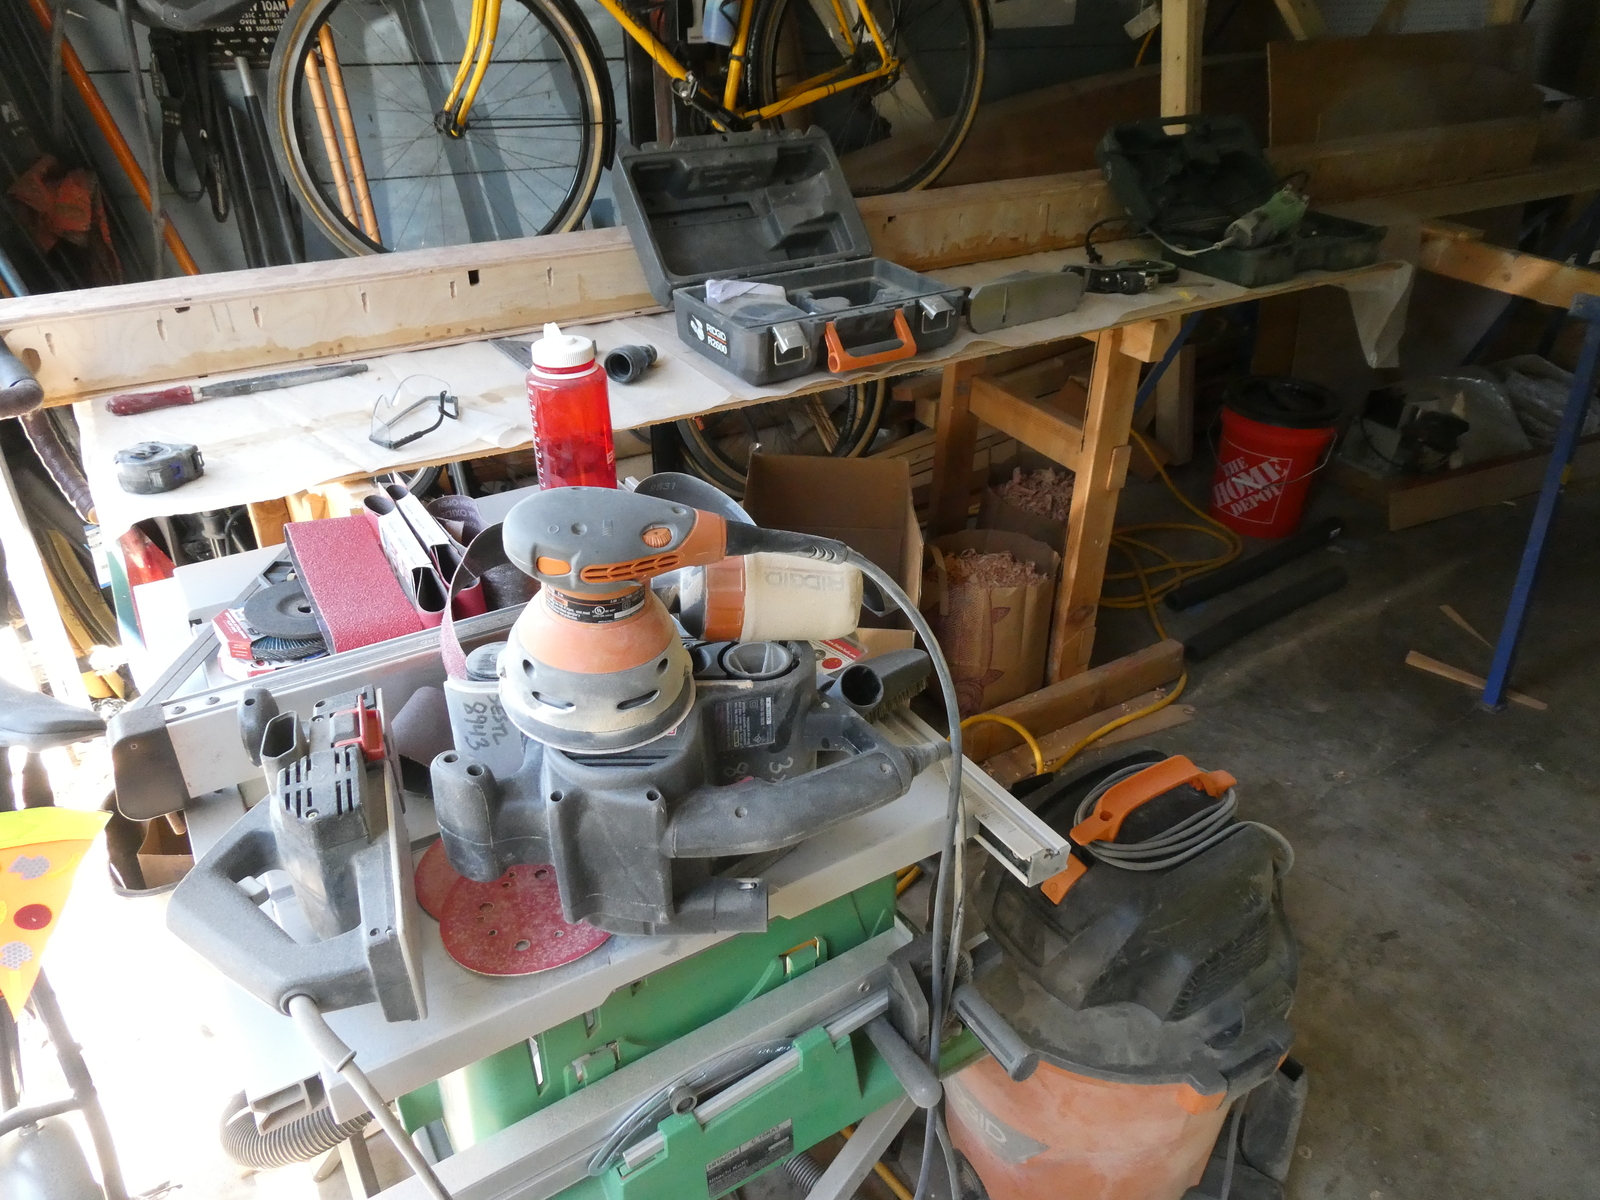
I tried using all of these tools at some point in the process
I borrowed a bunch of tools from the tool library and tried out a bunch:
- The power planer didn’t work well at all. I think it was frankly maladjusted, but I had never used one before, and didn’t really feel like fiddling with this one to get it working right. Quickly abandoned.
- The belt sander I wanted to work well, but it surprisingly didn’t. It was a little hard to control and I didn’t feel like it was going to be the most accurate tool to help me get down to the lines
- A hand plane worked OK, although it wasn’t the best given that I was trying to take material off eight somewhat flimsy boards that were clamped together with a lot of different grain directions.
- The winner - my random orbital sander. This worked surprisingly well, and with a 60 grit pad made short work of getting a lot of the material off, switching to higher grits as I got close to the lines.
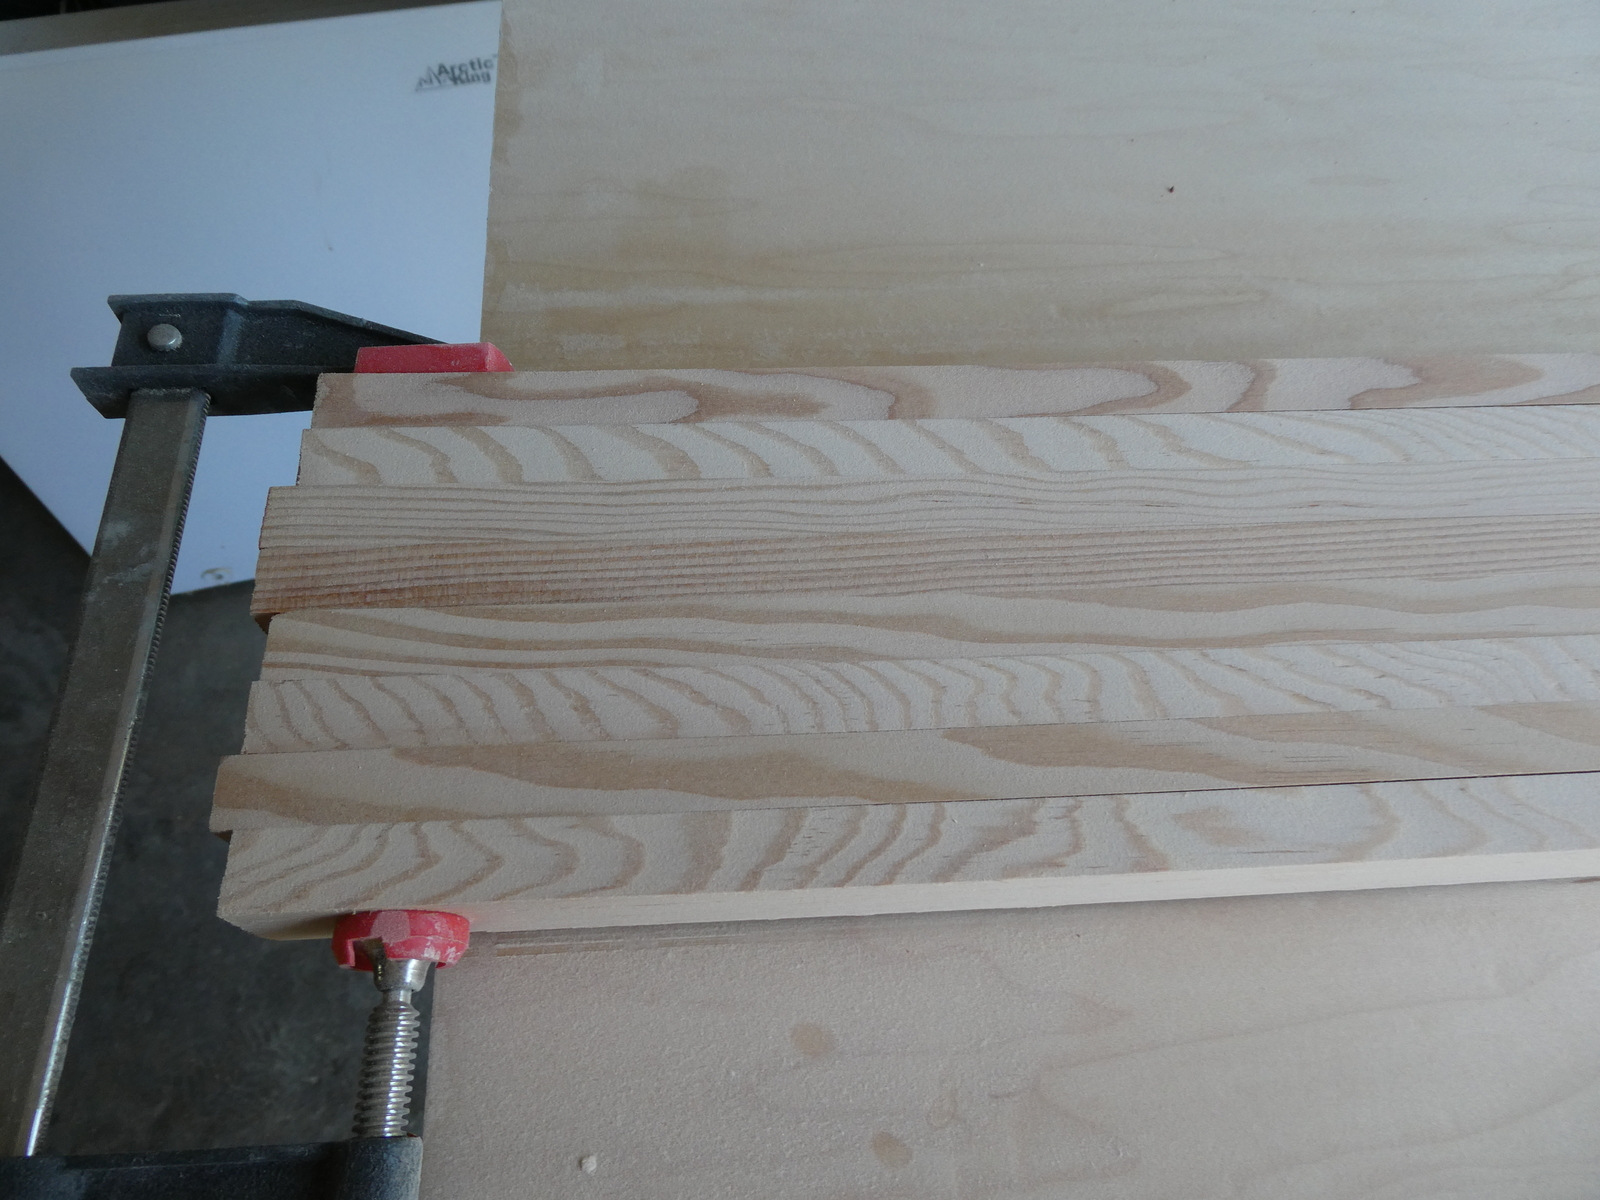
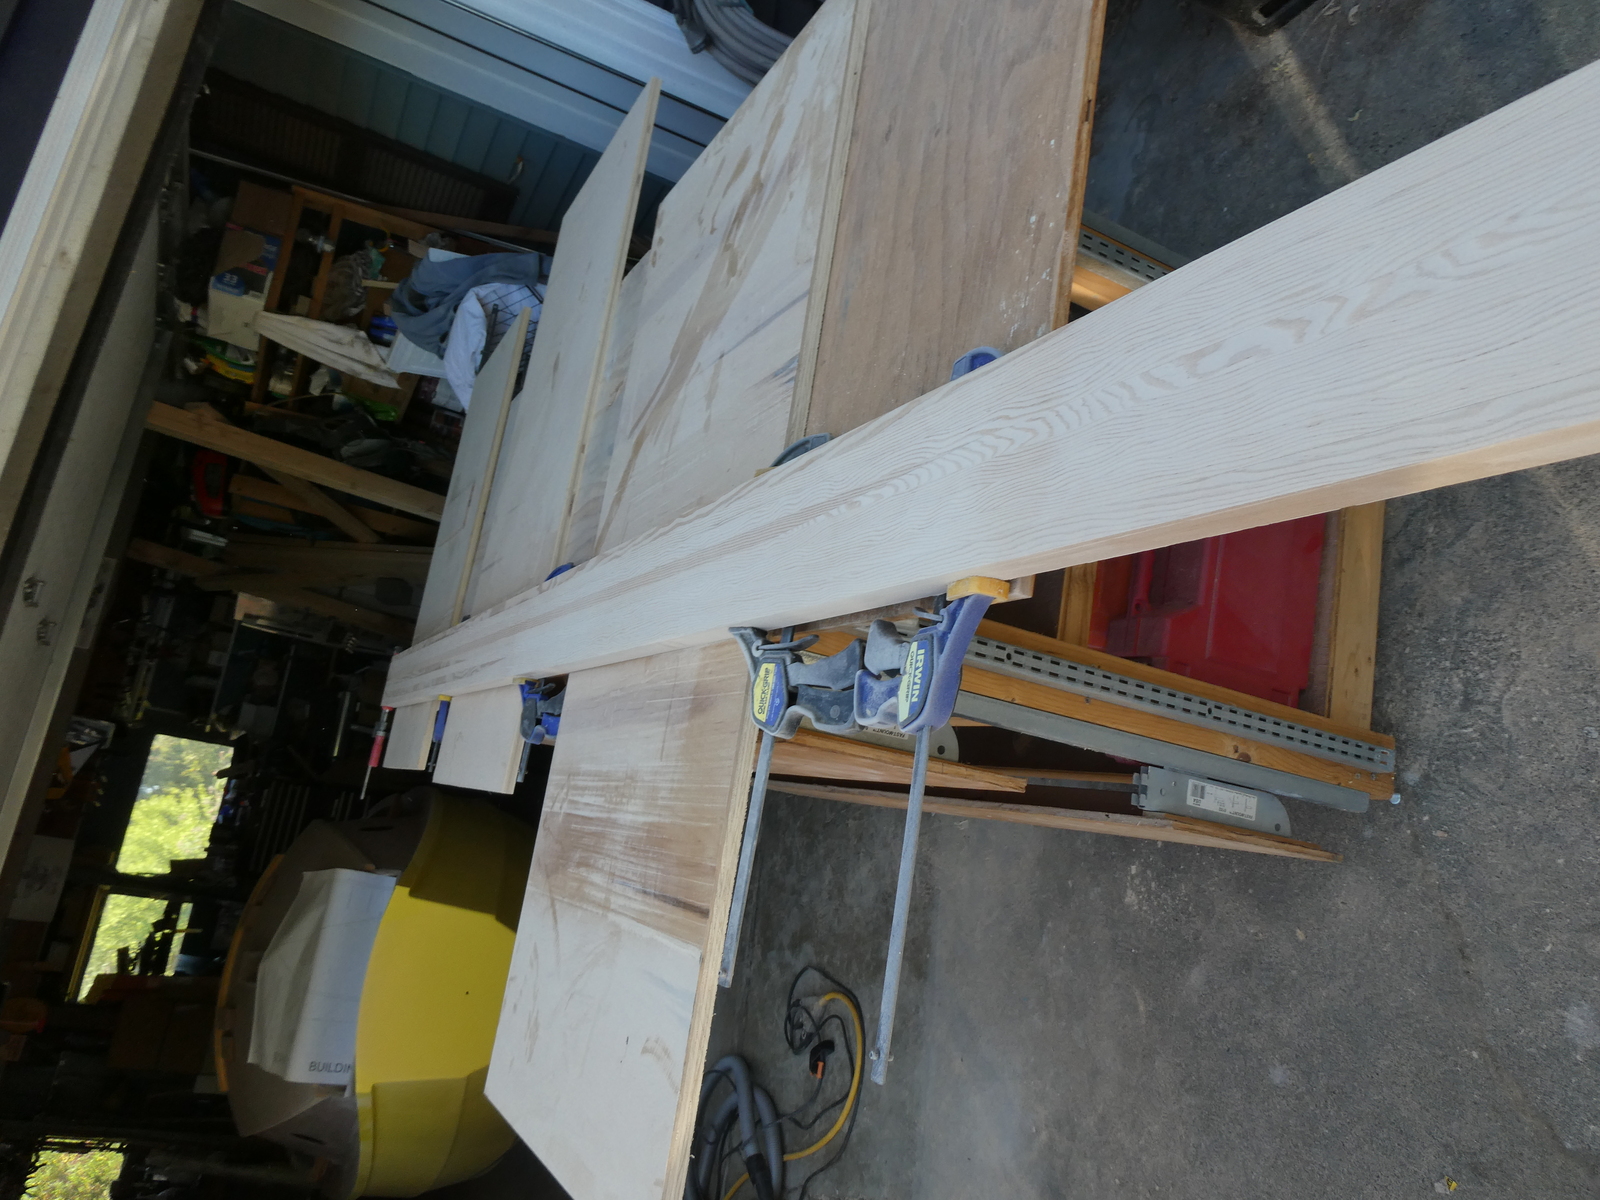
Apparently I didn’t take any pictures of how I put the birdsmouth into each stave, but perhaps because that wasn’t interesting - I bought a router bit. I pushed all the staves through on my router table with the help of some feather board clamps. It worked great.
Building the internal blocking #
Now there have been many reports of broken masts with scamps. All of the broken masts, as far as I can tell, break in exactly the same place - right where the mast protrudes up out of the boat past the cabin top, often with a clean break right at where the upper mast partner is glued on. That’s obviously a stress point there, and the updated thinking is that these masts should be built with some internal blocking to help strengthen the mast in that key area.
So I went about building three pieces of blocking - one for the top of the mast, one for the base of the mast, and one that would extend above and below that stress point where the upper partner block attaches. That last block would look a little different from the other two, as if it’s just a solid block that would just transfer the stress point to a place further up the mast, so it would need to help dissipate the force somewhat.
Also, I would want the bottom two blocks to still also have drain holes in them so that if water ever got into the mast, it would be able to drain out (my mast will be sealed inside and out with epoxy, but I didn’t want to seal it completely and risk thermal shock from the air expanding/contracting in there).
So first step was to cut some blanks of appropriate lengths. For the middle and bottom blocking, I cut the blanks in half and then used a router bit to route a channel down the middle of each side.
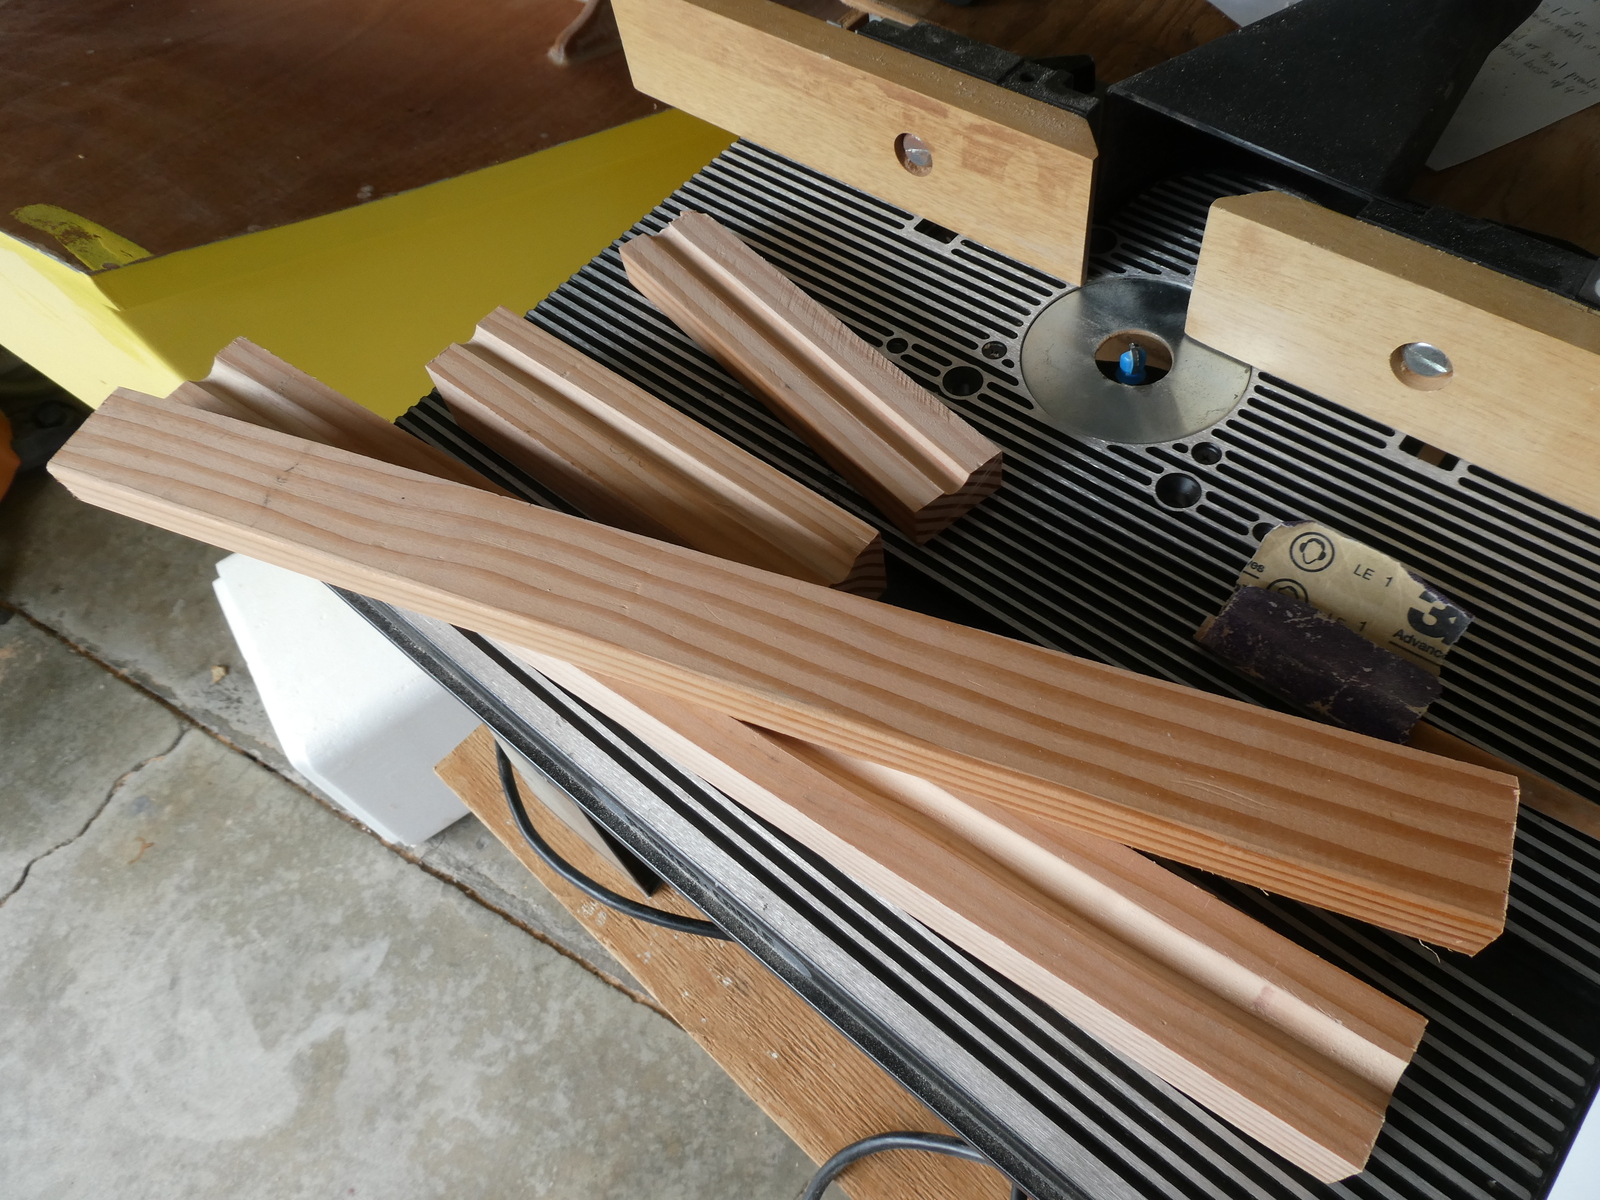
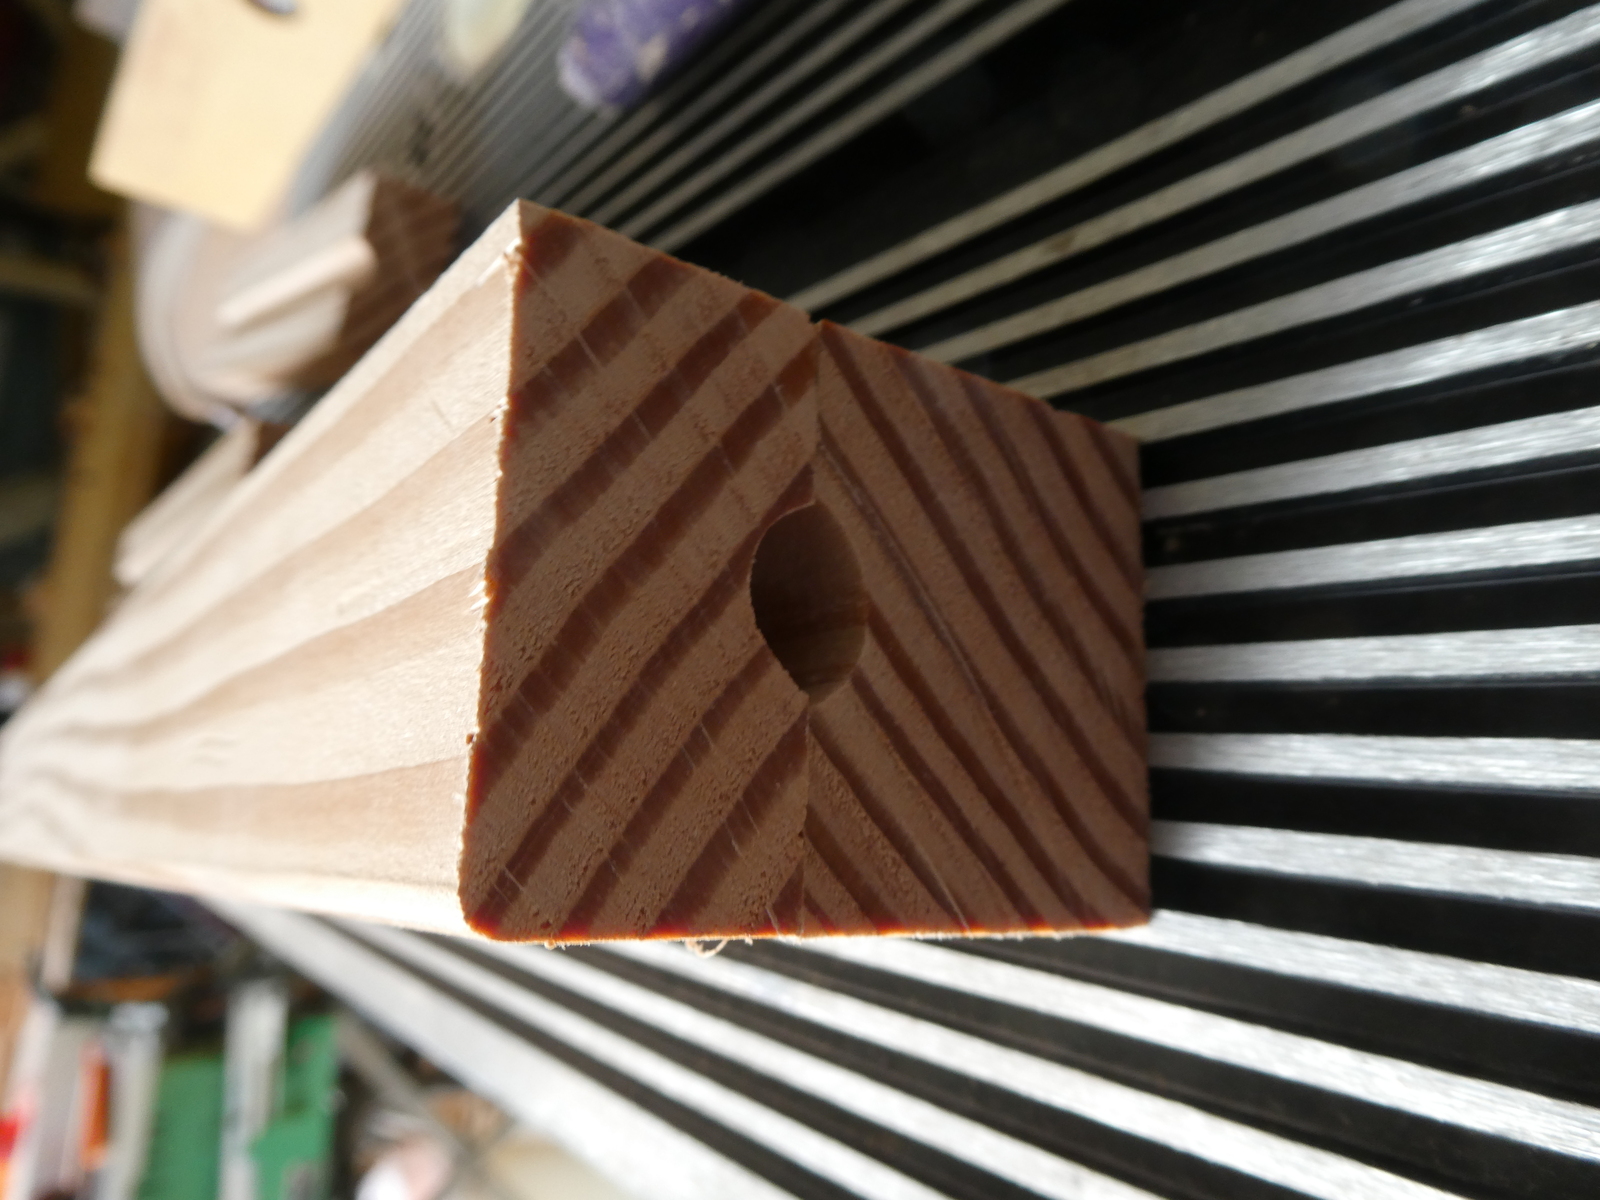
Next step was to seal the inside of the routed channel with epoxy to make sure any water that got in there wasn’t going to cause rot.
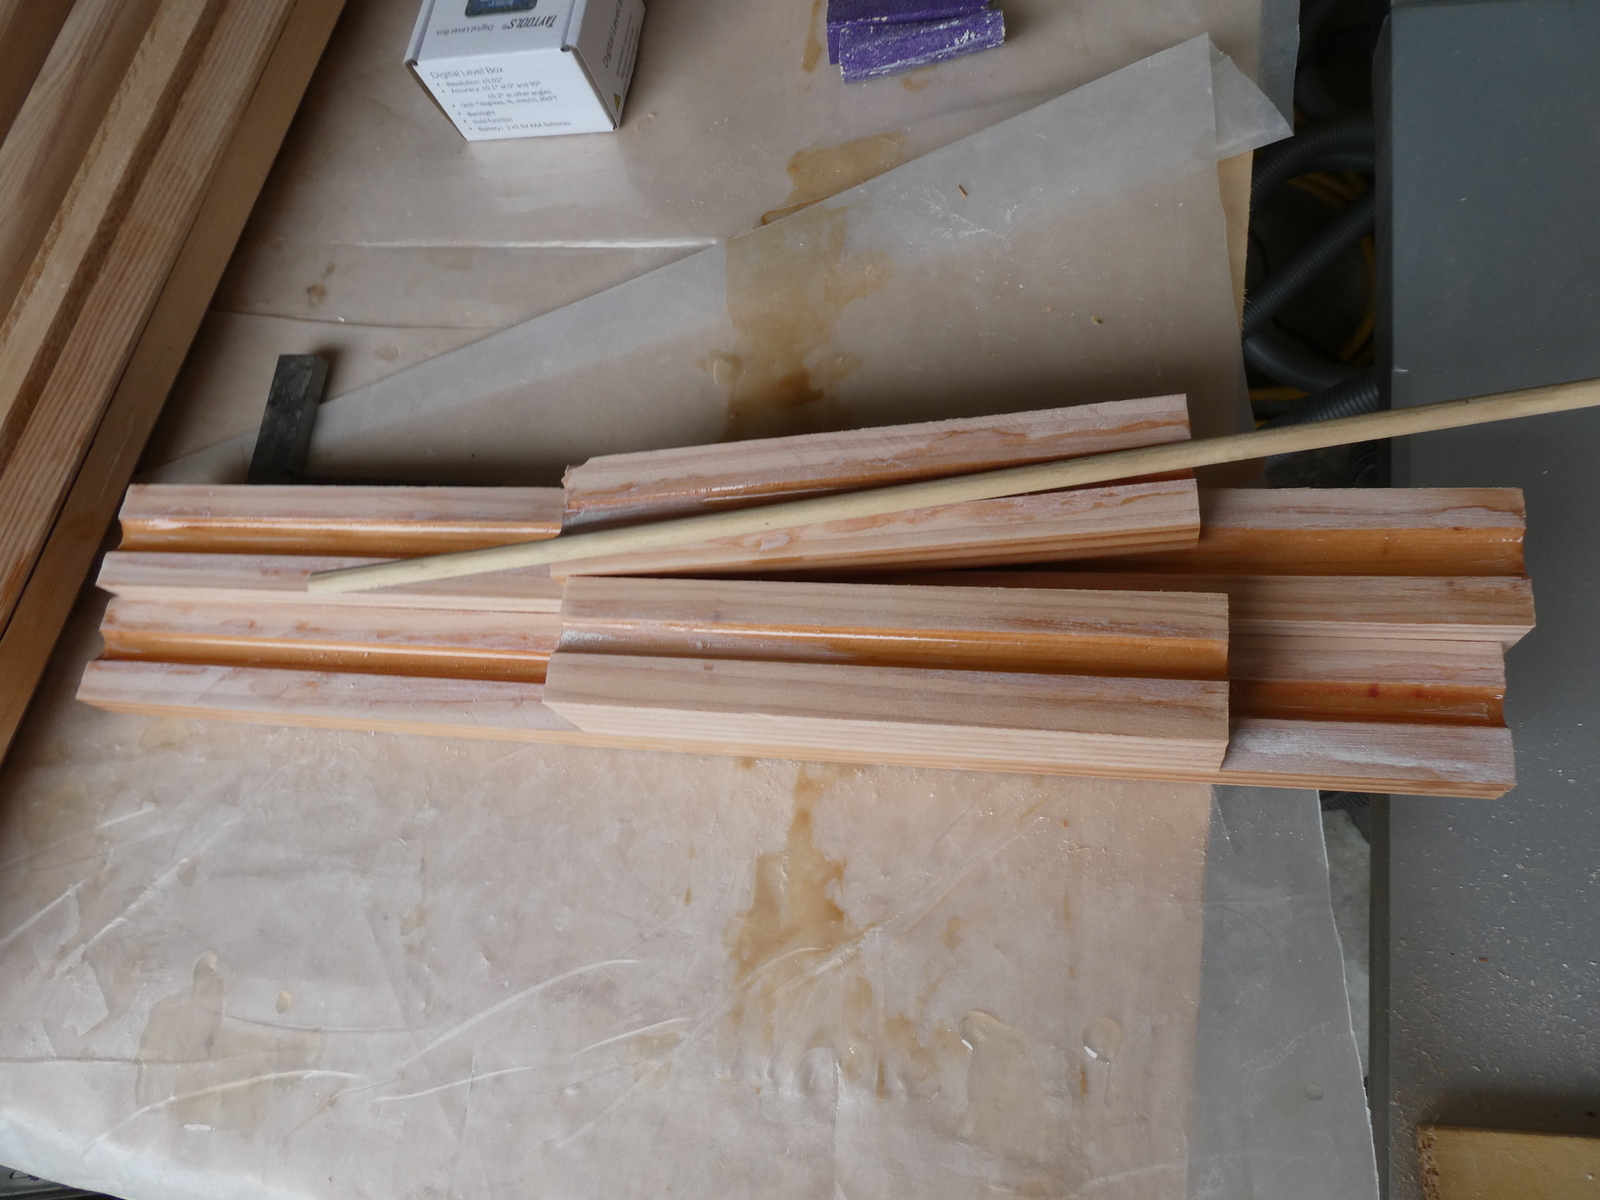
The dowel was used to make sure the routed channel was of a certain size and not blocked by curing epoxy
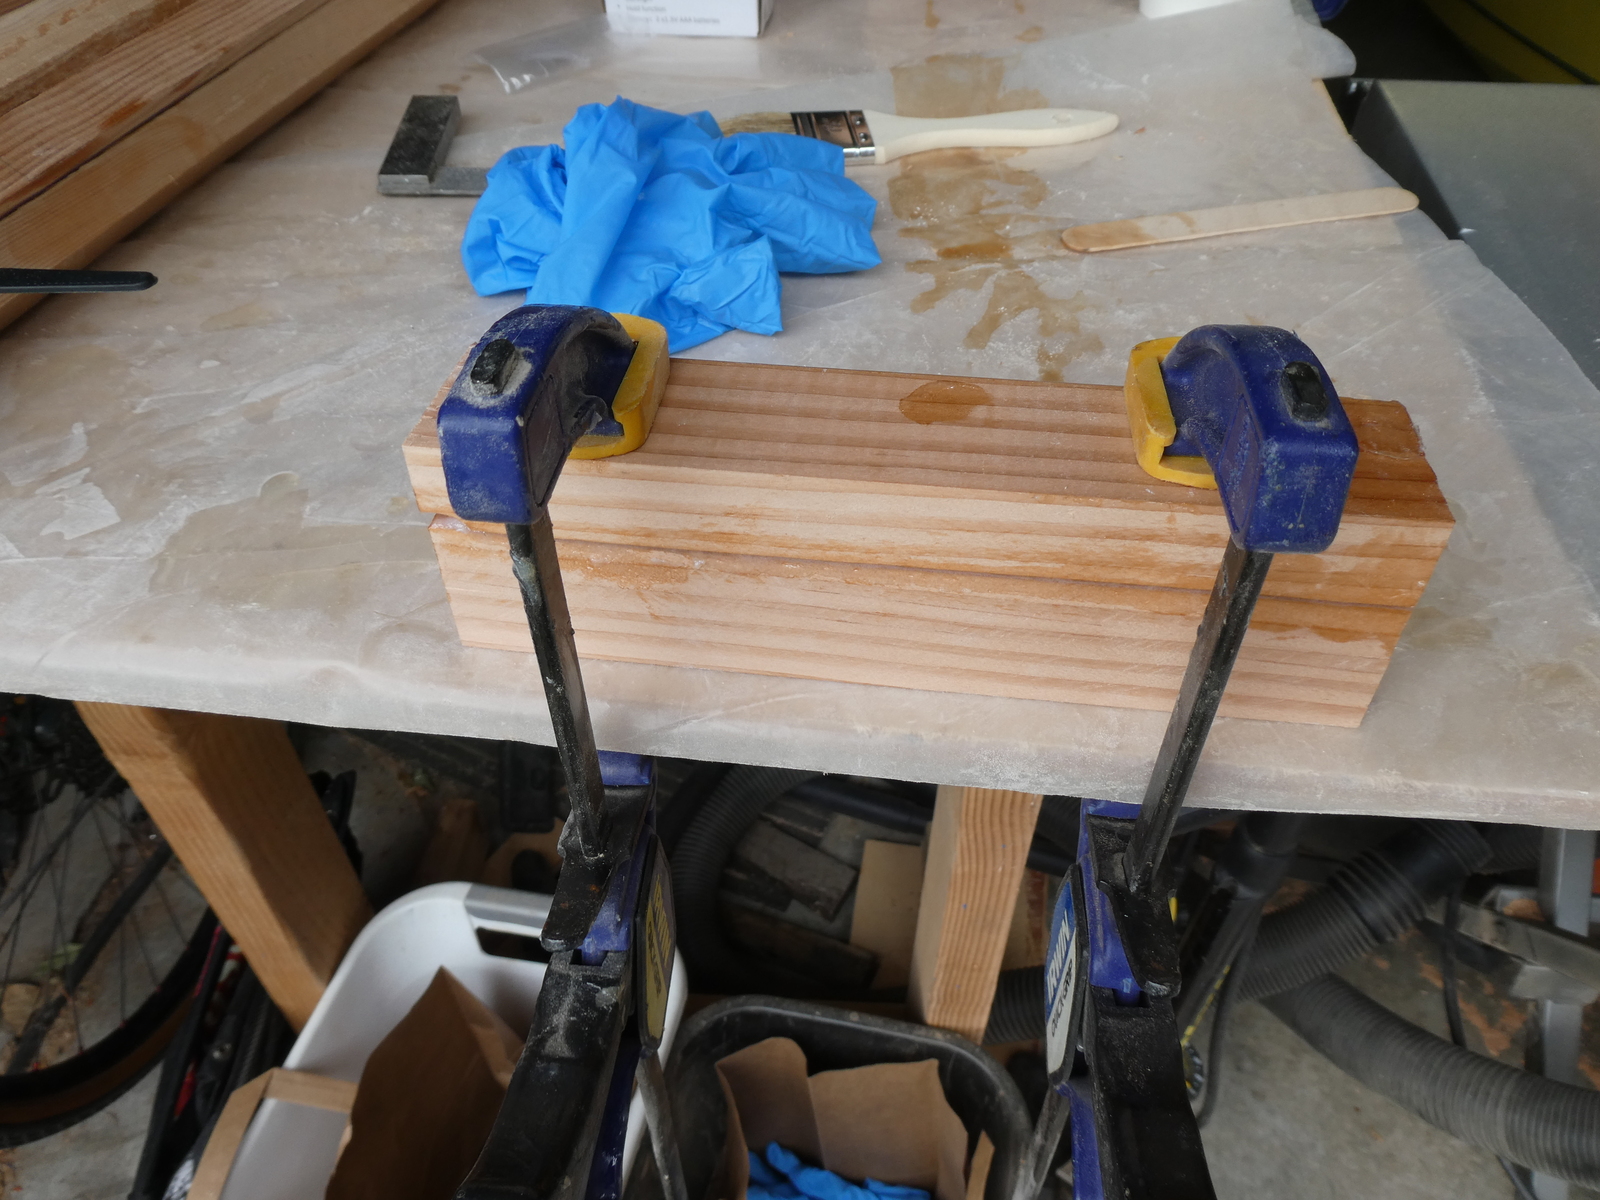
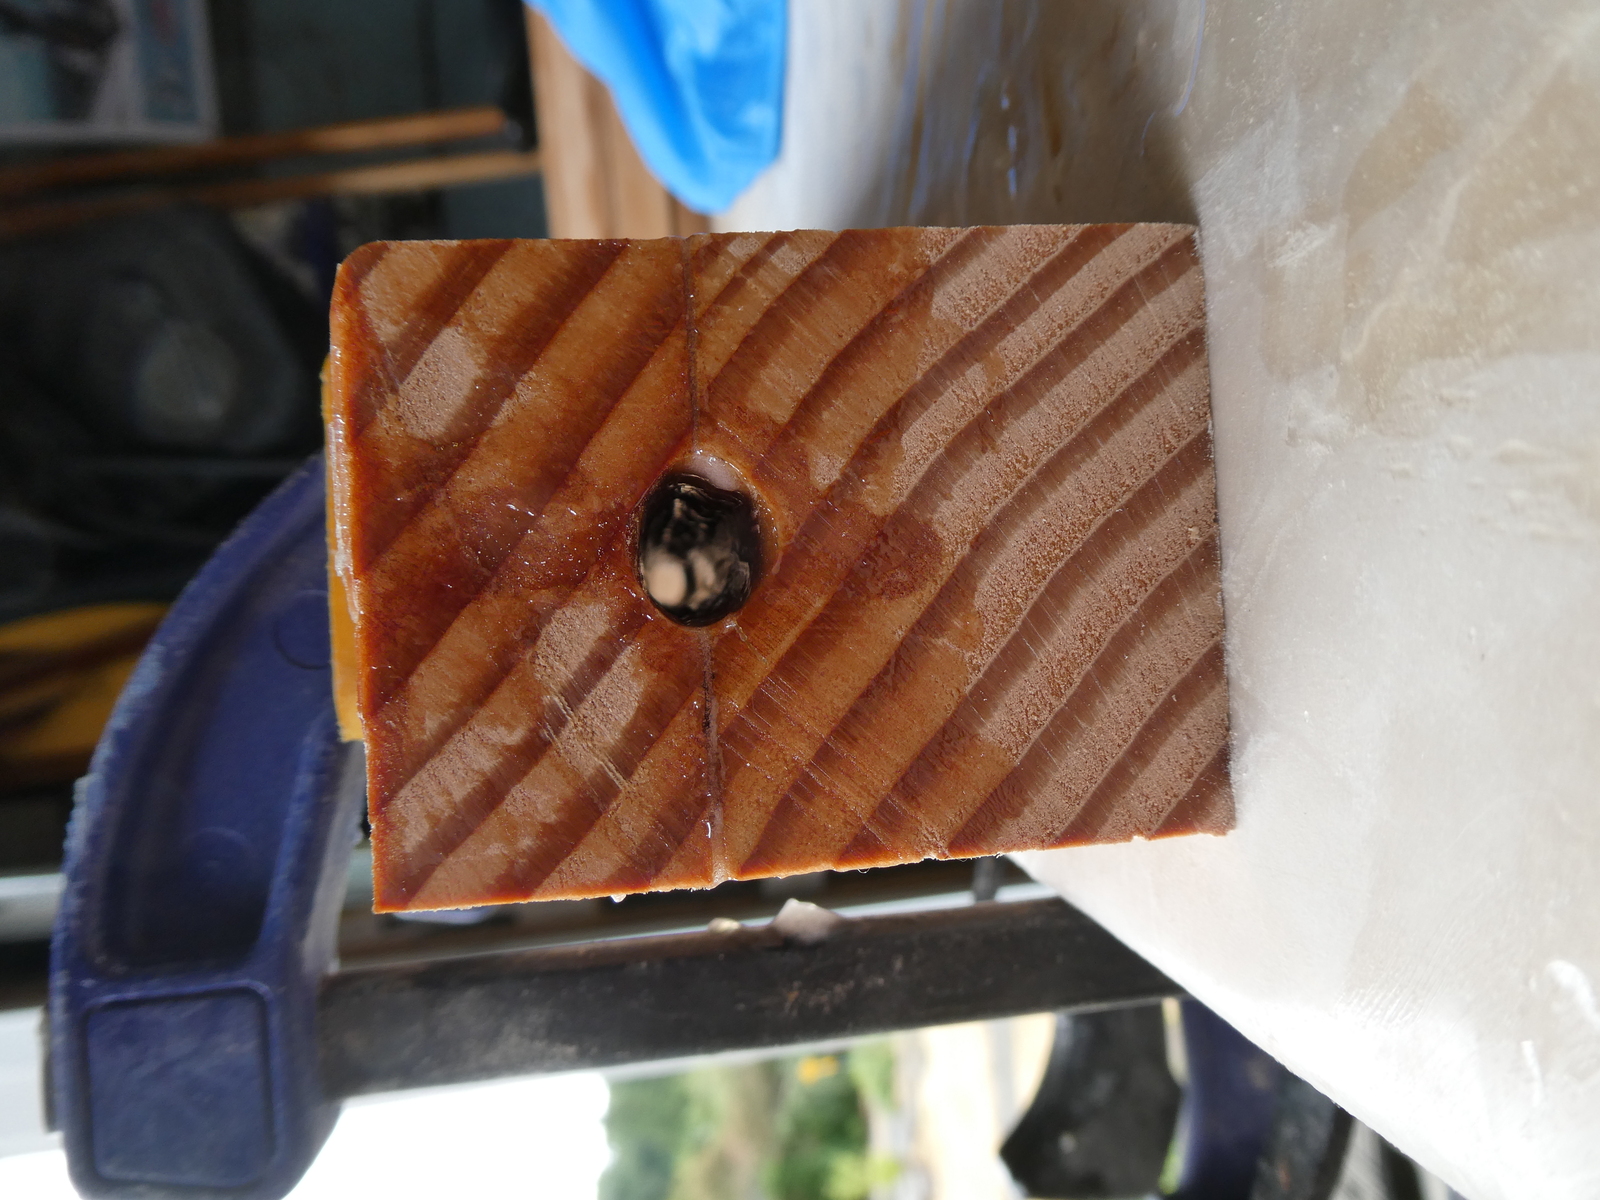
And then glue the two halves back together again, ensuring the drain channel doesn’t get blocked by squeezed out epoxy.
Cutting the stress risers #
For the center piece of blocking I needed to cut stress risers into the top so that as the mast bends the interior blocking is able to help distribute the stress over a longer length of the mast rather then just transfer it to a single point on the mast.
This was done on the band saw by cutting deep “V"s into the two faces of the block to make this spiky looking thing.
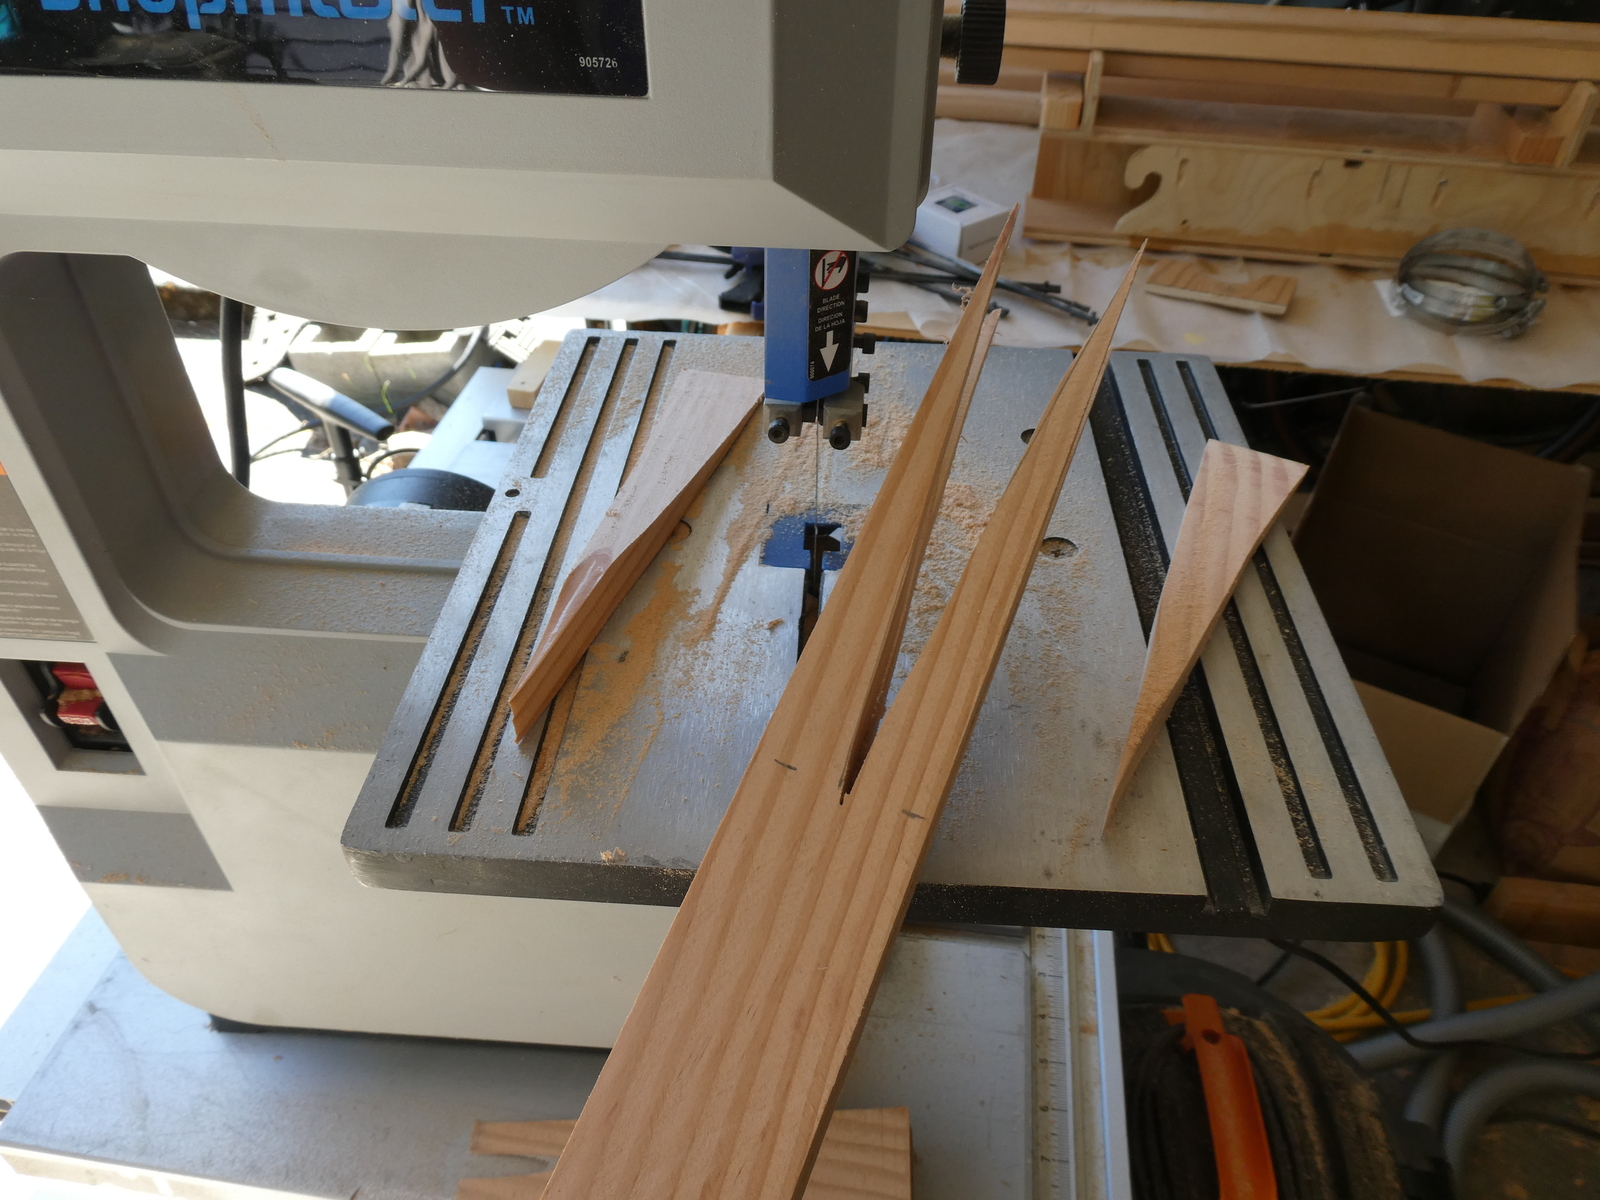
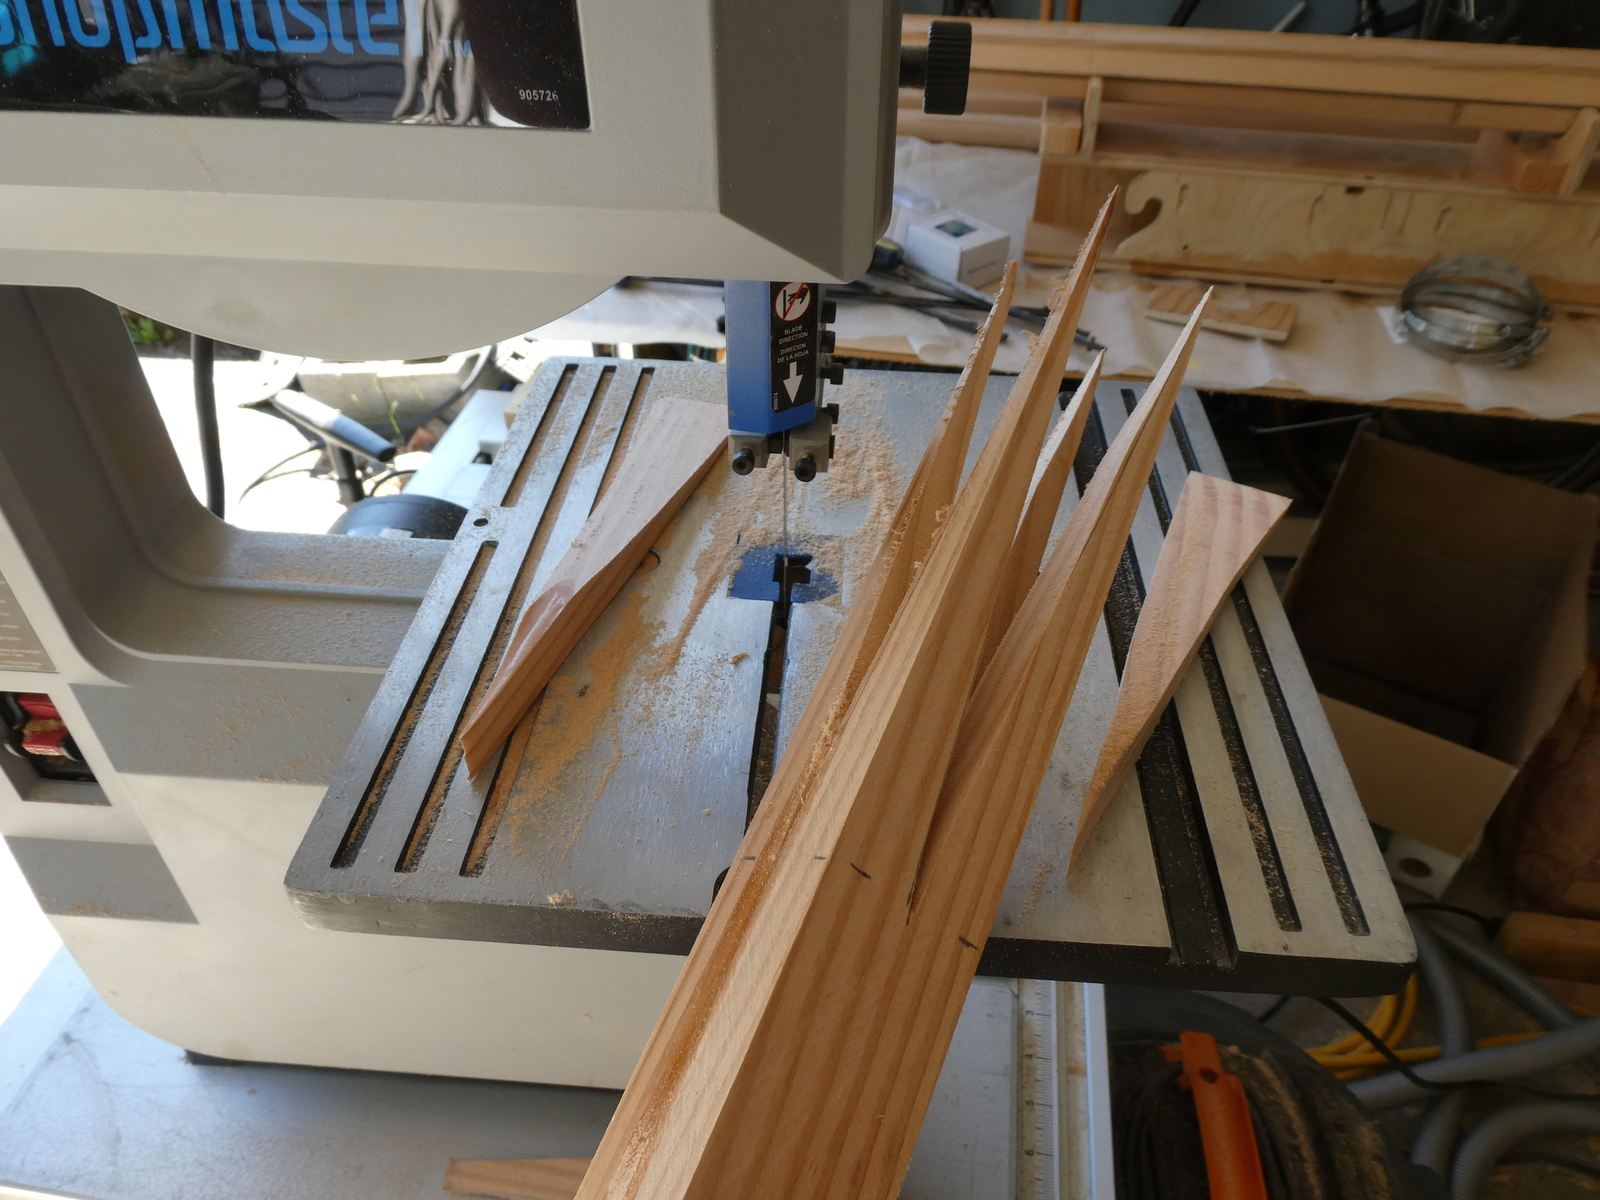
I used the table saw to cut all of the blocks down to the right octagonal dimensions for where they’ll fit inside the mast.
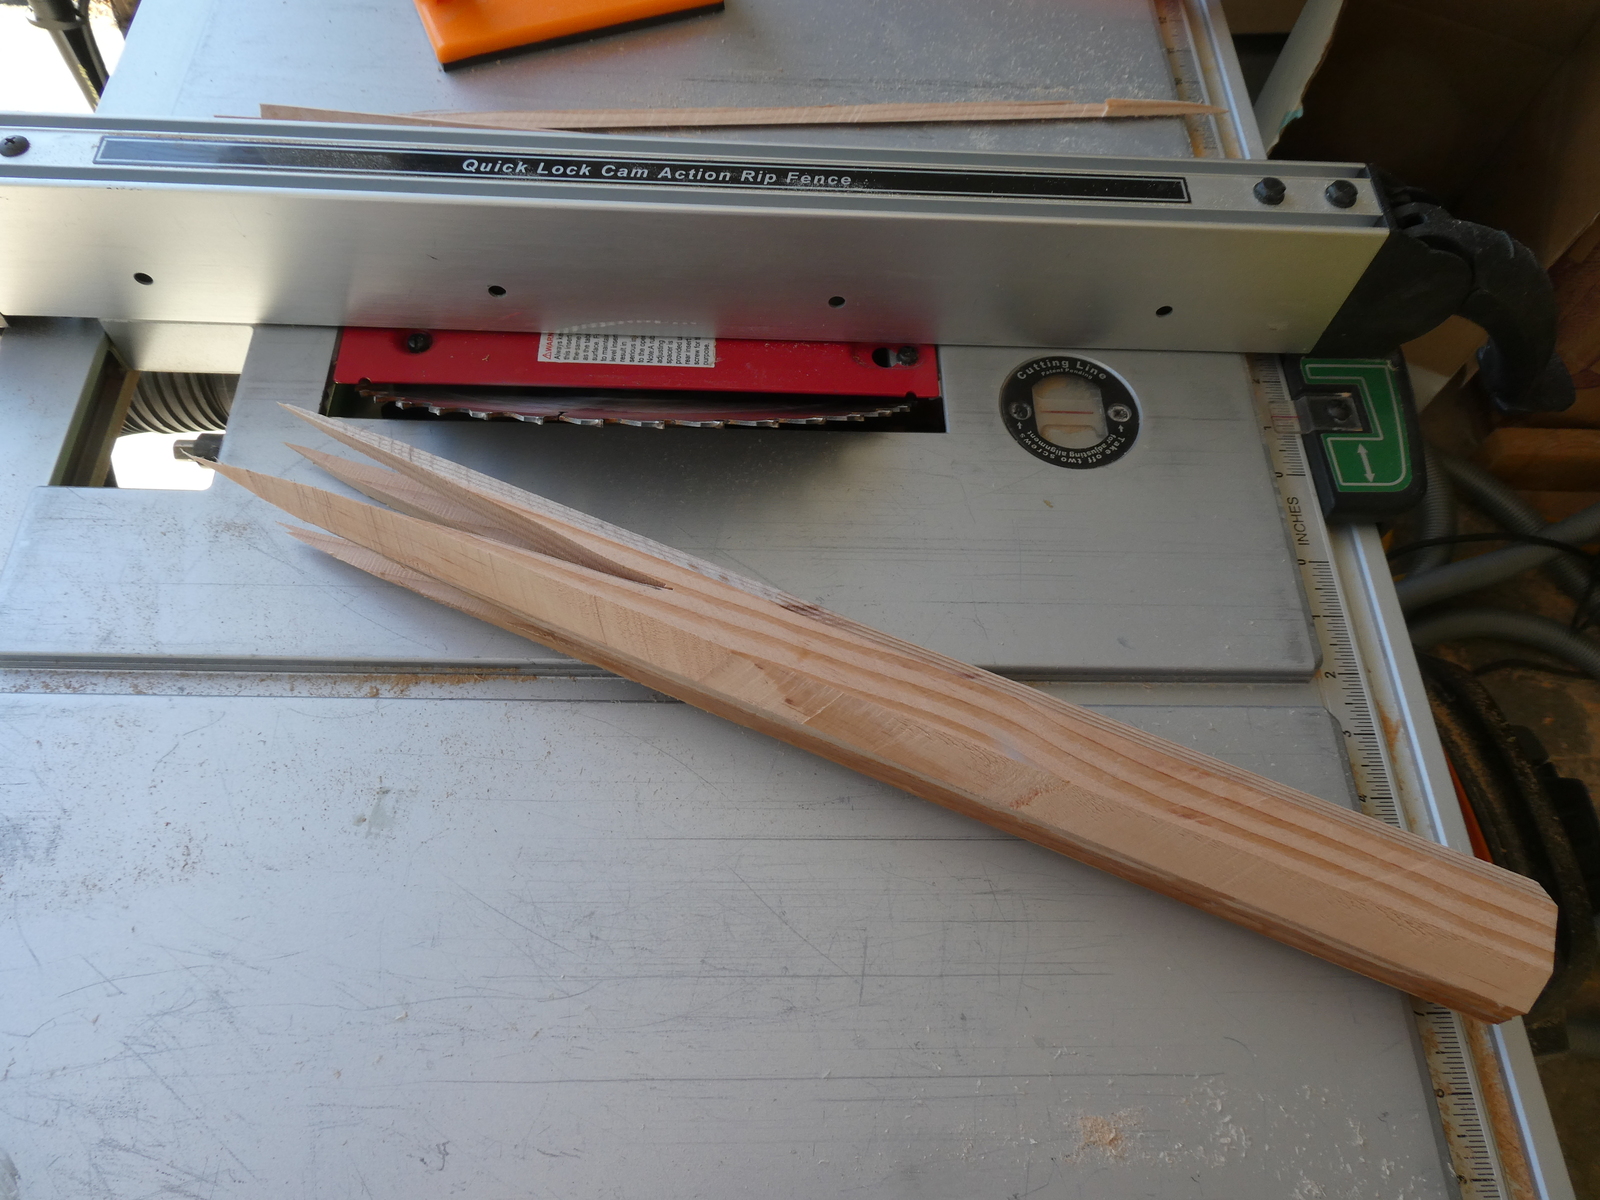
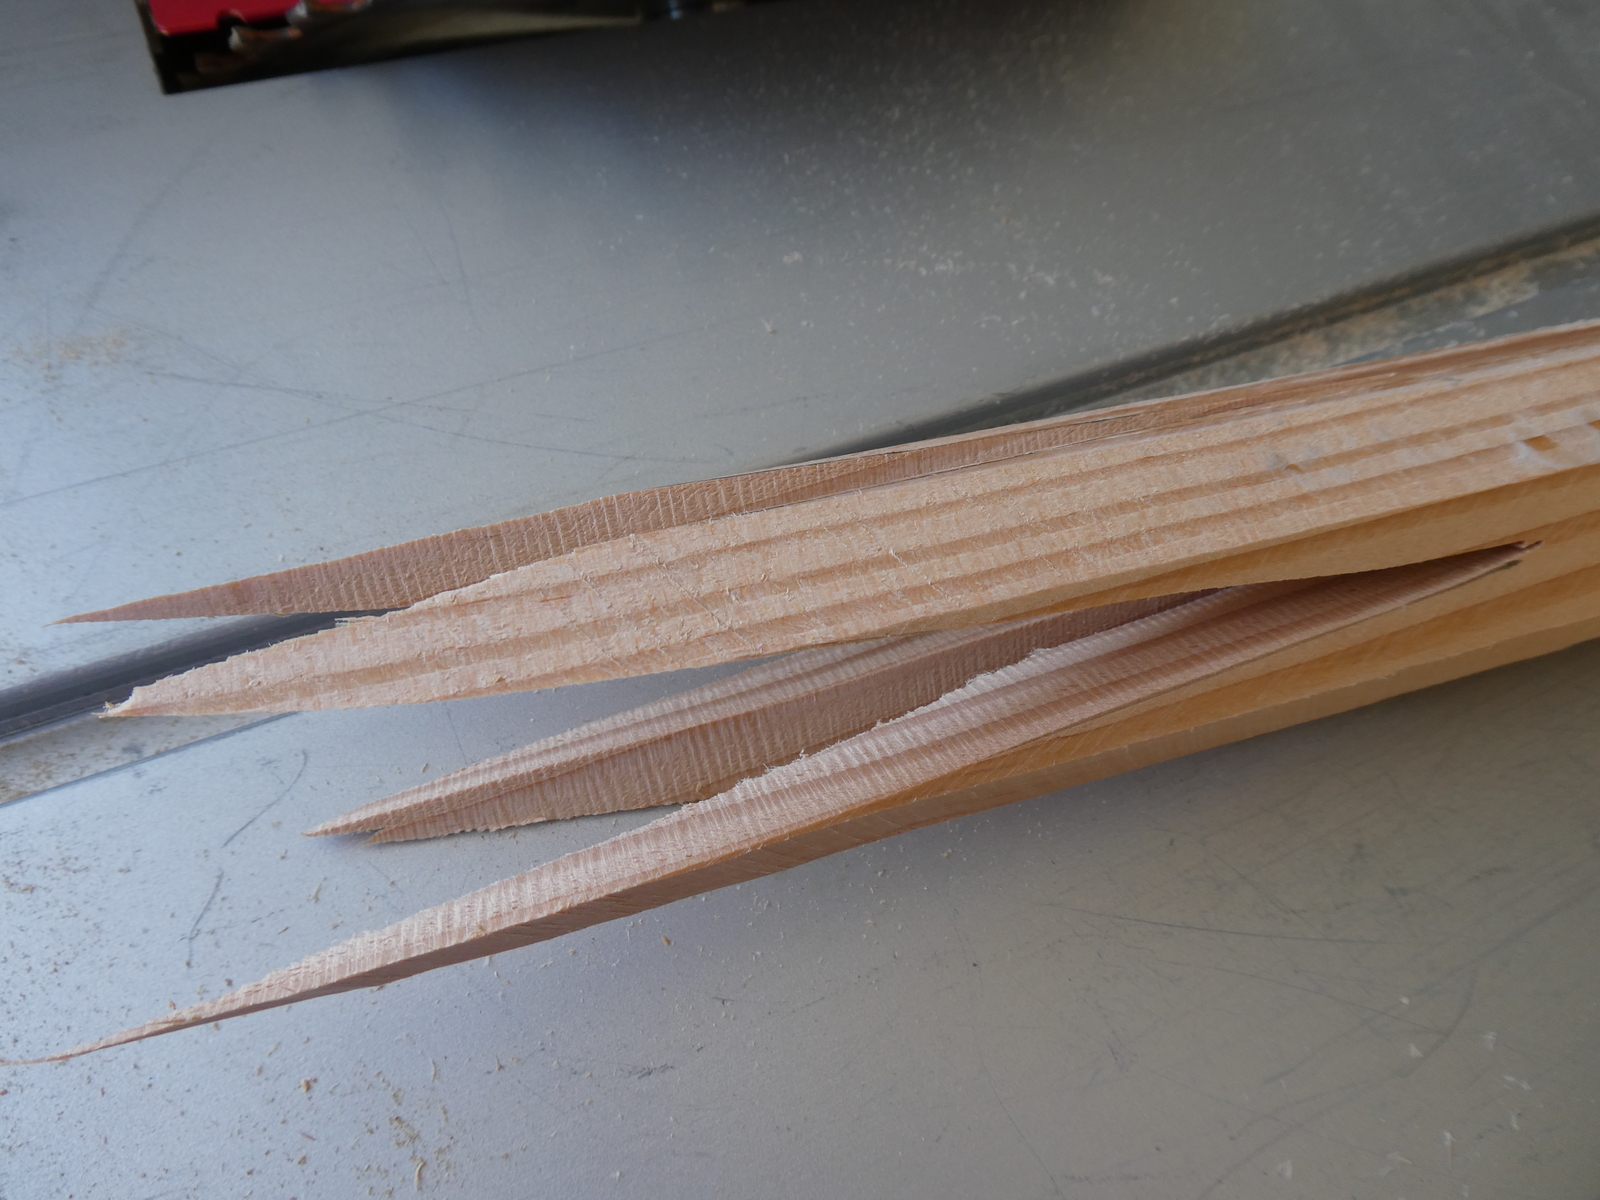
All told this worked pretty well - if I were to do it over again, I would make the middle block quite a bit longer in order to make the stress risers quite a bit longer as well (cutting the Vs into the block followed by cutting the corners to turn it octagonal take really quite a lot of length out of the Vs), but this should do OK.
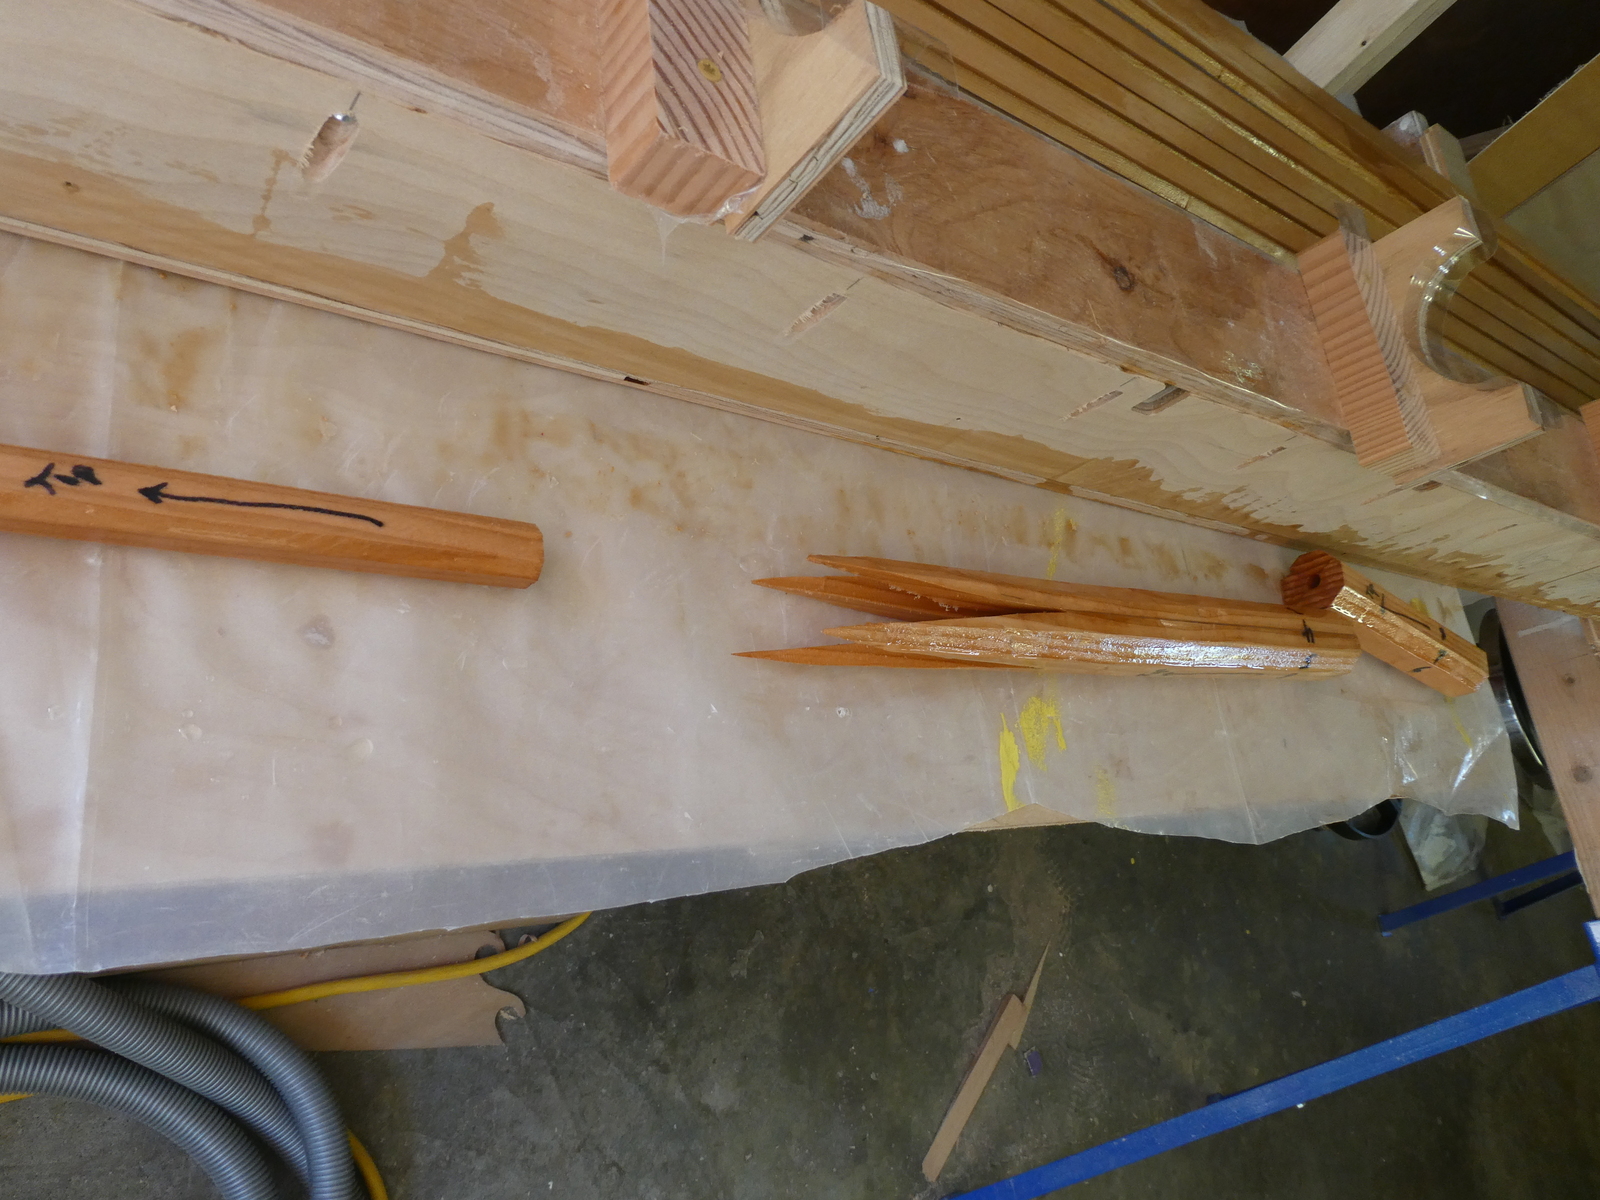
Note in the picture above that I marked which side of the block should go against which stave - I had to do this since they weren’t a perfect fit (relying on the gap filling qualities of epoxy I was), but it worked great.
Final preparations for the glue up #
Getting closer to the actual glue up now. Only a couple of things remained to be done.
First was to add a coat of epoxy to all three edges of the staves except for the outward facing ones. Some people only epoxy coated the inner most face, I decided to coat the two short sides involved in the glue up as well just for the sake of completion. I added one coat of epoxy, let it dry overnight, and then added a second coat right before the actual glue up happened.
The other thing I did was to build support cradles for the mast itself that I could mount to my strongback. I took measurements of how wide the mast would be at different lengths and then cut support cradles for various stations along the length of the strongback.
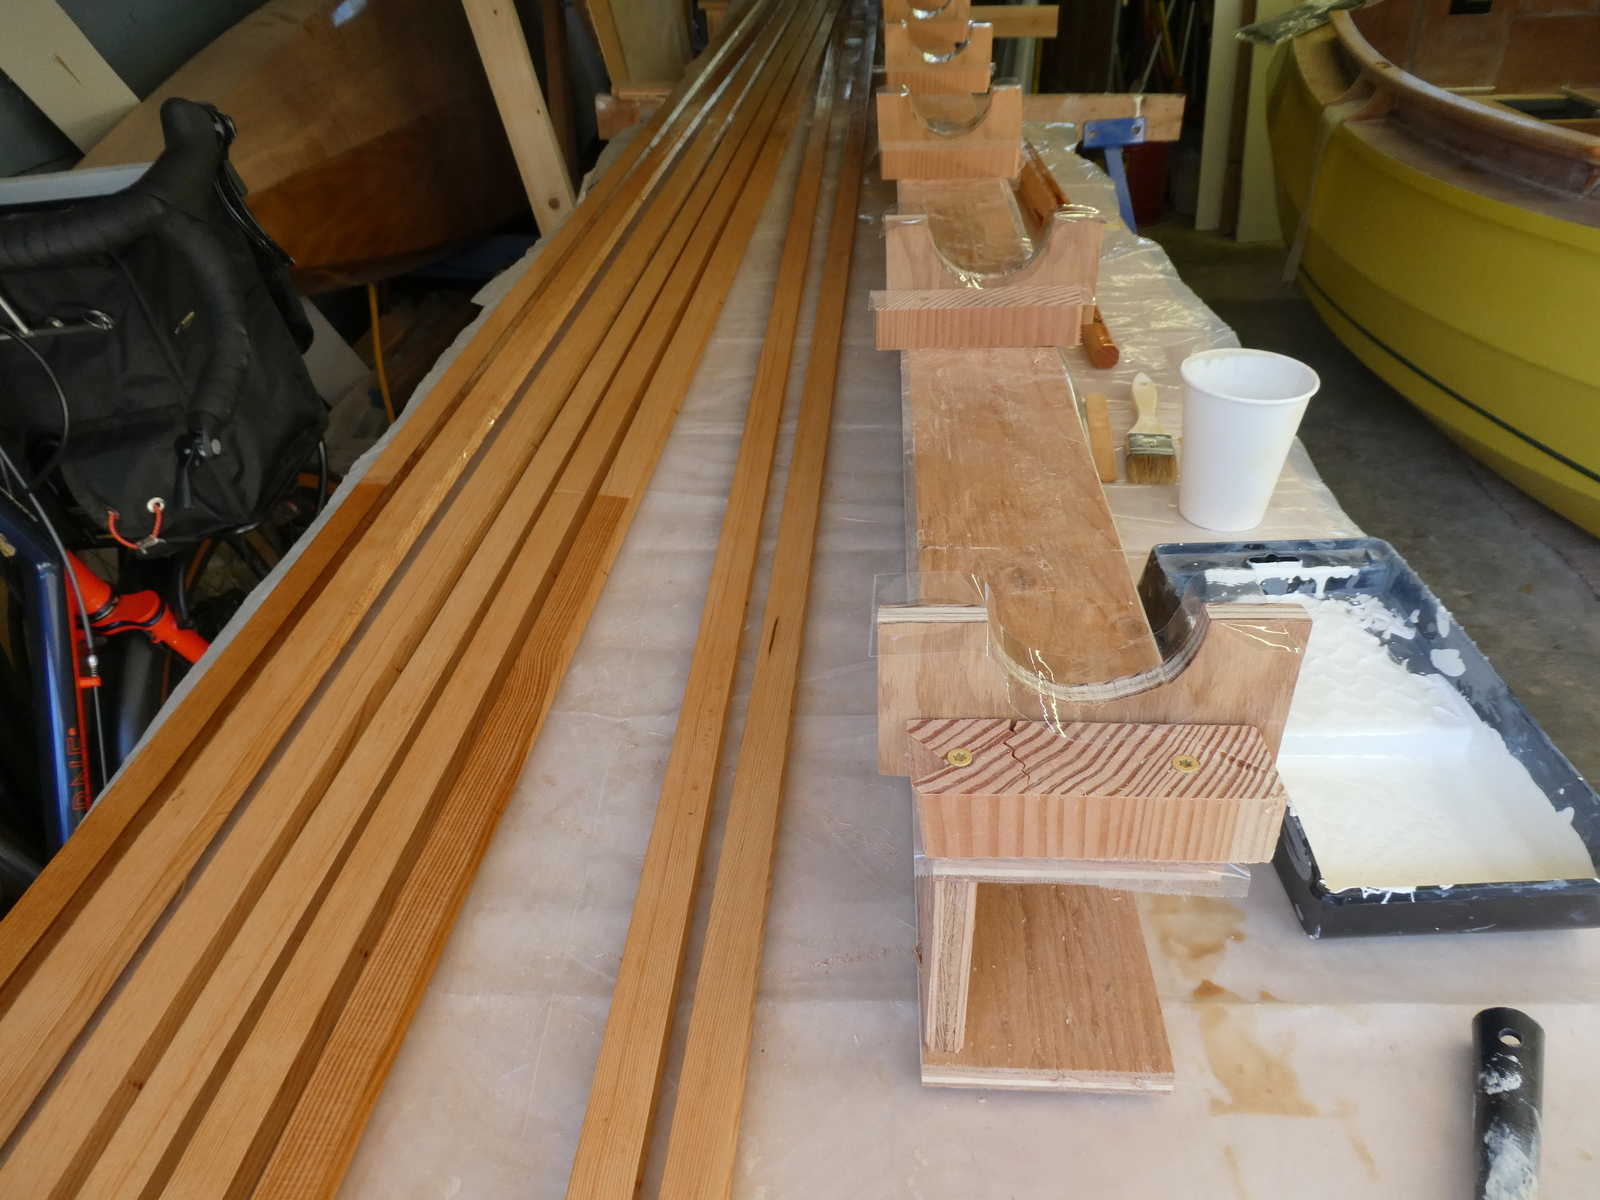
Support cradles attached to the strongback at regular intervals
Since my strongback was shorter then the mast, I arranged this so that roughly 2.5 feet of length would hang off either end of the strongback, with the center of the mast supported roughly every 16” of length on the strongback itself.
Mast glue up #
And then the glue up began. For this stage I had B & L over to help as well as M, and between the four of us we had enough folks on epoxy stirring that we were able to get everything put together before the epoxy started to kick, although it was a little close. We did this on a summer morning starting at about 9, the temperature reached 80 by the time we finished around noon (and went on to hit high 80s later in the day).
Not a lot of pictures here, as we were all busy. But the day went like this:
- A test fit up first off so that everybody understood how the mast actually went together.
- Then another coat of epoxy on the three faces of the staves.
- Then mixing the epoxy with silica to generate the peanut butter consistency glue started. I would spread this in the birdsmouth of each stave while B & L mixed, with M doing a bit of both.
When it came time to put all the pieces together we started by putting the bottom four staves in place on the cradles, then coated the interior blocking pieces in epoxy and put them in place, and then put the final four staves in place.
Most of the clamping was done with simple zip ties, although I added one or two metal clamps here and there. The zip ties mostly worked fine.
One thing I forgot to do was actually put in some crumpled up tinfoil between the upper two blocks. That’s supposed to work well as a radar reflector, and I had even bought some tinfoil specifically for this, but in the rush to get the mast put together (the epoxy was starting to get tacky) I just plain forgot to put the tinfoil in. Ooops!
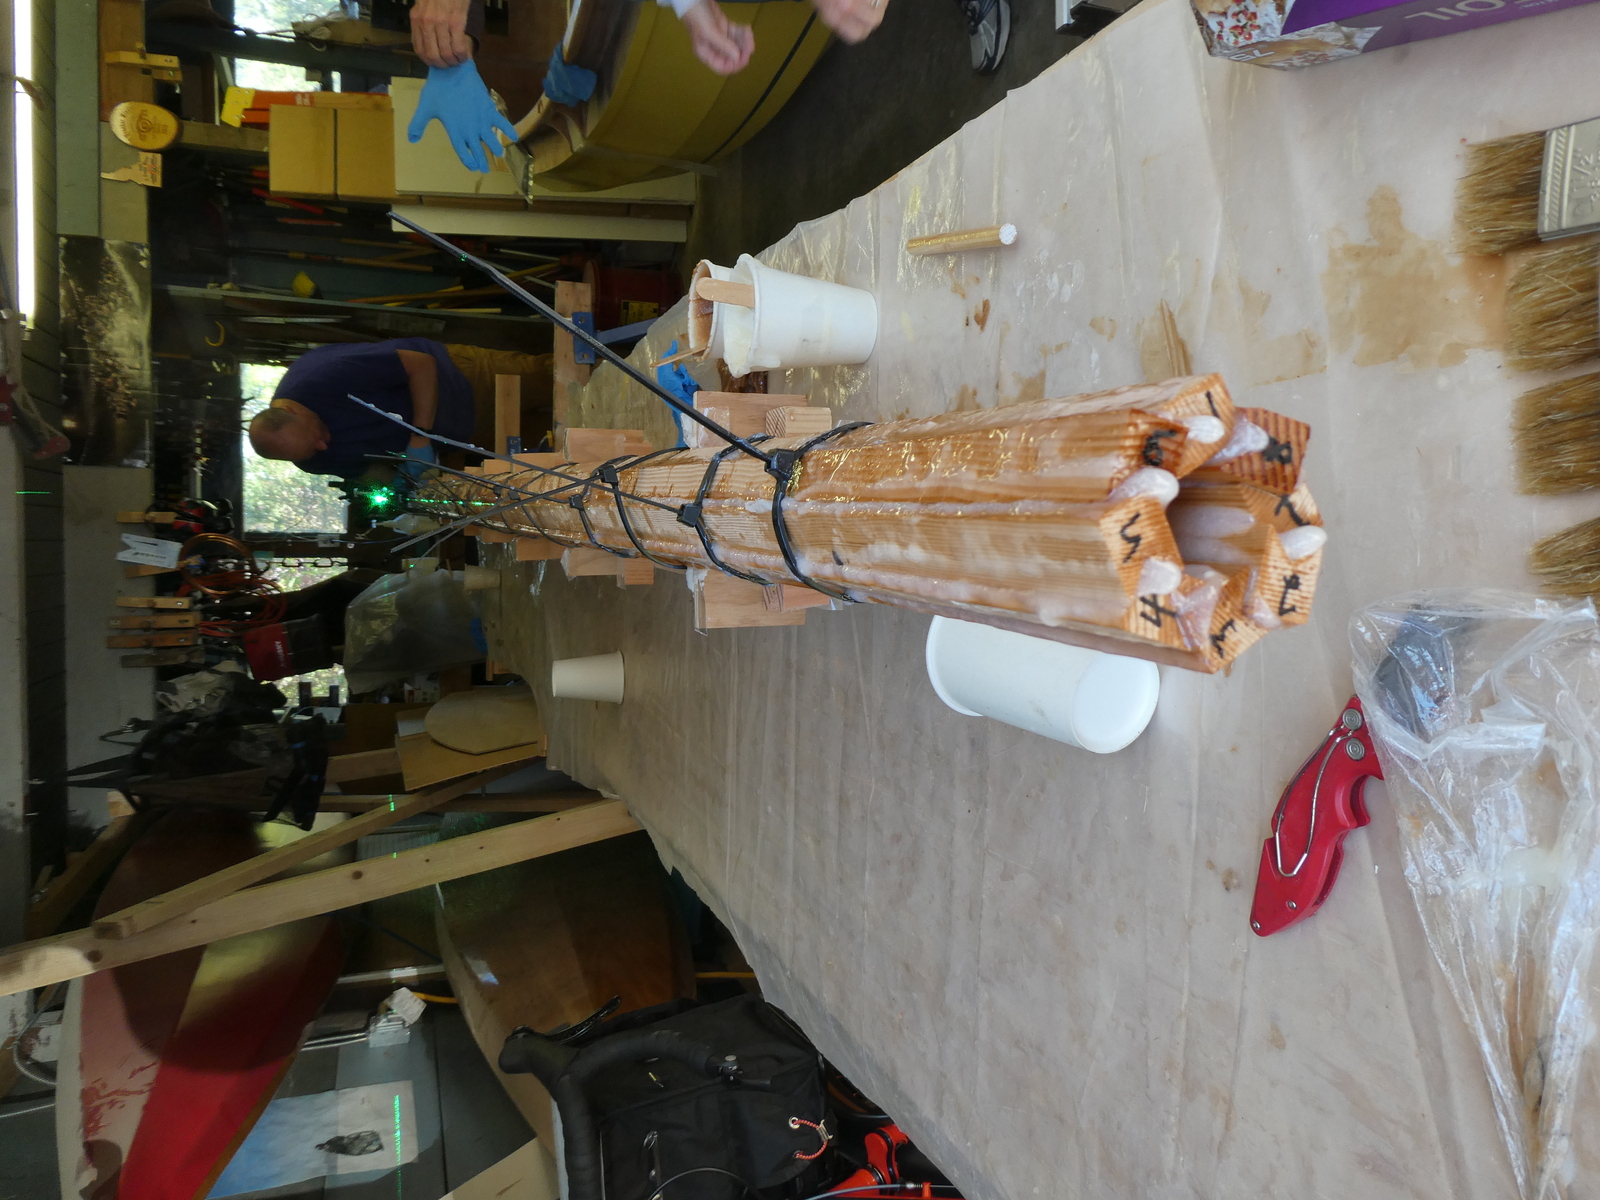
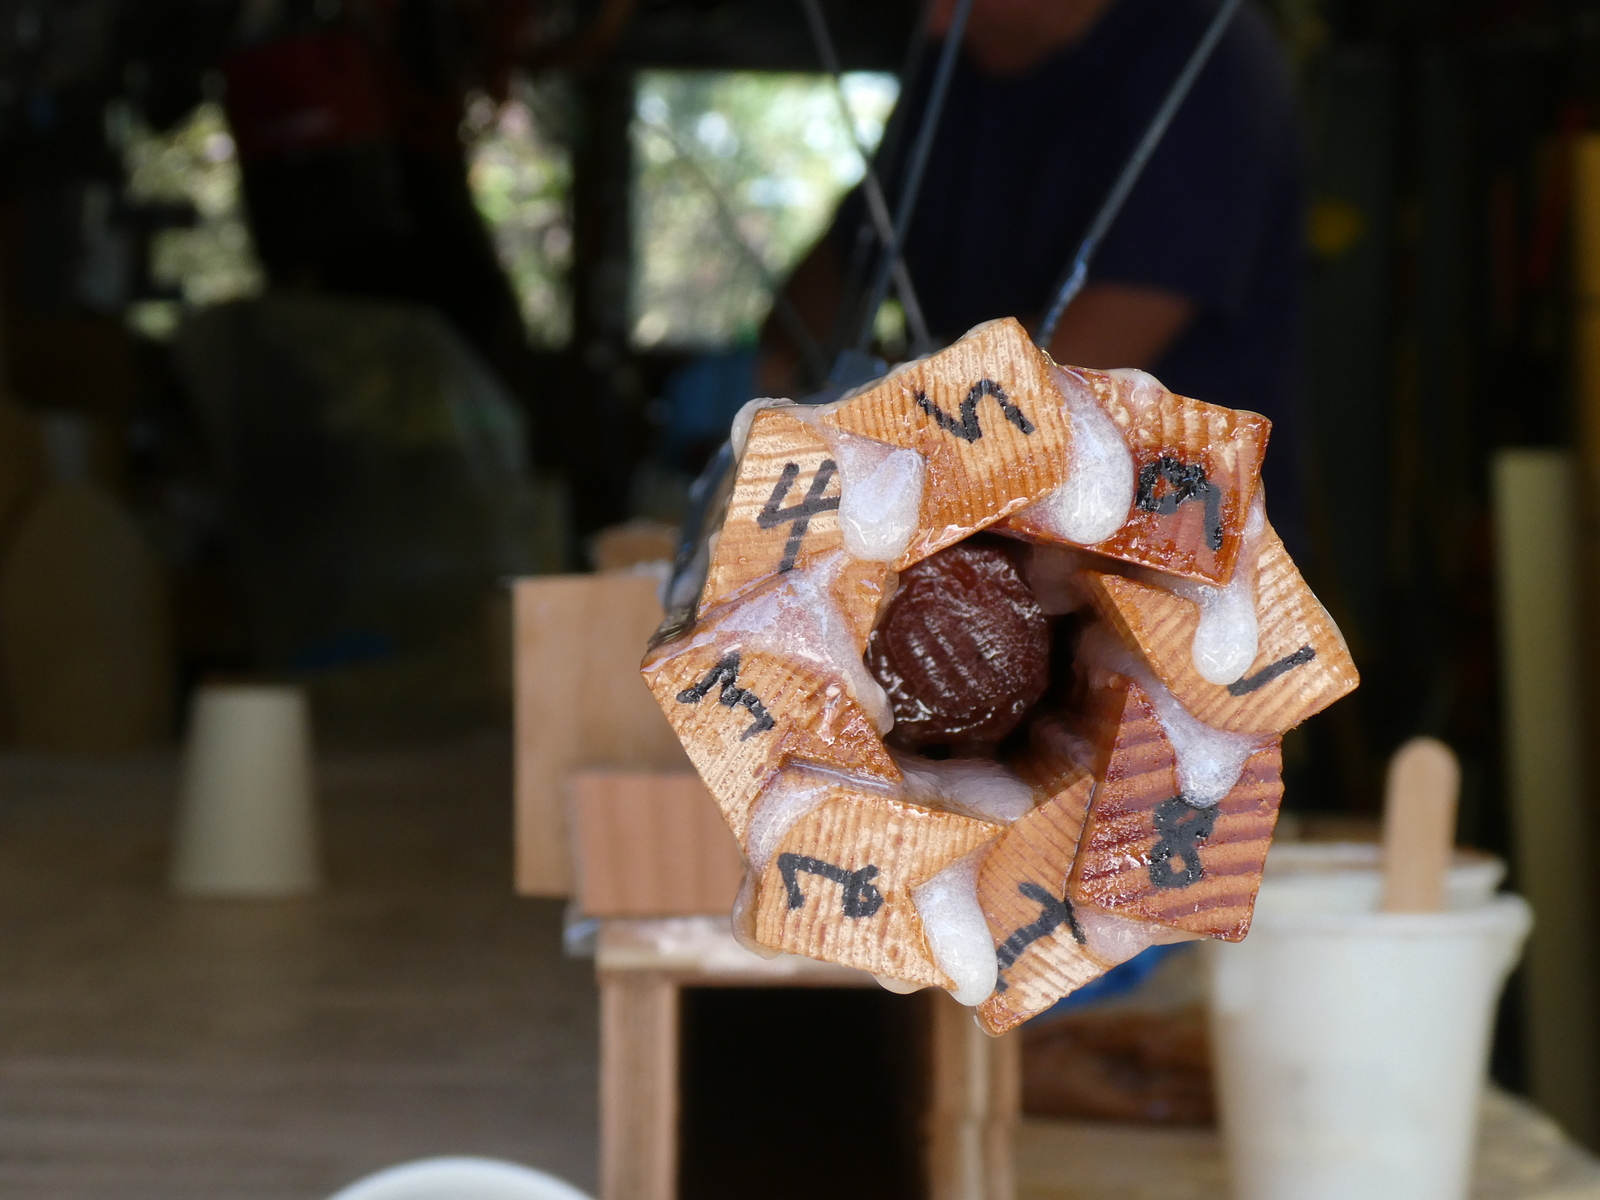
After the glue up was complete, I double checked most of the joints, cleaned up some squeeze out, and then went to lunch.
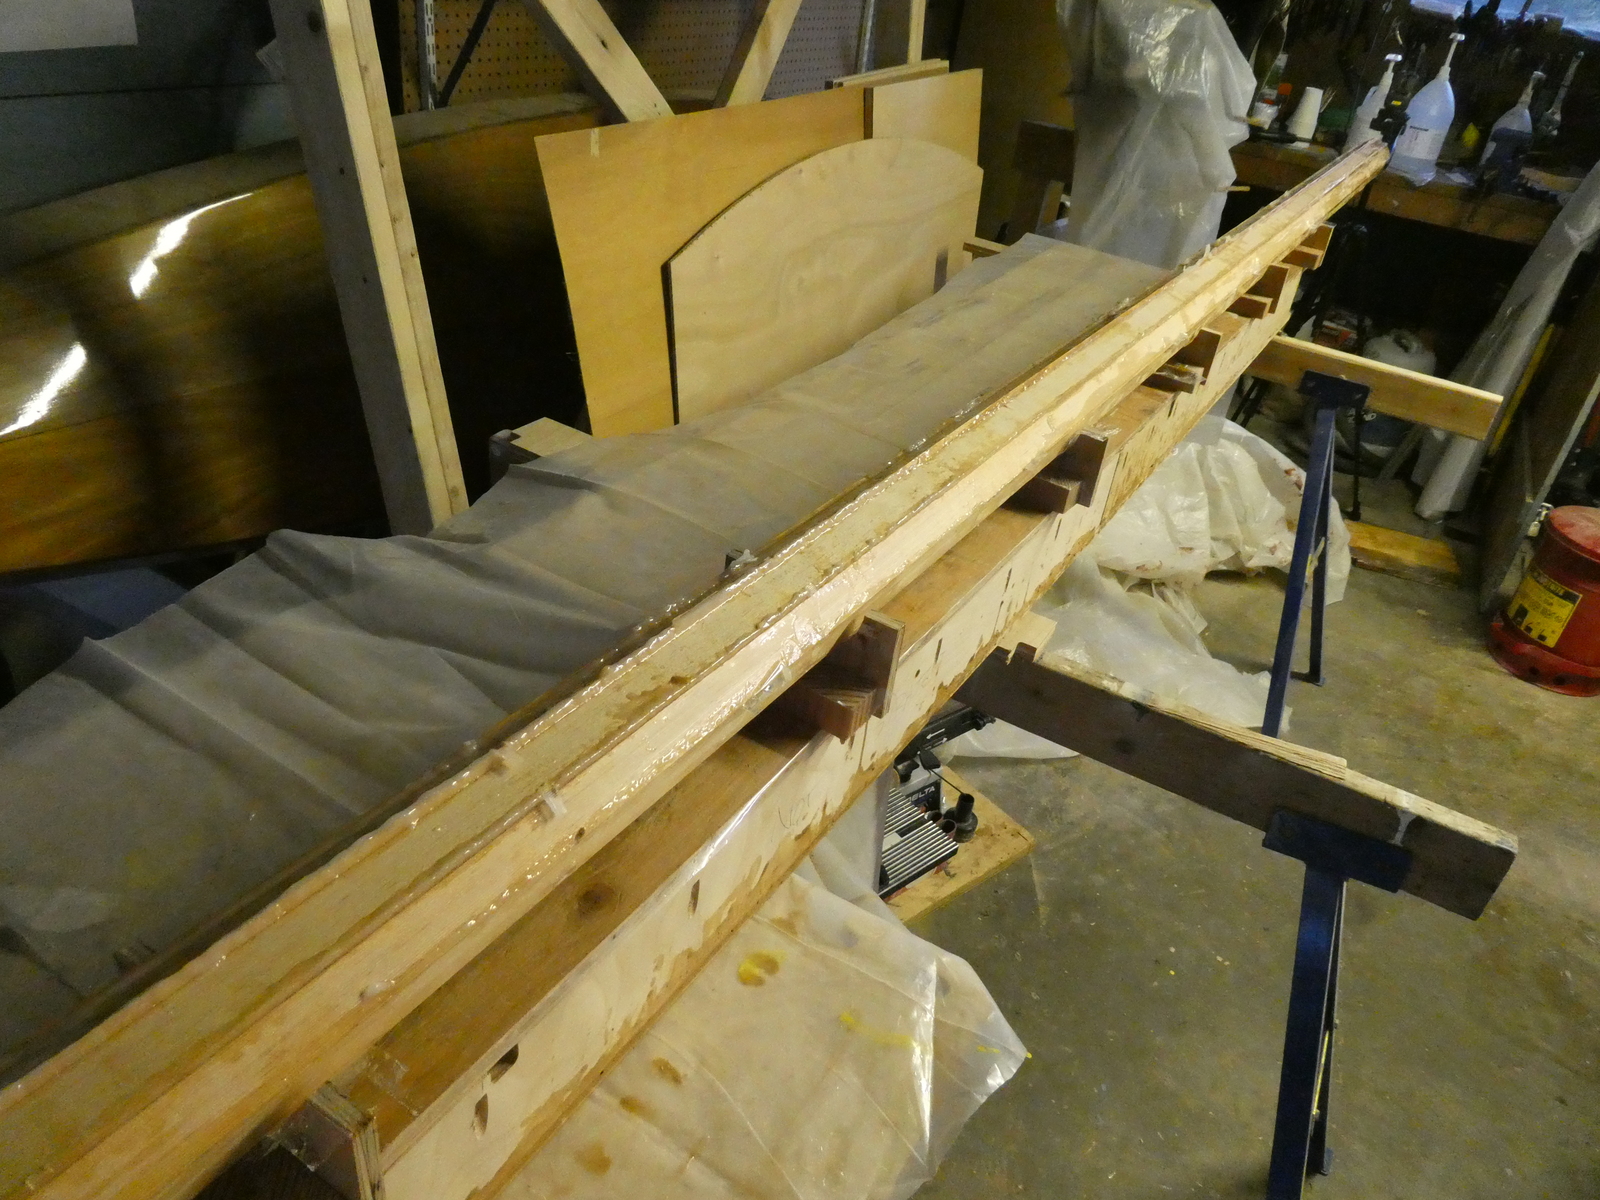
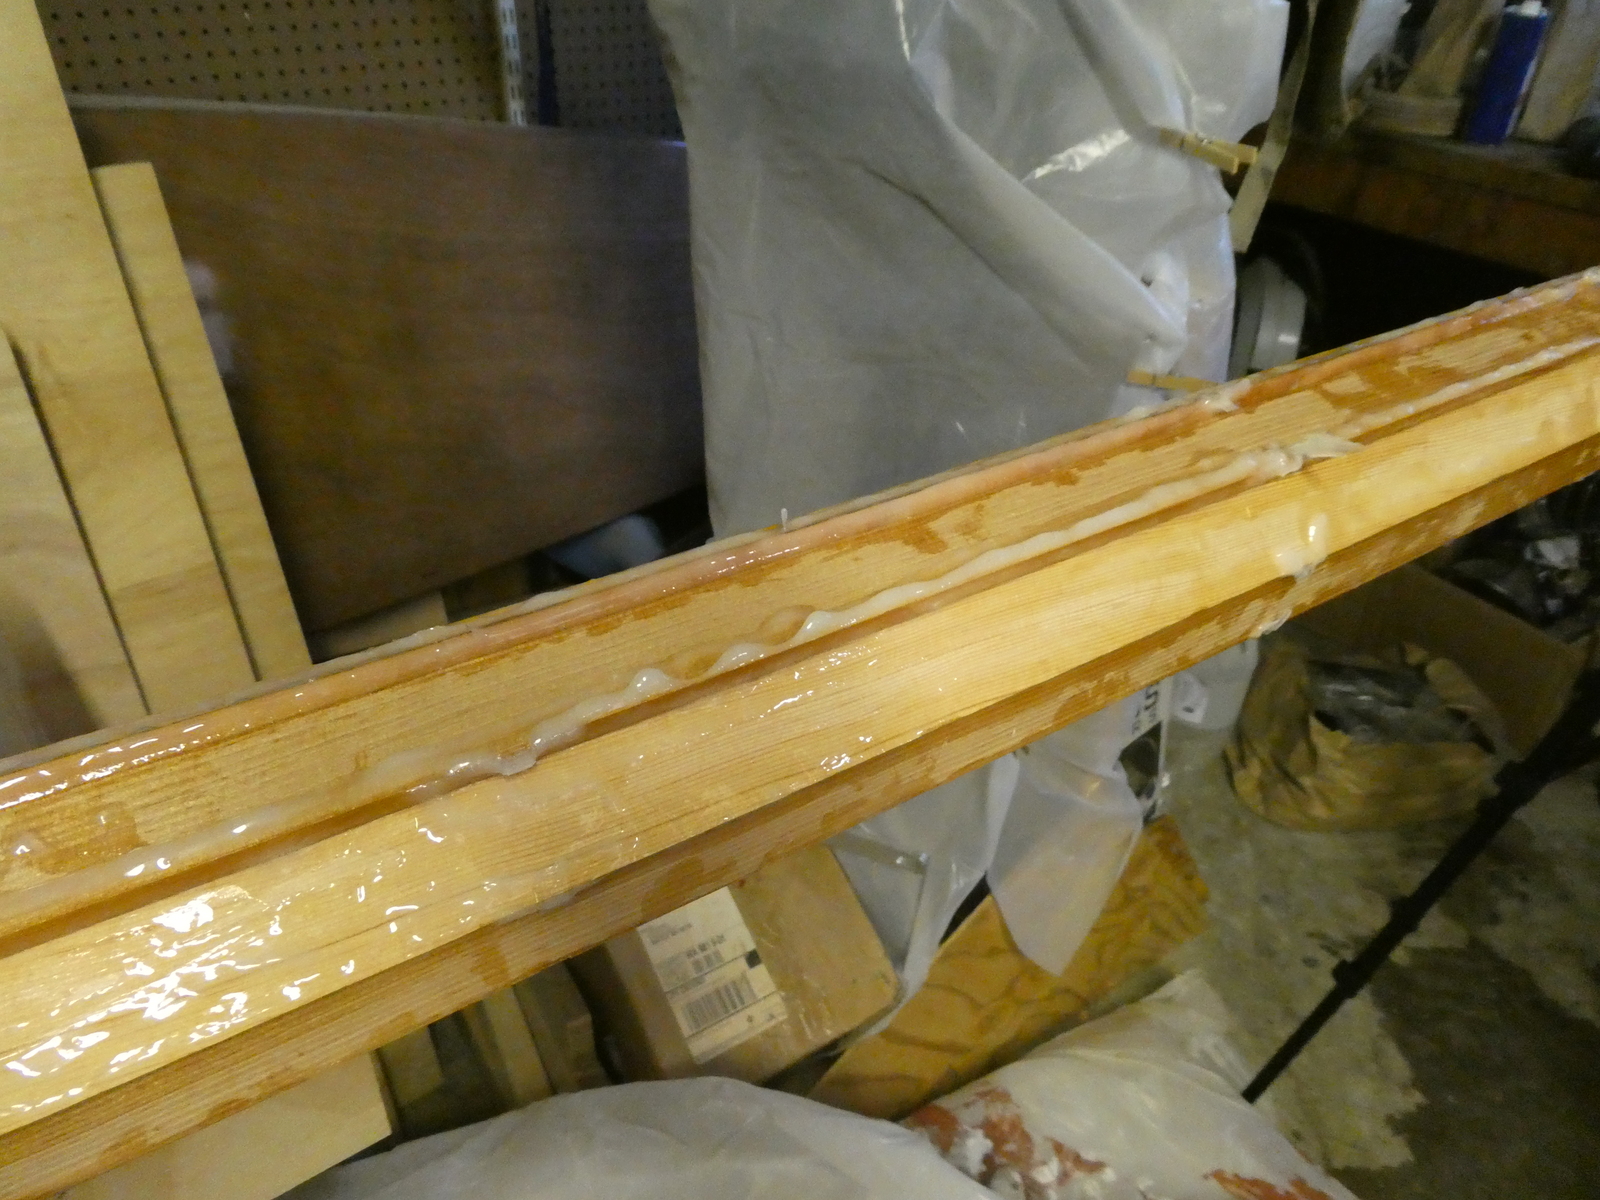
Rounding the mast #
I started by tackling all of the squeezed out epoxy with my rasp. That was relatively short work - rasps are magic.
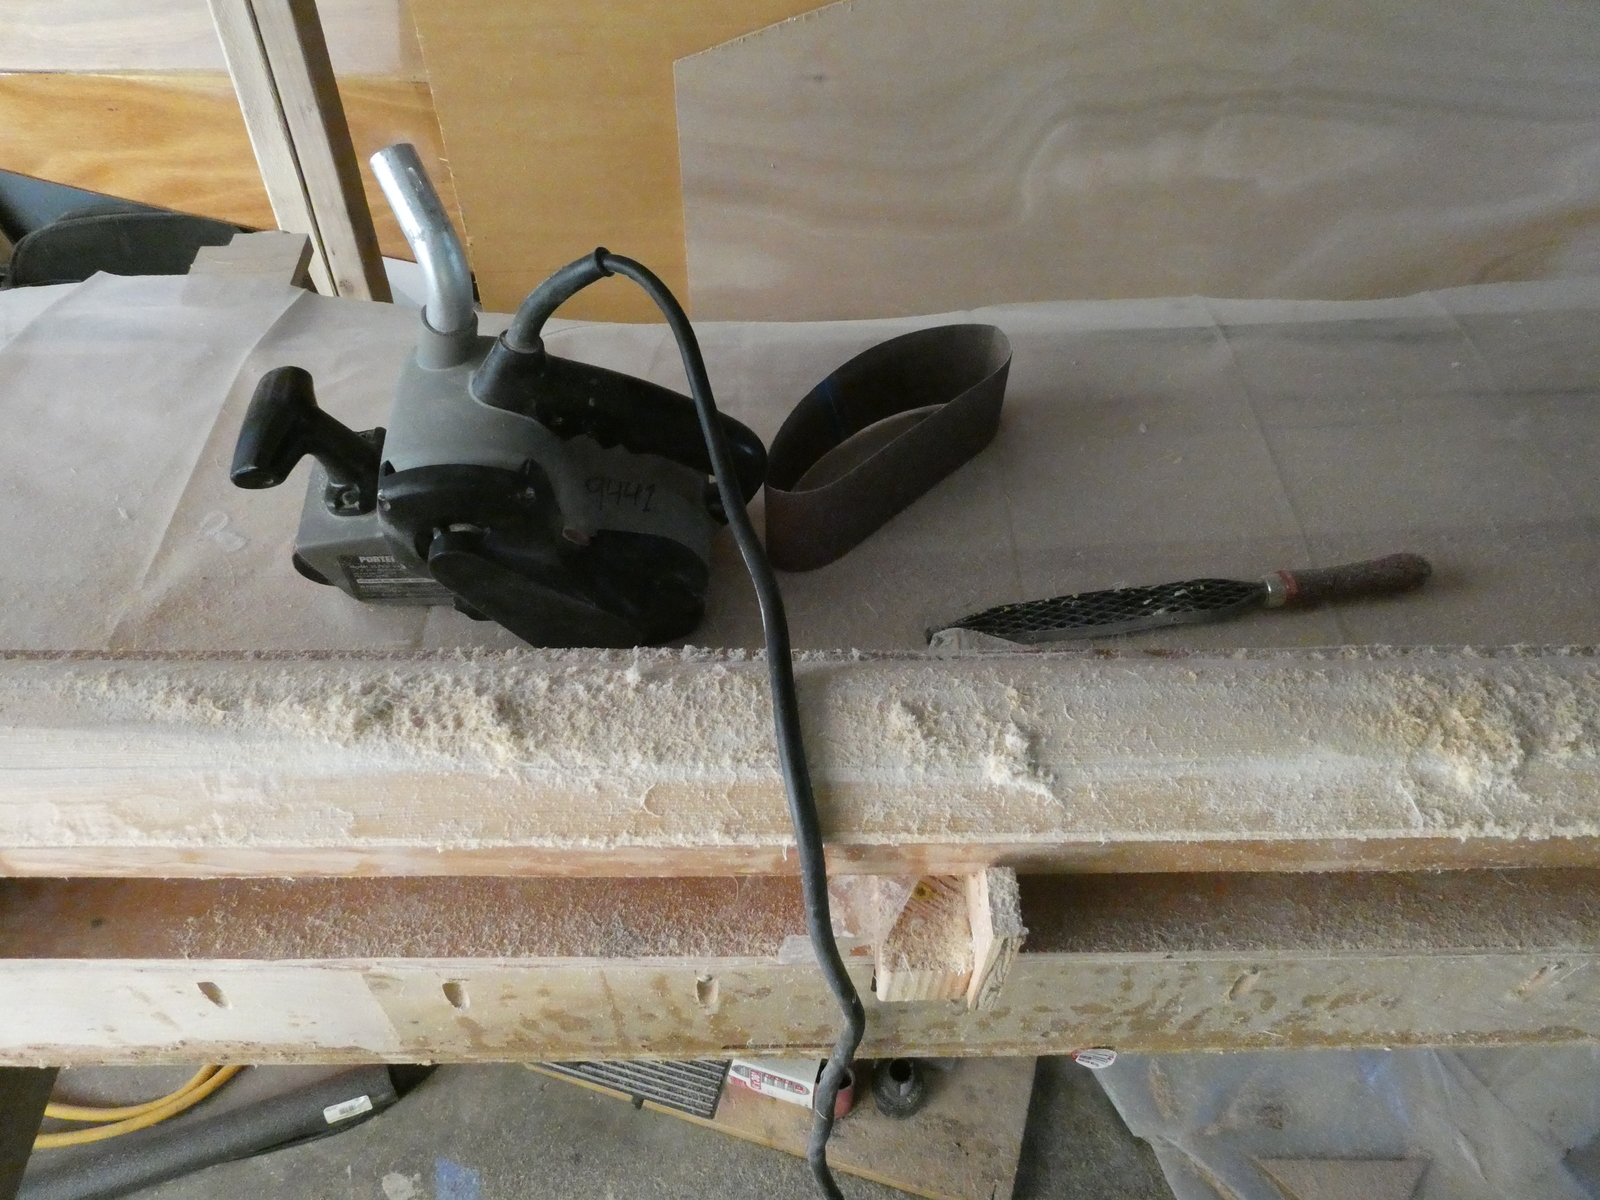
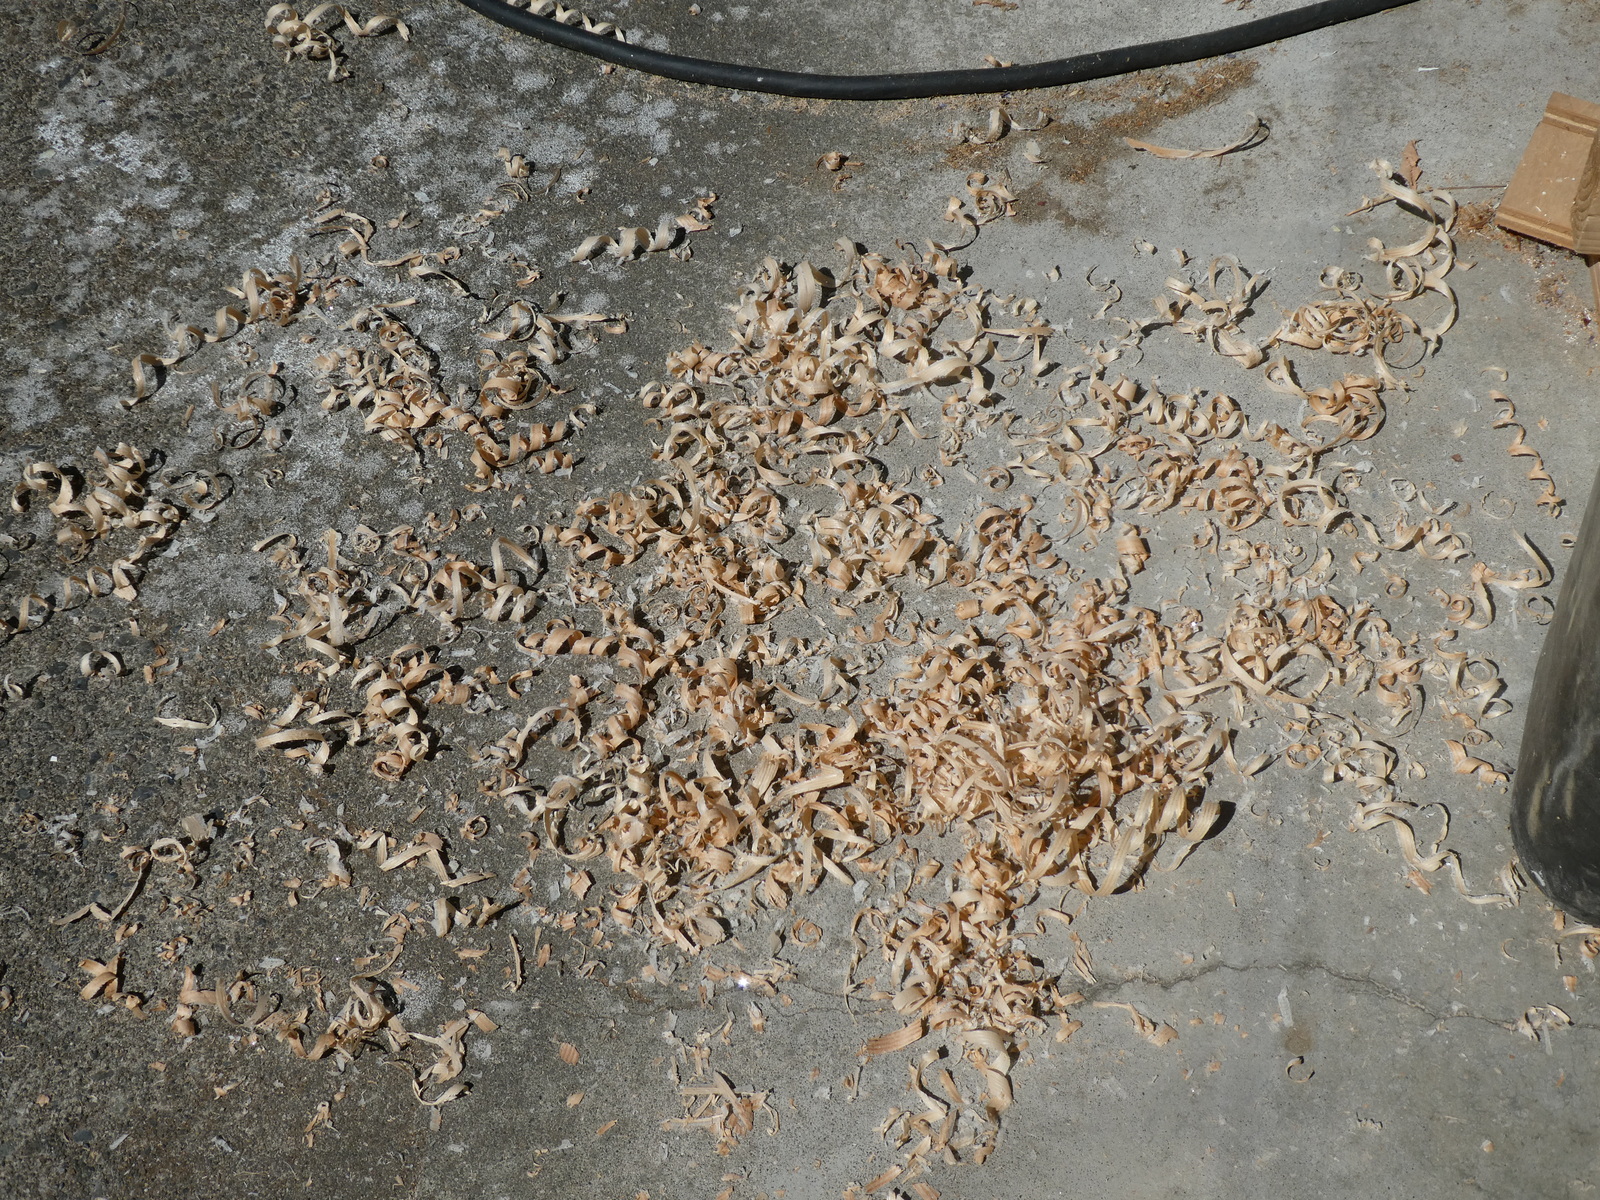
I also tried using a belt sander again, but it just wasn’t very effective at taking material down quickly. Honestly I haven’t yet found a situation where a belt sander is the right tool for the job.
What I found worked best was my little old block plane. I could quickly take the corners off with this and get to relatively round shape. The epoxy definitely did a number on the blade so I had to sharpen it periodically while doing this job, but it was totally worth it.
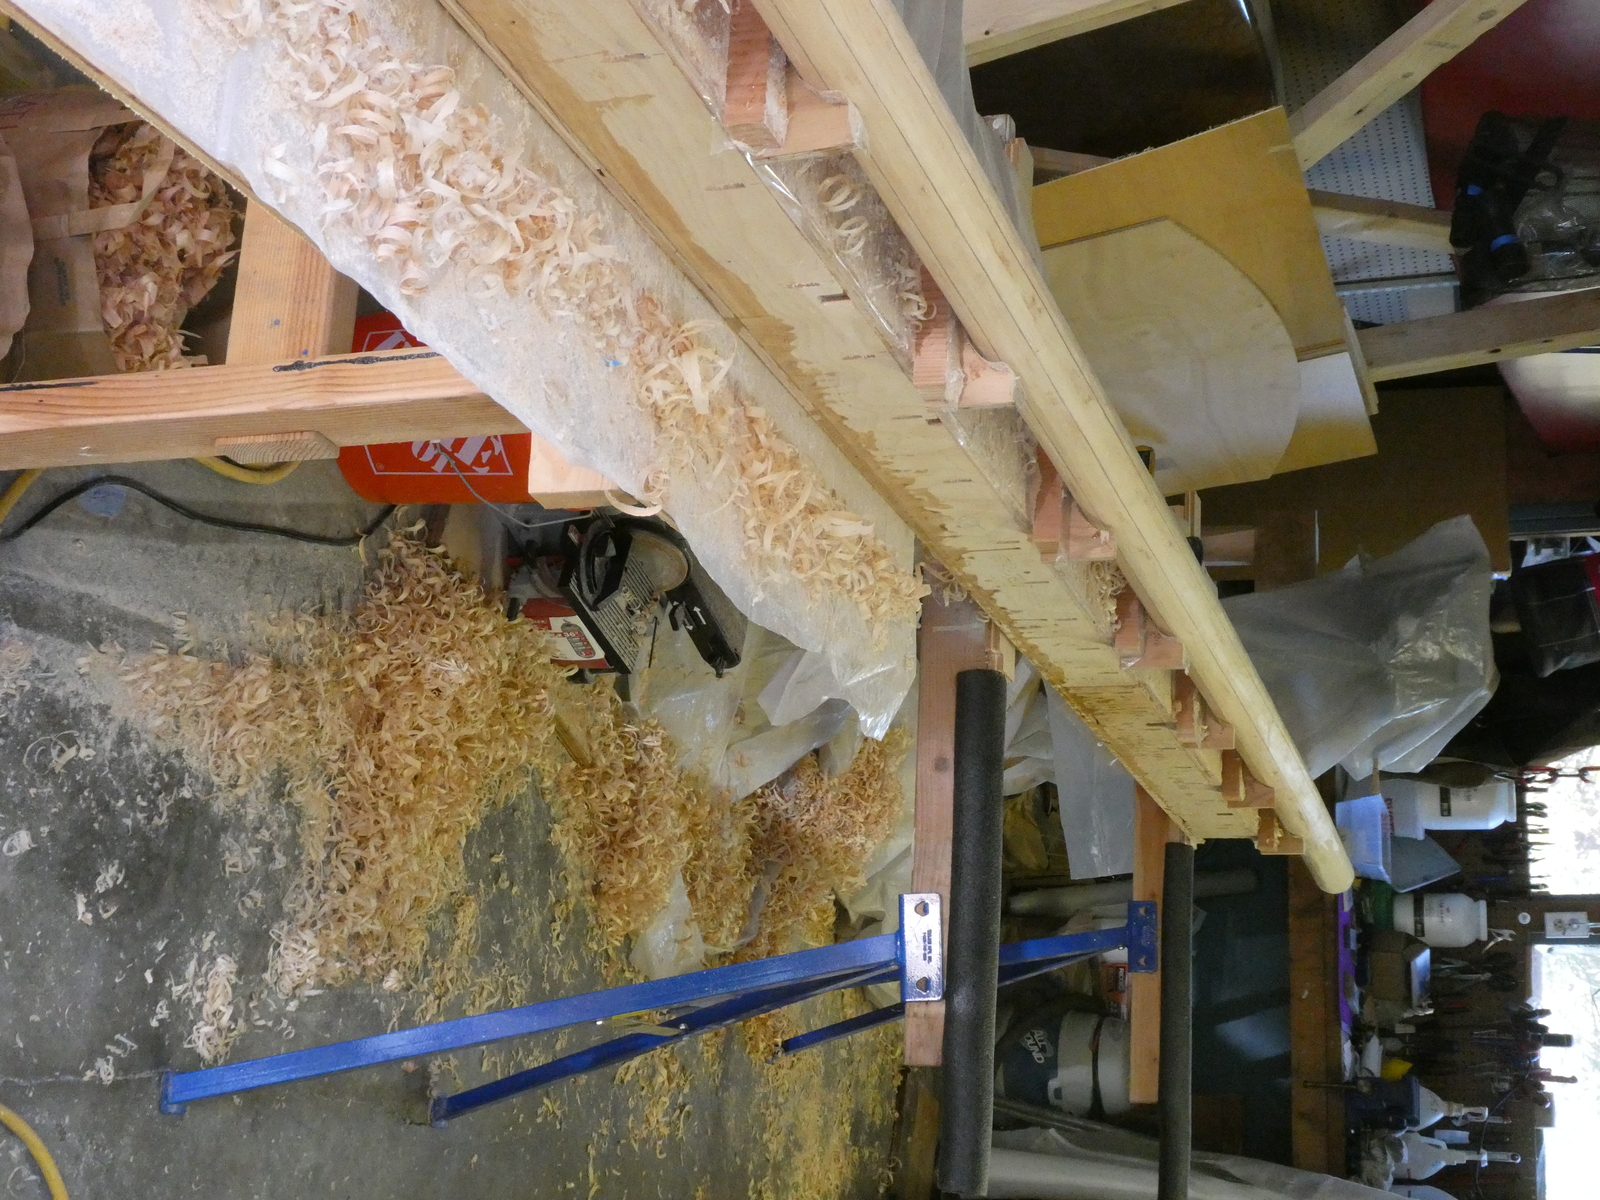
See the effects of block plane usage
To finish off the rounding I again went back to my random orbital sander plus some hand sanding in places.
Finishing off the mast #
Almost done now.
During the rounding and sanding it became apparent there was one major holiday in the glue up where the two staves weren’t quite seated correctly against each other, something which I didn’t catch when I checked the length of the mast after glue up (it was on the bottom, and I didn’t want to rotate the mast in the cradles, which in retrospect I totally should have done, not only to catch this problem but another one I’ll mention in a bit)
So I marked where I needed to backfill some epoxy to fill gaps with blue tape and took care of that.
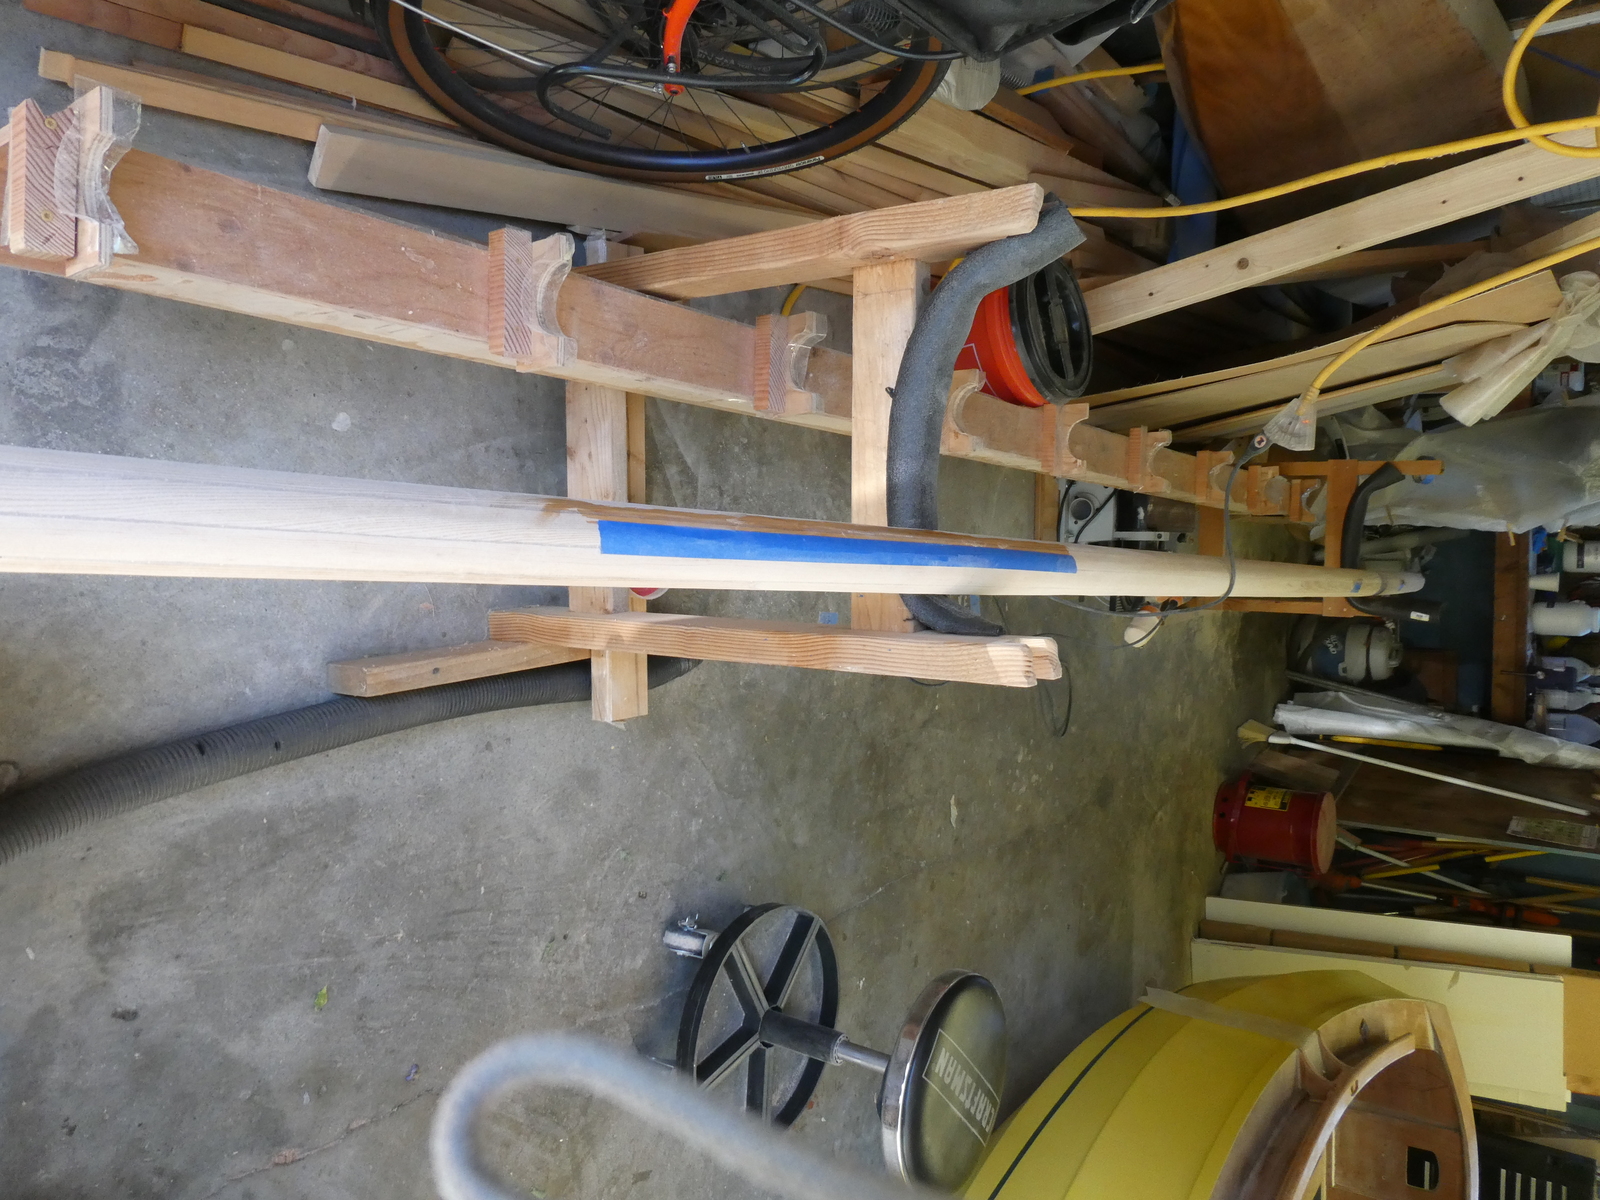
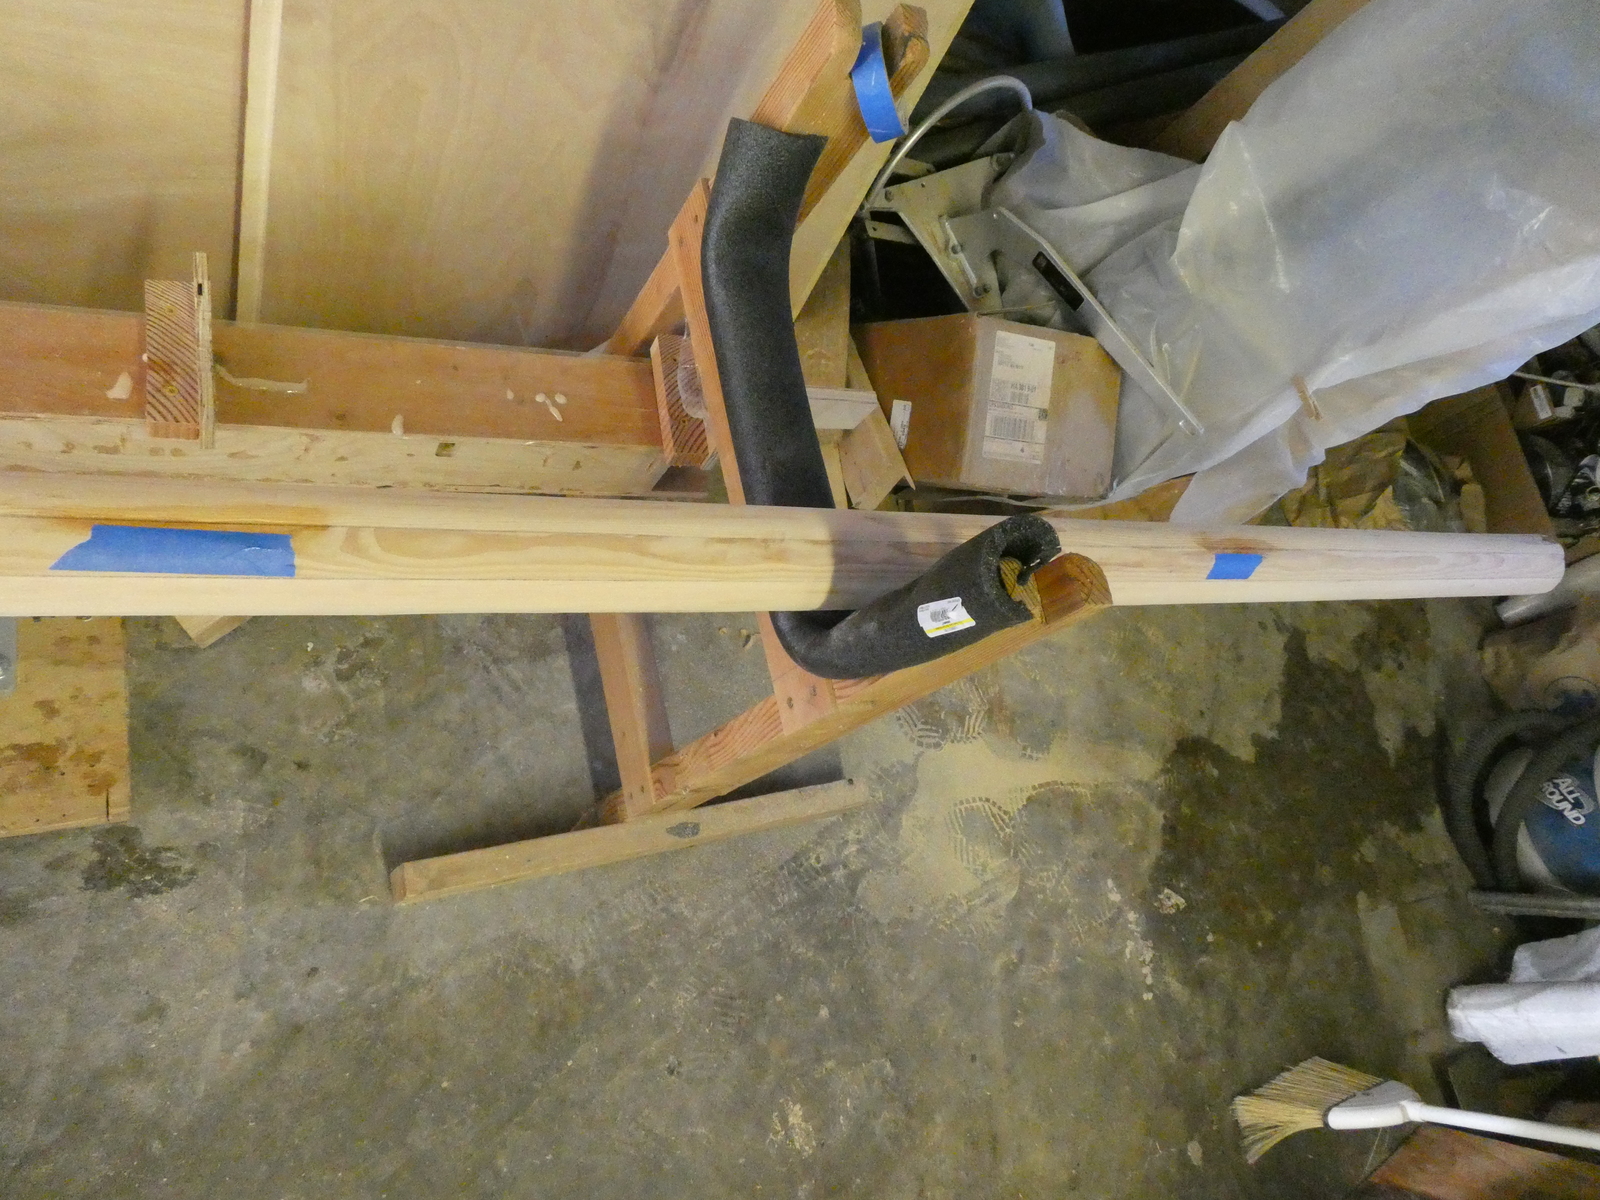
I then cut the mast to length by trimming a couple of inches off either end. This also exposed the interior blocking (and I needed to fix some holidays around each of these as well).
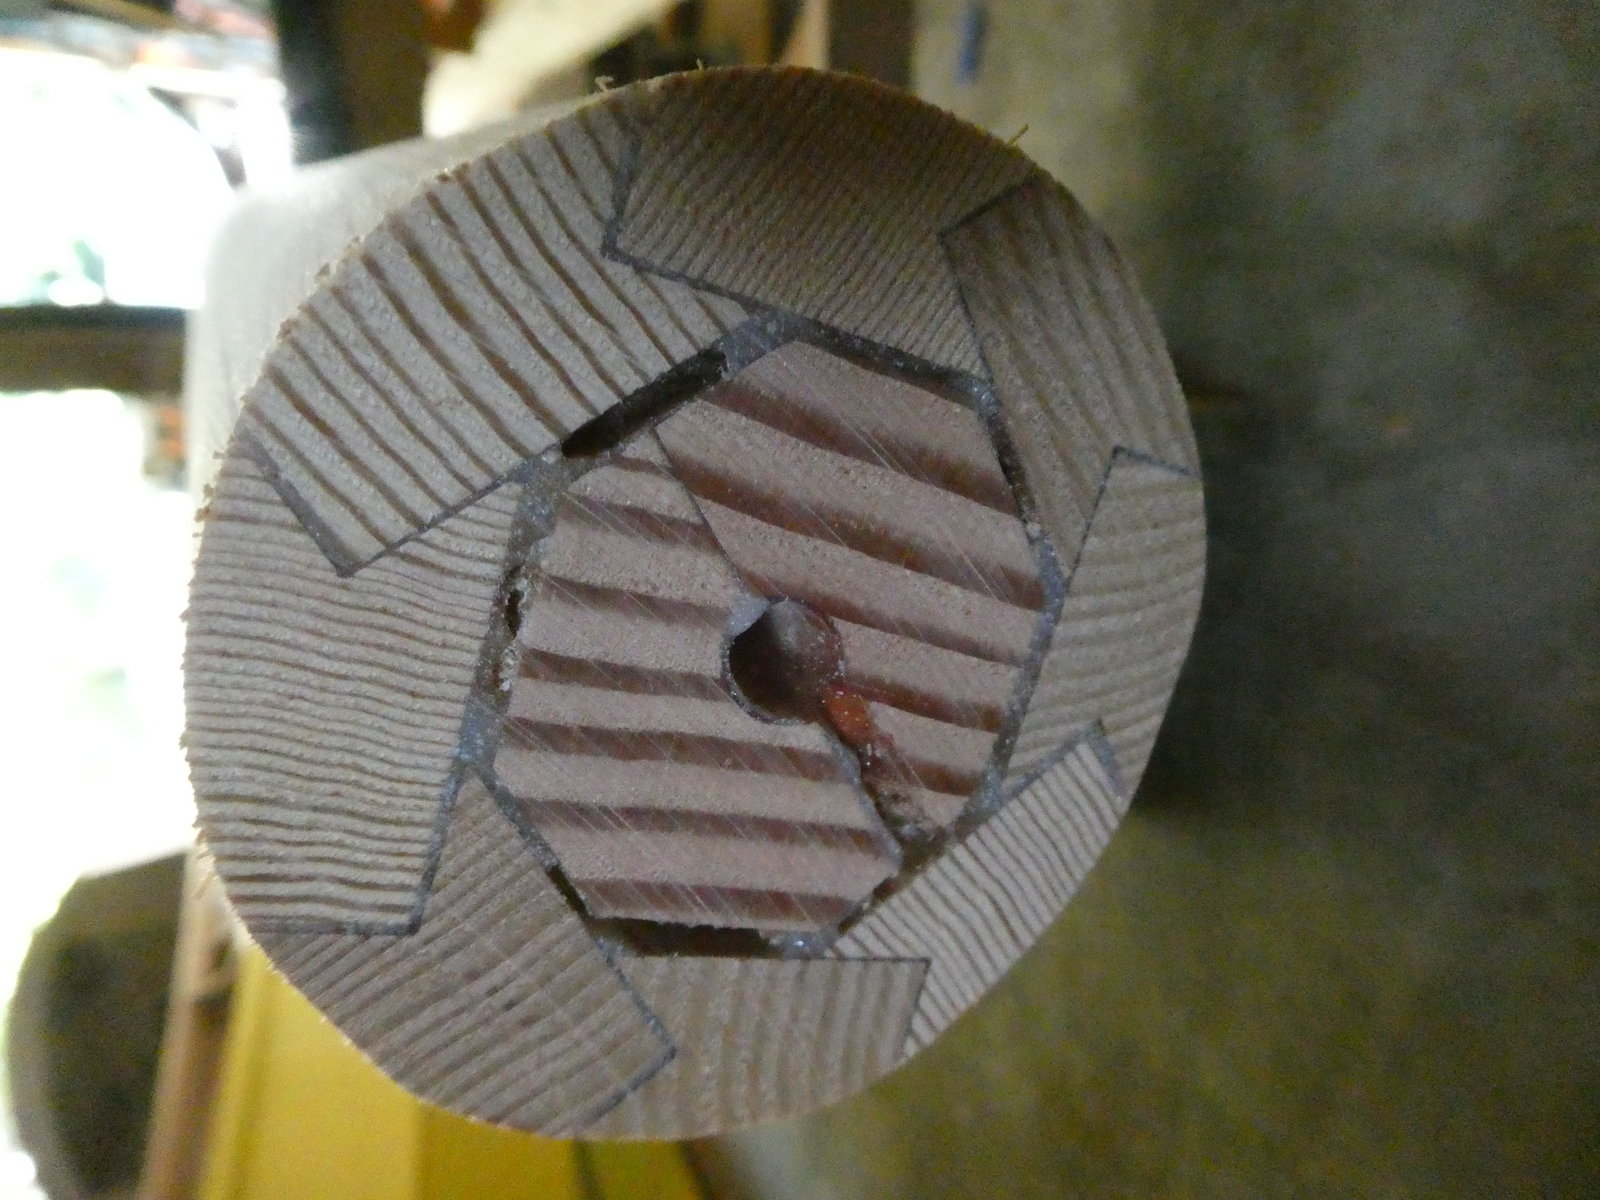
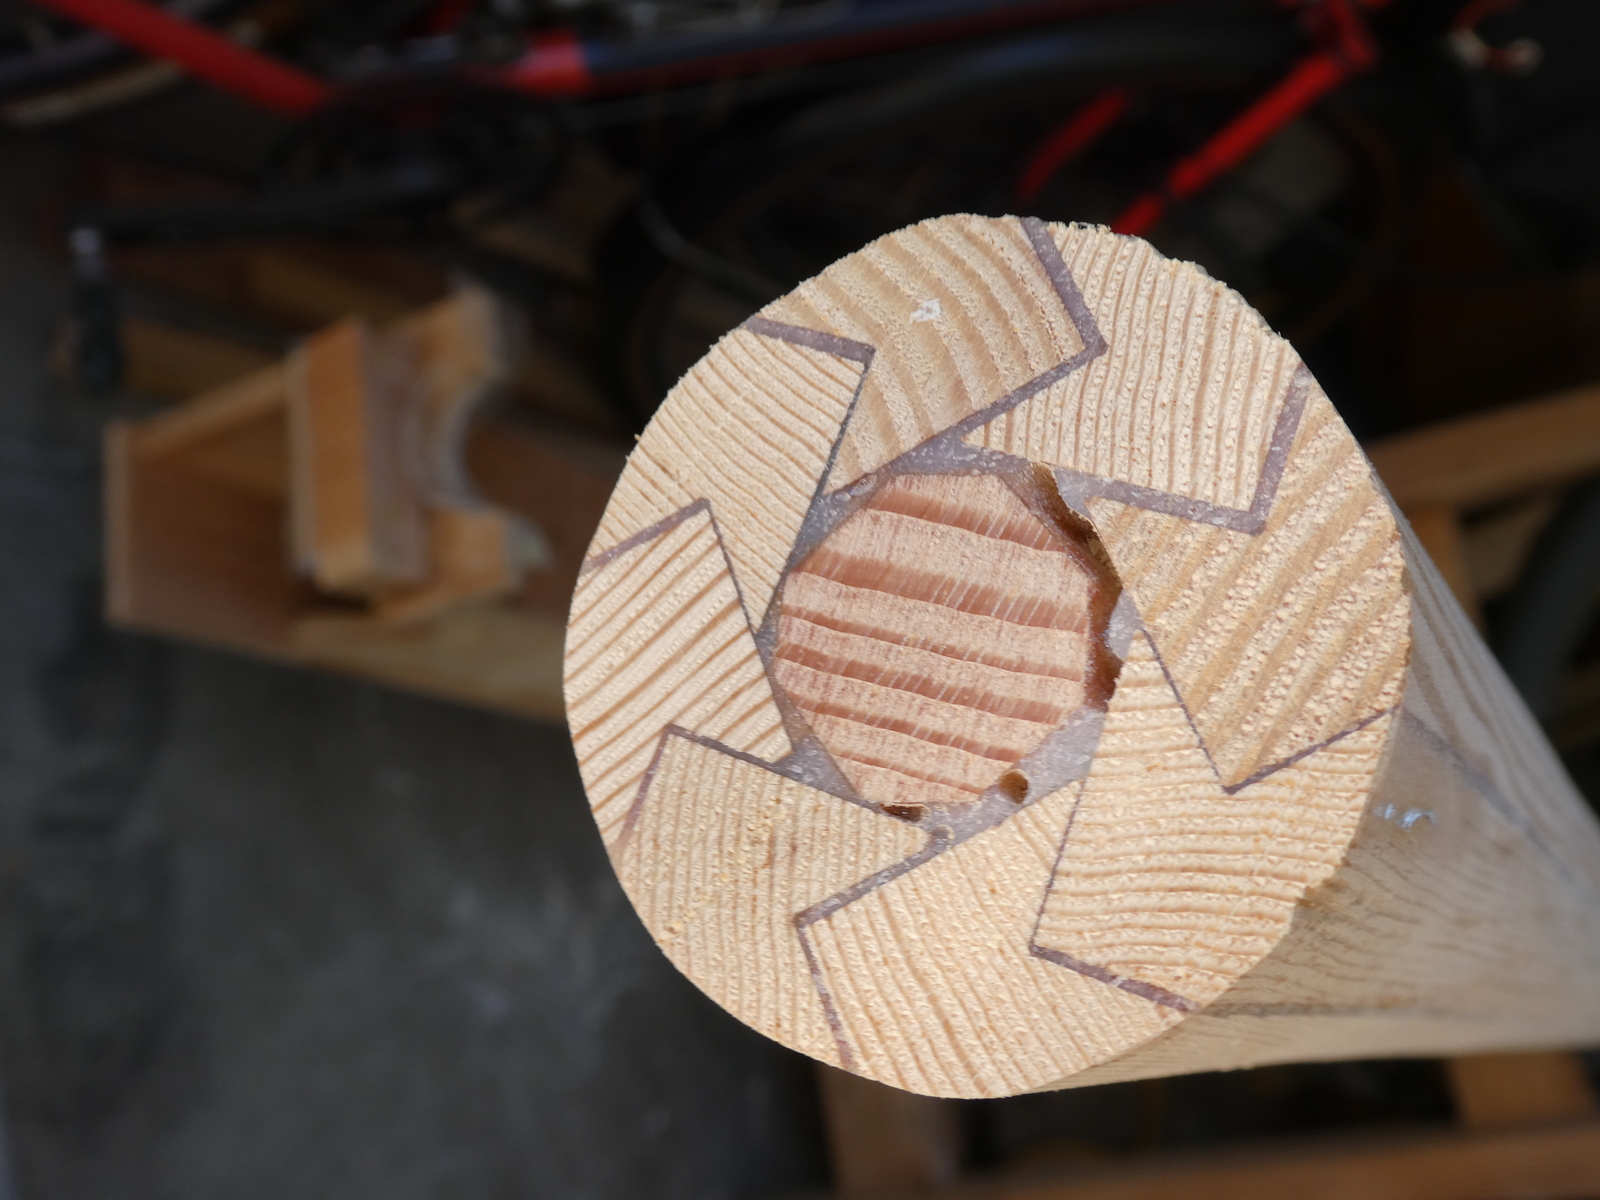
To shape the top of the mast I started again with my rasp before finishing by hand with sandpaper.
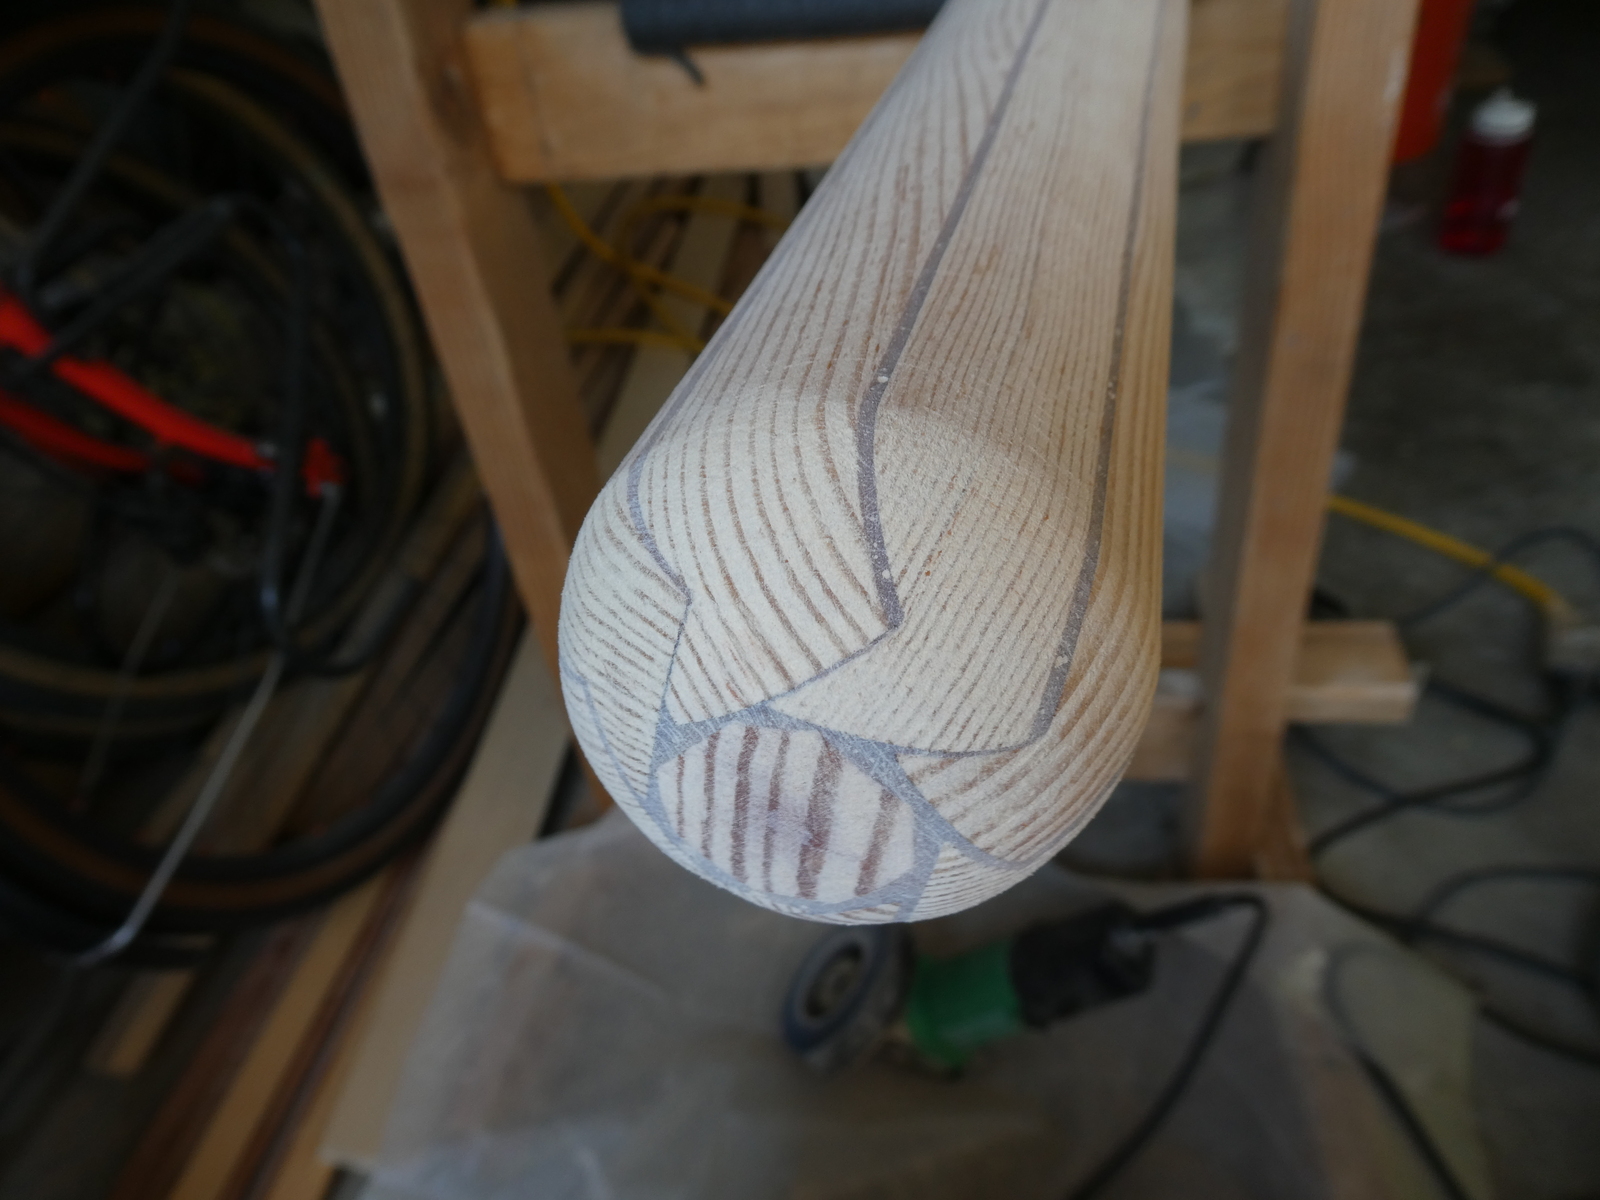
A rounded over top
The final step was two coats of epoxy.
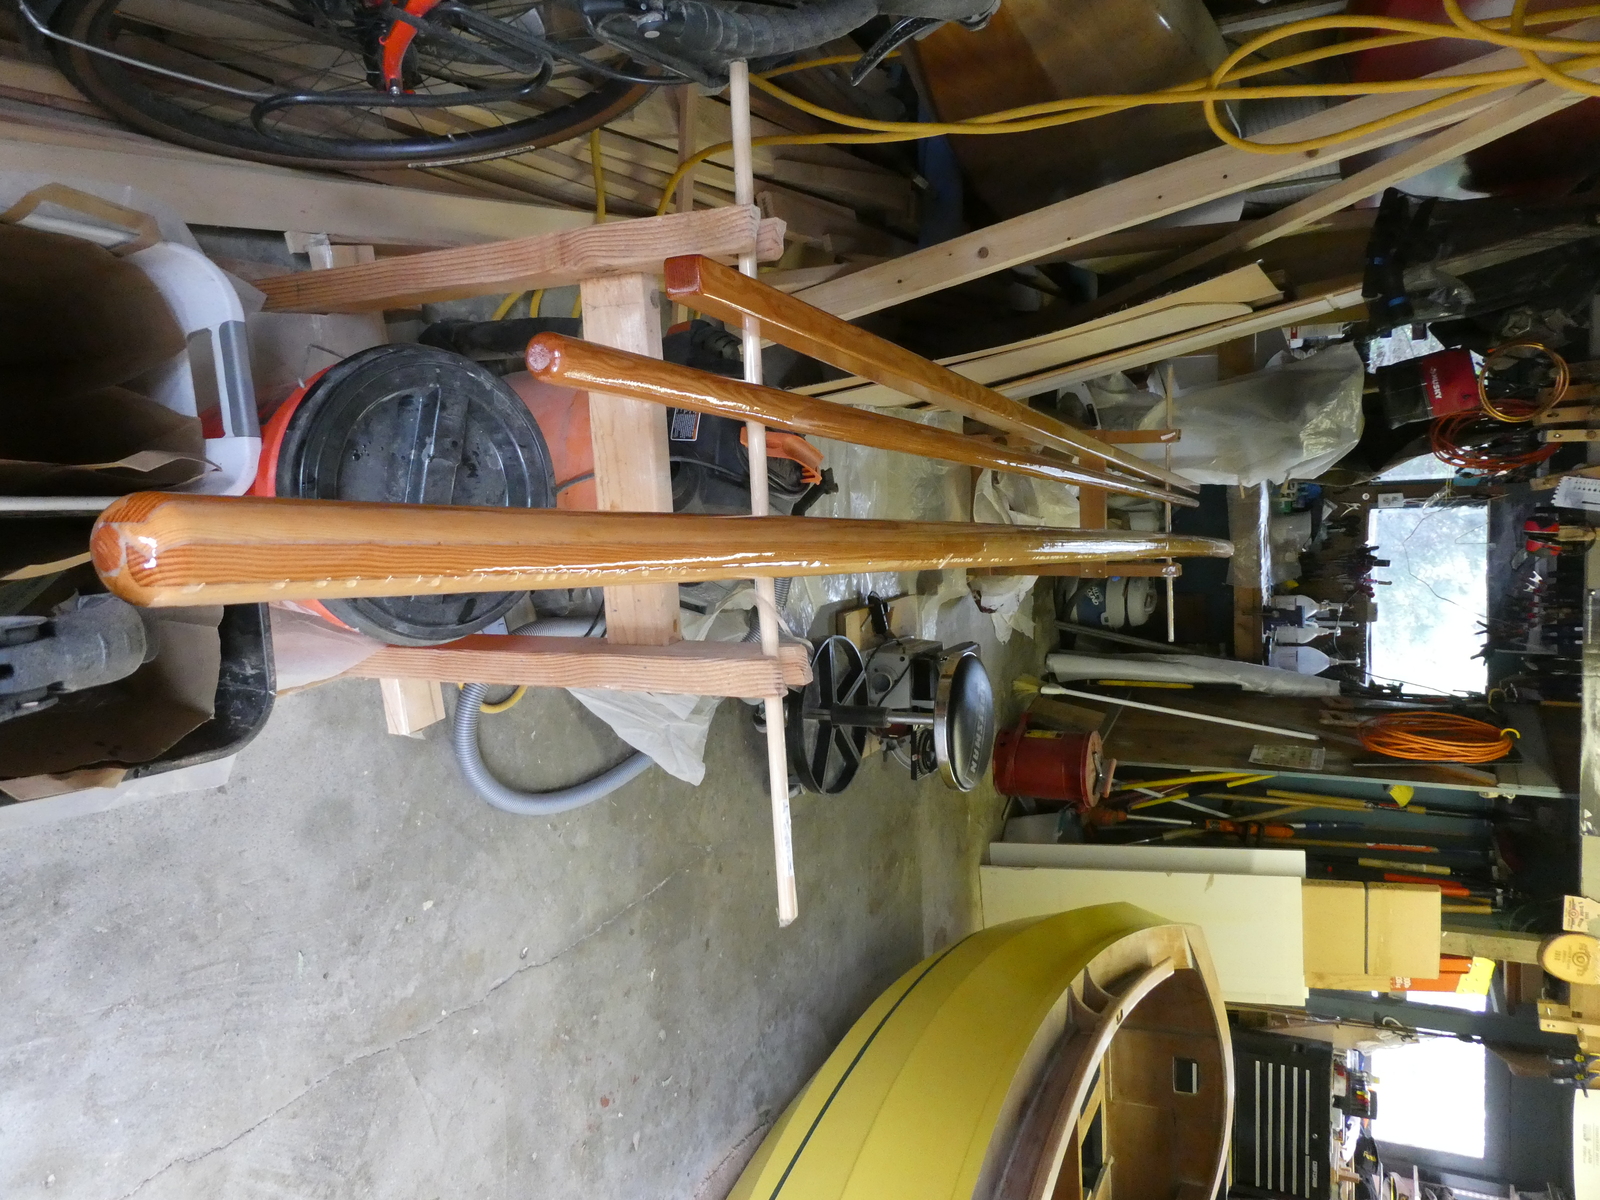
After the second coat
In that photo you can kind of see the other problem that occurred because I didn’t carefully check the mast after the glue up - it has a slight curve in it near the base.
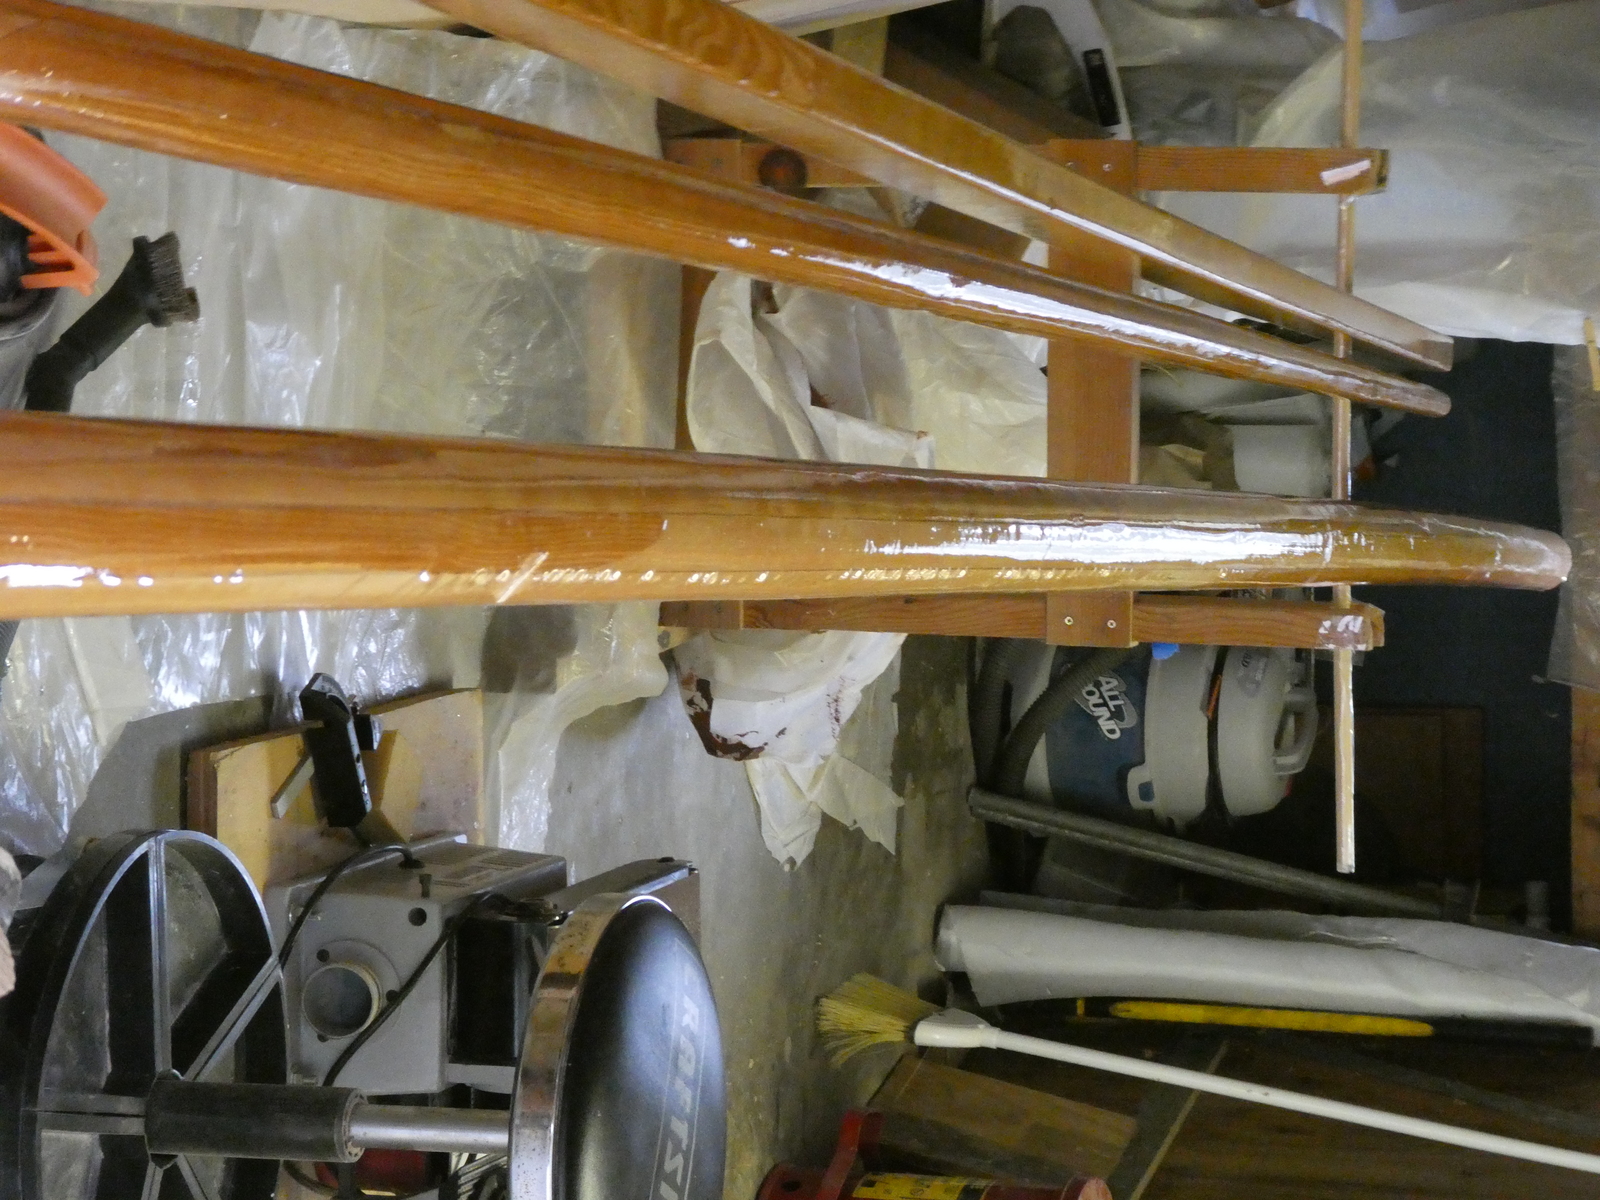
You can really see the curve here
This is a bit more disappointing, but I think it was the result of several small mistakes on my part:
- This bend is exactly where the curves in the staves were. I probably should have just bought more wood and tried again for relatively straight staves to begin with.
- The bend also occurred completely in the overhang of the mast from the last build cradle to the base. Having a strongback that was actually the same length as the mast is what I should have built, to correct problems like this.
- I shot a laser beam down the length of the mast after the glue up to make sure it was straight, but I didn’t shoot one down the side of the mast - only checking in one dimension was just dumb of me (I was feeling rushed to get my helpers some lunch, but still)
All that said, I don’t think this is disastrous. It will make calculating the right angle to set the mast in quite difficult (I will arrange the mast such that curve is situated forward/aft in the mastbox) and so cutting the mast blocks out will be tricky, I haven’t quite figured out how to do that yet, but assuming I can make it work so that the mast has the correct amount of lean aft I should be fine.
And if I have to build a second mast, I’ll remember to put in the tin foil the second time around.